August 15, 2026
How to Organize Your Pantry: A Simple System That Sticks
Transform your kitchen with a simple system to organize your pantry into functional zones. Streamline and declutter efficiently!
How to Organize Your Pantry: A Simple System That Sticks
Empty the pantry, cut what you don’t use, and rebuild into three function-based zones. That’s the whole plan. Everything else is just detail.
Start here, right now:
- Set a timer and grab a trash bag plus a donation box.
- Pull everything off one shelf (or the whole pantry if you have 90 minutes).
- Sort into four piles: keep, donate, toss, uncertain.
Time budget: A single shelf takes 20–30 minutes. A small closet-style pantry runs about 1.5 hours. A full walk-in pantry with deep shelves can take 2–3 hours, but only if you don’t stop to reorganize mid-purge.
Key Takeaways
A well-organized pantry comes down to one repeatable system: purge what you don’t use, build three frequency-based zones, match containers to your shelf measurements, and reset for five minutes after every grocery run.
| Point | Details |
|---|---|
| Start with a full purge | Empty everything, check dates, and donate or toss before rebuilding. |
| Use three zones only | Daily at eye level, cooking below, backstock at top or floor. |
| Measure before you buy | Check shelf depth and vertical clearance before purchasing any container or hardware. |
| Decant pest-prone staples | Move flour, rice, oats, and nuts into airtight containers you’ll keep more than two weeks. |
| Forkwardkitchen recipes | Use your organized pantry staples in tested weeknight and weekend recipes at Forkwardkitchen. |
Table of Contents
- How do you actually organize a pantry from scratch?
- What are the best pantry zones for a small space?
- Which containers and storage tools actually make a difference?
- What should you decant, and how do you label it?
- Where should each item actually live?
- Small-pantry and closet-style hacks that actually reclaim space
- How do you keep a pantry organized long-term?
- What should you actually buy, and where do you find it?
- Why does an organized pantry actually matter for cooking?
- Sources
How do you actually organize a pantry from scratch?
Start by emptying everything out. Not “most things.” Everything. Pull it all onto the counter or kitchen table so you’re working from a clean surface.
Martha Stewart recommends starting with a full purge before touching a single container or shelf liner. She’s right. You can’t zone what you haven’t seen.
Once it’s out, sort into four piles: keep, donate, toss, and uncertain. Check expiration dates on every package. Anything past its date goes. Anything with a torn seal, visible moisture, or signs of pests goes too. If a package looks fine but you genuinely can’t remember buying it, that’s a toss.
Pro Tip: Don’t let the “uncertain” pile linger. Give yourself a rule: if you haven’t cooked with it in six months and can’t name a recipe where you’d use it in the next two weeks, donate it.
Donate shelf-stable, unexpired food to a local food bank. Most accept canned goods, dry pasta, rice, and sealed snacks. For questionable dry goods (flour, oats, grains) that look fine but you’re not sure about, freeze them for 48 hours before shelving to kill any pest eggs, then transfer to airtight containers.
Budget roughly 10 minutes per shelf for the purge pass. Once the keep pile is settled, wipe down every shelf surface before putting anything back.
What are the best pantry zones for a small space?
Three zones. That’s it. Pro organizers consistently recommend keeping it to three frequency-based zones in small or closet-style pantries. More zones in a tight space quickly become meaningless because items migrate between them.
Zone 1: Daily (eye level) The things you reach for every morning or every dinner. Breakfast cereals, coffee, tea, cooking oils, salt, pepper, go-to spices, snacks, and anything the kids grab themselves.
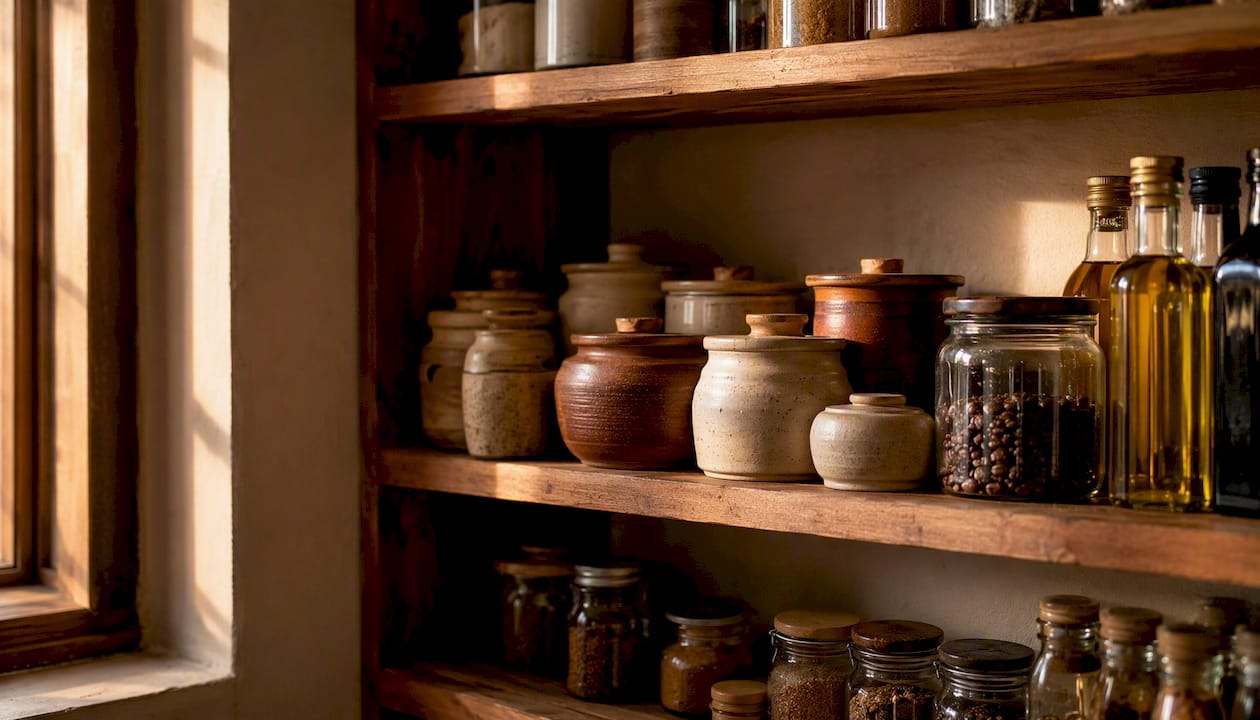
Zone 2: Cooking (just below eye level) Canned tomatoes, broths, dried pasta, rice, lentils, vinegars, soy sauce, and baking staples you use a few times a week.
Zone 3: Weekly/Backstock (top shelf and floor) Bulk purchases, backup cans, rarely used appliances, large bags of flour or sugar, and anything you restock monthly rather than weekly.
The logic mirrors a grocery store: the products you buy most often are at eye level because that’s where your attention naturally lands. Heavy items (large cans, bulk bags, cast iron) go on the floor or the lowest shelf to protect both your back and the shelf itself. Rarely used items go up high.
Lock the zones in with a simple label on the front edge of each shelf. A strip of painter’s tape with a written zone name works fine and costs nothing.
Which containers and storage tools actually make a difference?
Prioritize containers that match your shelf measurements, and only buy hardware that solves a specific access or stacking problem you already have. Buying a set of 20 matching canisters before you’ve measured your shelves is how you end up with a pile of containers that don’t fit.
Container types at a glance
| Container type | Best for | Key advantage | Watch out for |
|---|---|---|---|
| Glass mason jars | Dry goods, grains, spices | Airtight, pest-resistant, no odor transfer | Heavy; can break |
| BPA-free plastic canisters | Flour, sugar, cereal | Lightweight, stackable, affordable | Can absorb odors over time |
| Airtight square/rectangular bins | Snacks, packets, small bags | Maximizes shelf real estate | Needs consistent sizing to stack well |
| Clear open-front bins | Canned goods, pouches | Easy grab-and-go access | Items can tip or shift |
Square and rectangular containers reclaim more shelf space than round ones, especially in narrow pantries. Mix sizes so the tallest container fits your vertical clearance without wasting airspace above it.
Space-saving hardware worth buying:
- Shelf risers: Double your usable shelf space on any fixed shelf; best for canned goods and spice jars.
- Lazy Susans: Ideal for deep shelves where items get buried in the back. A turntable brings everything to the front with one spin. The Container Store carries several sizes, and IKEA’s SNUDDA works well for pantry use.
- Under-shelf baskets: Clip onto existing shelves to add a layer for flat items like foil, plastic wrap, or snack bars.
- Over-the-door racks: Add significant capacity in closet-style pantries without touching a single shelf. Good for spice packets, small cans, and condiments.
- Pull-out baskets: Best for deep pantries where you’d otherwise lose items at the back. IKEA’s VARIERA line fits many standard shelf depths.
Pro Tip: Before ordering anything, measure shelf depth, width, and the vertical clearance between shelves. Write it on a sticky note and take it shopping. Most wasted pantry purchases come from skipping this step.
What should you decant, and how do you label it?
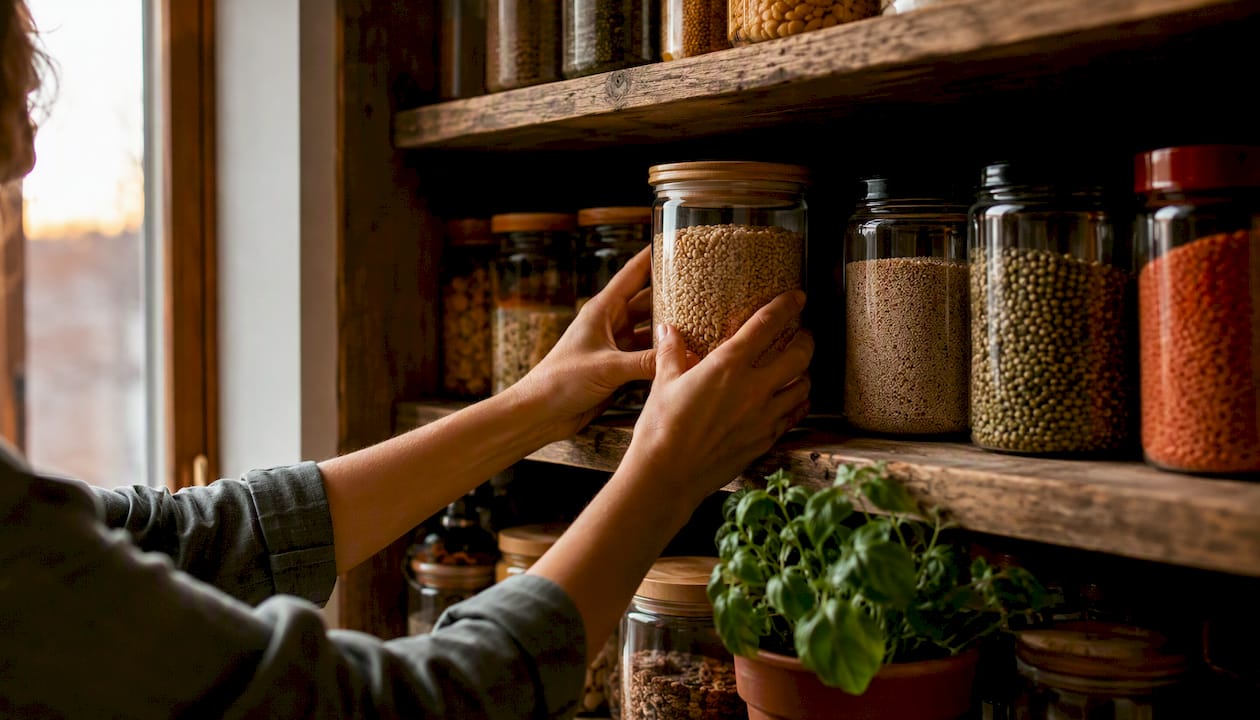
Decant staples you’ll keep for more than two weeks or anything that’s pest-prone. Flour, rice, oats, nuts, dried pasta, lentils, and granola all belong in airtight containers. Canned goods, sealed jars, and anything in its original factory-sealed packaging can stay as-is.
Decanting into airtight, visible containers reduces duplicate purchases because you can see at a glance when you’re running low. It also cuts pest risk. Transfer dry goods immediately after opening the original bag, and clean the shelf surface first.
Glass vs. plastic: Glass mason jars are the better long-term choice for anything you store more than a month. They don’t absorb odors, they’re fully airtight with a good lid, and they’re easy to clean. BPA-free plastic canisters are lighter and cheaper, which makes them practical for heavier items like flour or sugar where you’d be lifting a full glass jar repeatedly.
Labeling checklist:
- Item name (obvious, but write it anyway)
- Date opened or date decanted
- Use-by or best-by date from the original package
- Optional: quantity or weight if you track that for meal planning
A label maker produces clean, consistent results. A strip of masking tape and a marker works just as well and costs nothing. Consistency matters more than aesthetics.
Pro Tip: Use FIFO: first in, first out. When you restock, push older containers to the front and put new stock behind them. A strip of date tape on the bottom of each container makes this automatic.
Where should each item actually live?
Place by frequency. Daily items at eye level, cooking supplies just below, heavy or bulk items on the floor, and occasional items up high.
Special categories:
- Spices: Eye level or just below, ideally in a drawer, on a tiered riser, or on a lazy Susan so you can see every label without moving anything.
- Oils and vinegars: Below eye level, near the cooking zone. Keep them away from heat sources and direct light.
- Baking supplies: Group together in the cooking zone. Flour, sugar, baking powder, and vanilla extract should all live in the same area so you’re not hunting across shelves mid-recipe.
- Snacks: Eye level or just below for adults; lower shelf for kids who grab their own. Clear bins work well here.
- Small appliances: If they live in the pantry, put them on the floor or the lowest shelf. A blender or stand mixer on a high shelf is a safety problem.
Troubleshooting common layout problems:
Deep shelves lose items at the back. Fix it with a lazy Susan or pull-out basket. Uneven shelf heights make stacking awkward. Fix it with adjustable shelf pins if your pantry allows, or use risers to create consistent tiers. Wire shelving lets small items fall through. Fix it with a shelf liner or a thin cutting board laid flat.
Small-pantry and closet-style hacks that actually reclaim space
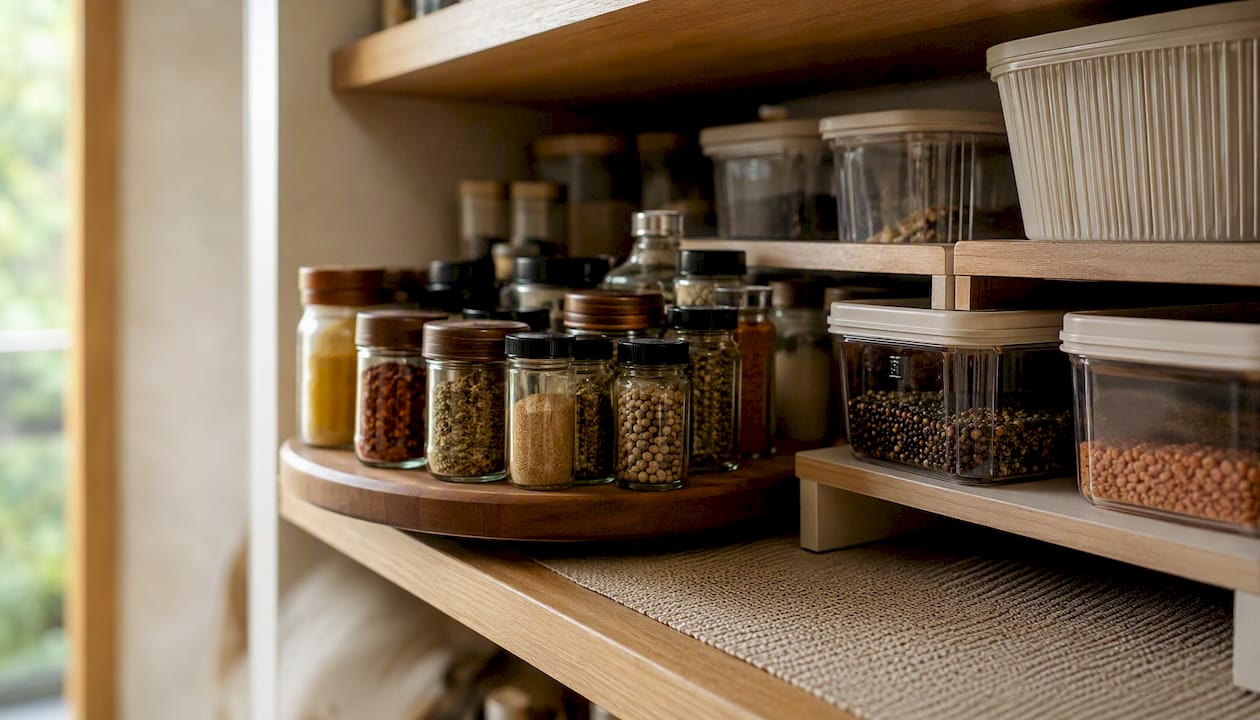
Convert the pantry into three functional zones and use vertical tiers, clear bins, and door storage to add capacity. Measuring shelf depth and vertical clearance before buying anything prevents the most common mistake: buying containers that overhang the shelf edge or leave wasted airspace above them.
Compact hacks for tight spaces:
- Slim turntables: A small lazy Susan (6–9 inches) fits narrow shelves and keeps spice jars or condiment bottles accessible without a full reach-in.
- Magazine holders: Stand them upright on a shelf to hold boxed goods (pasta boxes, foil boxes, plastic wrap) vertically instead of stacking them flat.
- Over-the-door shoe pockets: Clear plastic pockets hold spice packets, seasoning mixes, snack bars, and small pouches. This alone can free up an entire shelf.
- Open-front bins: Stack two or three on a shelf for snacks, produce bags, or backup packets. Clear bins let you see contents without pulling anything out.
- Shelf risers: In a closet pantry, a two-tier riser on a single shelf effectively doubles that shelf’s capacity for canned goods or jars.
For narrow shelves under 10 inches deep, stick to containers no deeper than 8 inches. IKEA’s KUGGIS boxes and The Container Store’s Linus line both come in sizes that fit shallow shelves without overhang.
Pro Tip: In a closet-style pantry, treat the door as a third wall. An over-the-door organizer with adjustable hooks or pockets can hold 20–30 items that would otherwise compete for shelf space.
How do you keep a pantry organized long-term?
A five-minute weekly reset after grocery shopping, a monthly expiration check, and a biannual deep purge. That’s the full maintenance system. Experts recommend exactly this cadence because it’s short enough to actually do.
Weekly reset (5 minutes, after shopping):
- Put new groceries away in the correct zone.
- Move older stock to the front (FIFO).
- Pull anything that looks off (damaged packaging, expired items) and toss immediately.
- Straighten bins and containers so labels face forward.
- Note anything running low for the next shopping list.
Monthly check (10–15 minutes):
- Scan every shelf for expiration dates.
- Consolidate duplicates (two open bags of the same pasta go into one container).
- Wipe down any sticky spots or crumbs.
Biannual deep purge (45–60 minutes):
- Repeat the full purge process from the initial setup.
- Reassess zones. Did the system actually match how you cook? Adjust if not.
- Check containers for cracks, warped lids, or odor absorption. Replace what’s failing.
Pro Tip: For households with kids or multiple cooks, add a one-line label to the front edge of each shelf: “Daily,” “Cooking,” “Backstock.” It takes 30 seconds and cuts the number of misplaced items dramatically.
What should you actually buy, and where do you find it?
Buy only what you measured for. Start with the containers that solve your biggest problem first, then add hardware as needed.
The short list of high-value purchases:
- Airtight canisters (square or rectangular): The single highest-impact purchase for dry goods. OXO Pop containers are widely available at Target, Walmart, and Bed Bath & Beyond. For a budget option, IKEA’s IKEA 365+ line works well.
- Small clear bins: For snacks, packets, and loose items. The Container Store’s Linus bins are a popular mid-range pick. Dollar Tree and thrift stores often carry similar bins for under $2.
- Lazy Susan: A 12-inch turntable handles most pantry corners and deep shelves. IKEA’s SNUDDA runs around $10. The Container Store carries larger, more durable versions.
- Shelf riser: A two-tier riser doubles capacity on any fixed shelf. Available at Walmart, Target, and Amazon for $10–$25.
- Over-the-door organizer: A wire or plastic rack with adjustable hooks. Available at Target, Walmart, and The Container Store in a range of widths.
- Label maker: A Brother P-touch is the standard recommendation and costs around $20 at most office supply stores. Masking tape and a marker is the free version.
Budget tiers:
- Low (under $30 total): Thrift store jars, Dollar Tree bins, masking tape labels, and a single lazy Susan from IKEA. This covers the basics.
- Mid ($30–$80): OXO Pop canisters for the top five dry goods, a shelf riser, and an over-the-door rack.
- High ($80+): A full matching canister set (OXO or similar), The Container Store bins, a label maker, and pull-out baskets for deep shelves.
Why does an organized pantry actually matter for cooking?
An organized pantry saves time and reduces duplicate purchases, which directly improves meal prep and lowers food waste. The USDA estimates that US households waste roughly 30–40% of their food supply, and a significant driver is buying items you already own because you couldn’t see them.
The practical benefit shows up fast. When your pantry is zoned and labeled, a weeknight pasta dinner goes from a 10-minute ingredient hunt to a 2-minute pull. Olive oil, canned tomatoes, dried pasta, and garlic are all in their zones, visible, and ready. You’re not digging through a pile of cans to find the one you need.
A well-stocked, visible pantry also makes seasonal and holiday cooking less stressful. When you can see your backstock at a glance, you know what to buy and what you already have.
Forkwardkitchen’s from-scratch recipes are built around exactly these kinds of pantry staples. Keeping them organized means you can actually use them.
One thing that changed how I shop
The shift that stuck longest wasn’t the containers or the labels. It was decanting flour, oats, and rice into clear jars on the first day and never going back. Seeing the level drop told me when to restock before I ran out, which meant fewer emergency grocery runs and fewer duplicate bags of the same grain sitting half-open in a cabinet.
The practical tip: start with just three or four staples you cook with every week. Decant those first. Once that habit is in place, the rest of the system follows naturally.
Your pantry staples are ready. Here’s what to cook with them.
A clean, zoned pantry is most useful when you actually cook from it. Forkwardkitchen’s recipe library is built around the staples you just organized: dried pasta, canned tomatoes, olive oil, grains, and pantry spices. Every recipe comes with an honest difficulty rating, so you can match the recipe to your energy level.
For a fast weeknight win, the sheet pan dinners use five or six pantry staples and take under 30 minutes. If you’re ready for a bigger project, the weekend cooking projects are designed for the days when you have time to slow down. Browse the full recipe collection at Forkwardkitchen and put that organized pantry to work.
Sources
Sources cited in this article:
- Martha Stewart — Tips for pantry organization
- Pantry organization: expert tips and 30 hacks
- How to Organize a Small Pantry With Limited Shelves
- Pantry Organization Guide: Storage Tips That Keep Food Fresh Longer | The Whole Fork
- Small kitchen pantry organization ideas with containers that genuinely work - Pantry Raider
Where to buy recommended items in the U.S.: