August 6, 2026
Homemade Kimchi: From-Scratch Recipe for Any Skill Level
Learn to make delicious homemade kimchi with this easy, step-by-step recipe. Perfect for all skill levels—get started today!
Homemade Kimchi: From-Scratch Recipe for Any Skill Level
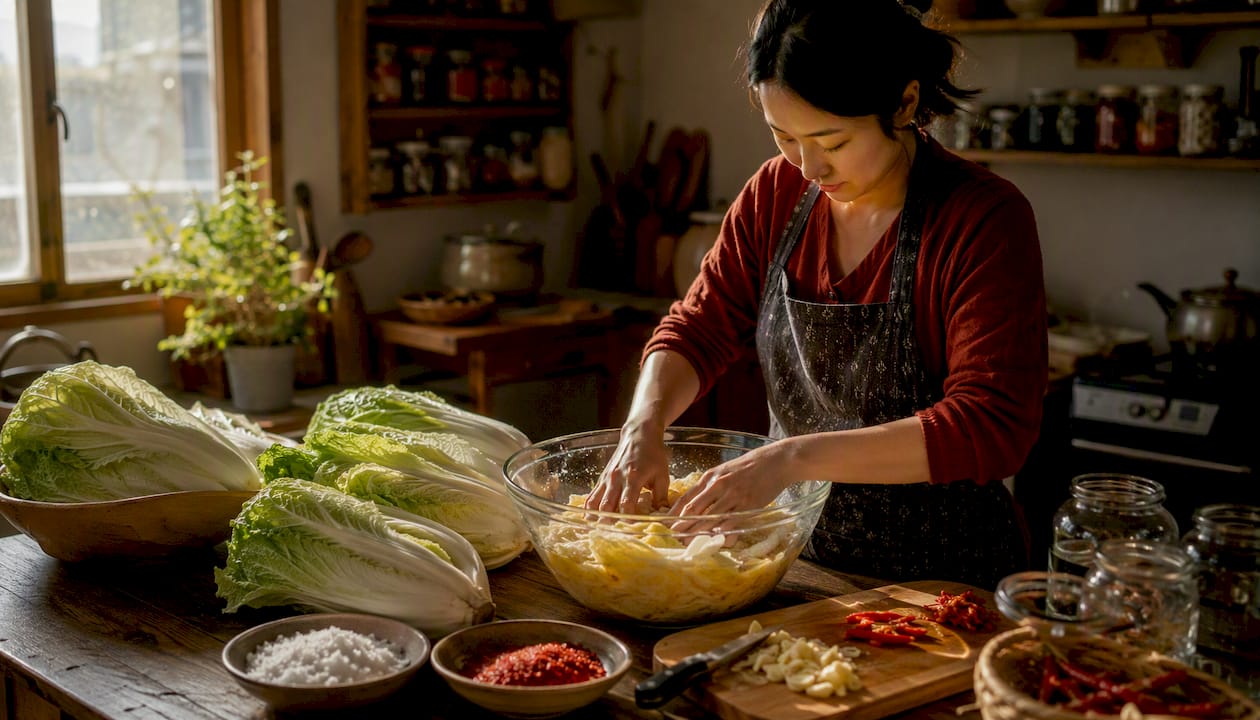
Yes, you can make authentic kimchi at home, and you do not need a Korean grandmother’s kitchen or a specialty store around the corner to pull it off. The core process is straightforward: salt napa cabbage to draw out moisture, mix a seasoning paste built on gochugaru, garlic, ginger, and an umami agent, coat the cabbage, pack it tight, and let lactic acid bacteria (LAB) do the rest at room temperature before moving it to the fridge.
A standard batch yields about a quart of kimchi. Expect about 30 minutes of active prep, a salting window lasting an hour or two, and several days of room-temperature fermentation before refrigerating.
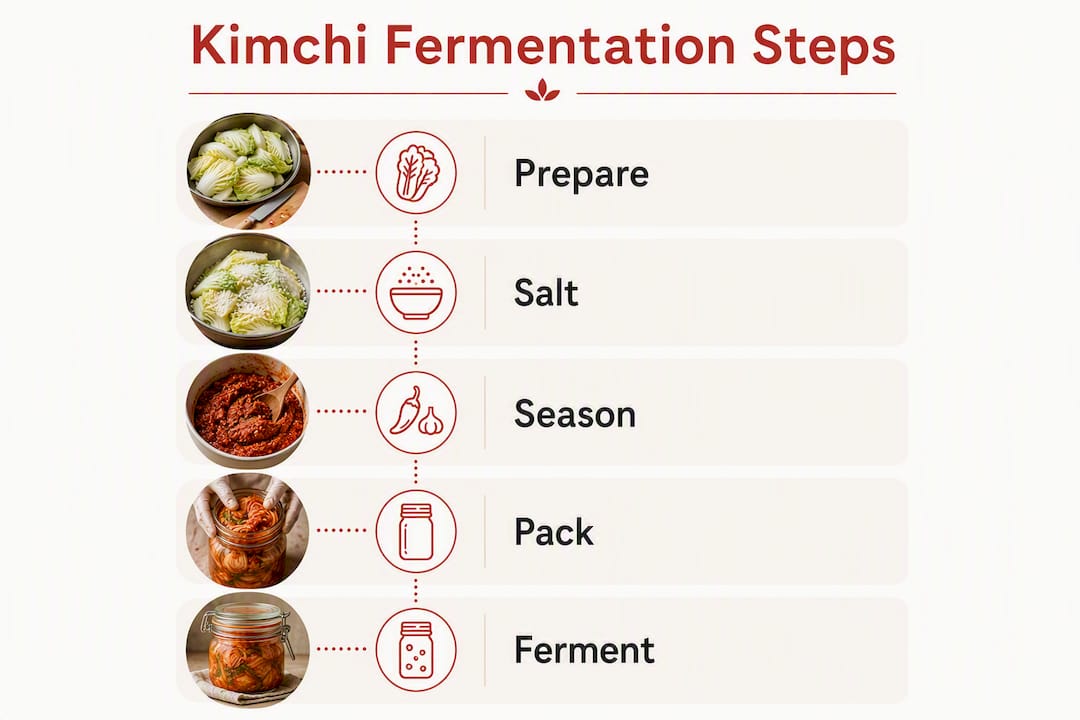
Two methods are worth knowing from the start. Pogi kimchi uses whole or quartered cabbage heads, the traditional approach that delivers the classic layered texture you find in Korean restaurants. Mak kimchi uses cabbage cut into bite-sized pieces and is faster to assemble with nearly identical flavor. For a first batch, mak is the smarter starting point — less labor, same seasoning, same result in the jar.
Table of Contents
- What do you need to make homemade kimchi?
- How do you make kimchi step by step?
- How does fermentation work, and when is your kimchi safe to eat?
- How should you store kimchi and how long does it last?
- What are the most common kimchi mistakes and how do you fix them?
- What variations can you make with this kimchi recipe?
- What can you make with homemade kimchi?
- Key Takeaways
- Why mak kimchi is the right starting point
- Forkwardkitchen’s tested recipes for your next kitchen project
- Useful sources and further reading
What do you need to make homemade kimchi?
Ingredients
A standard batch uses one medium head of napa cabbage, which typically weighs a few pounds after trimming. Scale up or down from there.
- Napa cabbage: — about a medium head, outer leaves removed
Vegan swaps: Replace fish sauce and saeujeot with 2 tablespoons soy sauce plus 1 teaspoon kelp powder or a commercial vegan fish sauce. The fermentation works fine; expect slightly less funk in the early stages.
Low-sodium approach: Reducing salt below 2% by weight slows fermentation and raises spoilage risk. If you need less sodium, keep the salt at 2%, rinse the cabbage more thoroughly after brining, and monitor fermentation closely in the fridge rather than at room temperature.
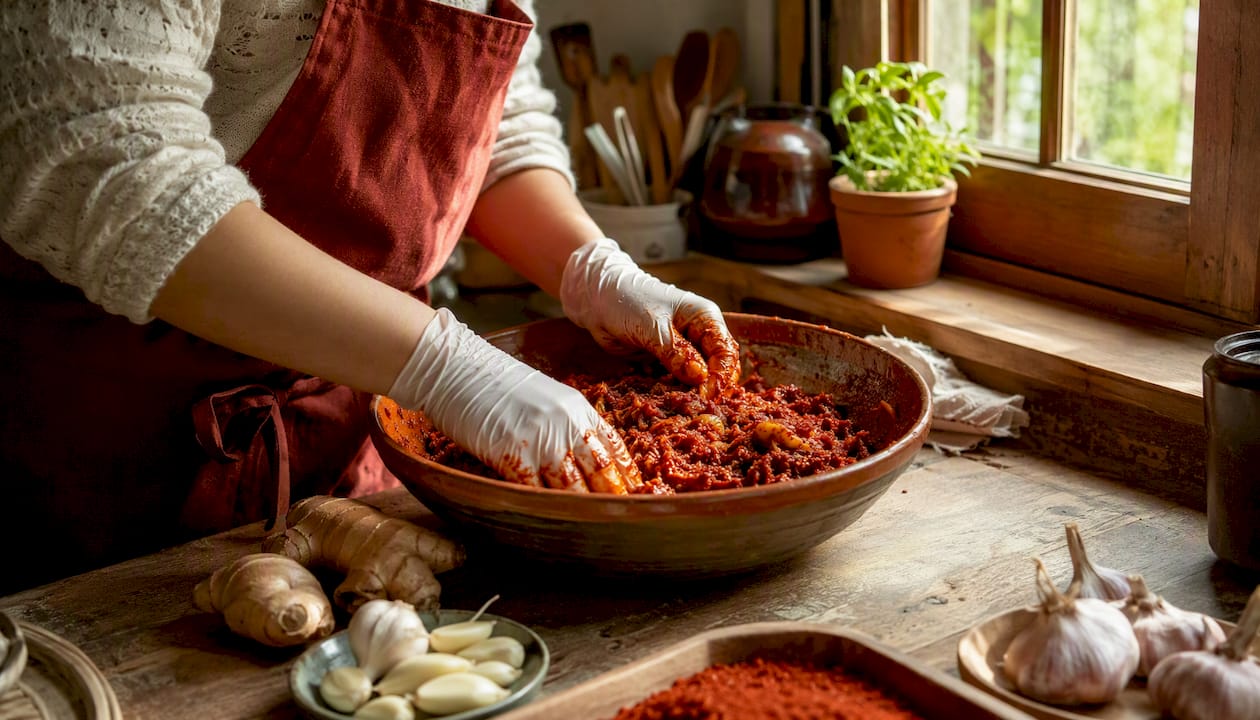
Shopping tips: Gochugaru is not interchangeable with regular chili flakes or cayenne. The Korean variety has a fruity, mild heat and a distinct red color that gives kimchi its signature look. Find it at Korean or Asian grocery stores, or order it online. Sweet rice flour (also labeled glutinous rice flour) is widely available at Asian markets and on Amazon. Kosher salt and coarse sea salt work well; avoid iodized table salt, which can inhibit LAB.
Equipment
- Large mixing bowl or basin (at least 5-quart capacity)
- Colander for draining
- Kitchen scale (strongly recommended over volume measurements)
- Heavy plate or zip-lock bag filled with water for weighing down cabbage during salting
- Food processor or sharp knife for the paste
- Wide-mouth glass jars or food-grade plastic containers for fermentation
- Disposable or dedicated rubber gloves
Pro Tip: Wear gloves every time you handle the seasoning paste. Gochugaru, garlic, and ginger will stain your hands and irritate skin, especially under fingernails. Nitrile gloves work better than latex for extended mixing.
How do you make kimchi step by step?
Step 1: Prep and salt the cabbage
- Trim the base of the cabbage and remove any wilted outer leaves. For mak kimchi, cut the head into quarters lengthwise, then crosswise into 2-inch pieces. For pogi, quarter lengthwise and keep the leaves intact.
- Weigh the trimmed cabbage on a kitchen scale. Calculate 2–3% of that weight in salt (example: 2 lbs cabbage = 32 oz = roughly 0.64–0.96 oz salt, or about 1–1.5 tablespoons of kosher salt).
- Sprinkle salt between the layers, concentrating more on the thick white ribs than the leafy tips. The ribs are dense and need more salt to fully soften. For pogi, lift each leaf and apply salt directly to the rib.
- Let the cabbage sit for an hour or two, turning periodically. The cabbage is ready when the leaves bend without snapping and a significant amount of liquid has pooled at the bottom of the bowl.
- Rinse the cabbage under cold water several times to remove excess salt. Taste a piece — it should be pleasantly salty, not mouth-puckering. Drain in a colander for some time, pressing gently to remove as much water as possible.
Step 2: Make the seasoning paste
- Combine sweet rice flour and ½ cup water in a small saucepan. Cook over medium heat, stirring constantly, until it thickens into a translucent porridge. Let it cool. This porridge acts as a binder so the paste clings to every leaf, and it also feeds LAB during early fermentation — skip it and the paste slides off.
- In a large bowl, combine the cooled porridge, gochugaru, fish sauce (or vegan alternative), garlic, ginger, and sugar. Mix well. The paste should be thick, deeply red, and fragrant.
- Add the julienned radish and scallions to the paste and toss to coat.
Step 3: Coat the cabbage
- Put on your gloves. Add the drained cabbage to the paste bowl. For mak kimchi, toss everything together until every piece is evenly coated. For pogi, work leaf by leaf, spreading paste between each layer of a quarter, then fold the quarter over itself.
- Taste the coated cabbage. Adjust gochugaru for heat, fish sauce for saltiness, or sugar for balance.
Step 4: Pack and ferment
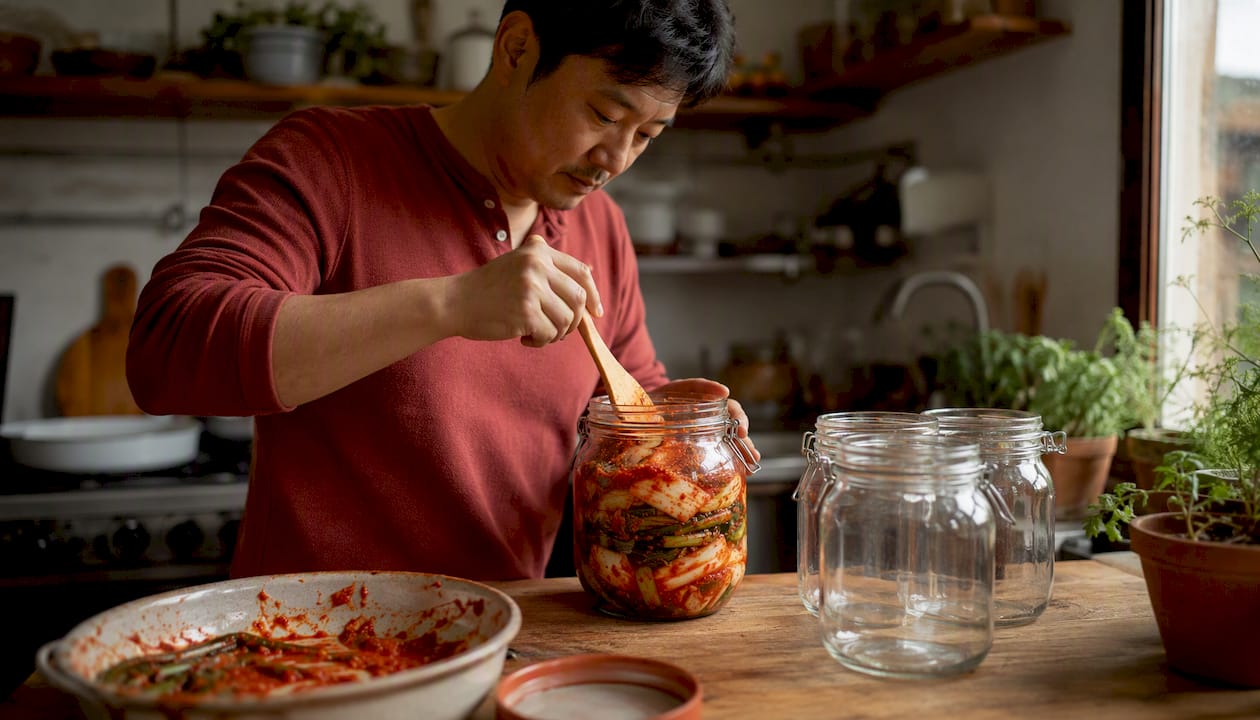
- Pack the kimchi tightly into clean glass jars or a fermentation container, pressing down firmly to eliminate air pockets. Leave 1–2 inches of headspace — CO2 from fermentation will push the kimchi upward and liquid will bubble.
- Seal the jar loosely or cover with a cloth. Leave at room temperature (ideally 65–70°F) for 1–3 days. Taste daily. When it reaches a mild tanginess you like, move it to the refrigerator.
- During the first 48–72 hours, “burp” sealed jars once a day by briefly opening the lid to release built-up CO2.
Safety reminders: Wash all produce before use. Keep utensils and containers clean. Never use a jar that smells like soap residue. If you see fuzzy mold at any point, discard the batch and sanitize your equipment before starting again.
Yield: Approximately 1–1.5 quarts. Serves 8–12 as a side dish.
How does fermentation work, and when is your kimchi safe to eat?
The key number is 2–3% salt by weight of the cabbage. At that concentration, salt suppresses harmful bacteria while allowing LAB to thrive and acidify the kimchi. If you go below 2%, spoilage risk climbs. If you go above 3%, you slow or stall fermentation while making the kimchi unpleasantly salty.
Worked example: You have 900 grams of trimmed cabbage. 2% of 900g = 18g salt. 3% = 27g. Weigh it. Volume measurements for salt are notoriously inconsistent because grain size varies by brand.
Pro Tip: A kitchen scale is the single most reliable upgrade you can make to your fermentation process. Guessing salt by volume is the most common reason first batches come out too salty or fail to ferment properly.
Temperature and fermentation timeline
| Kitchen Temp | Days to Mild Tanginess | Recommended Action |
|---|---|---|
| 60°F or below | 3–5 days | Taste daily; move to fridge when tangy enough |
| 65–70°F | 1–3 days | Ideal range; taste after day 1 |
| 75°F or above | 12–24 hours | Check every 12 hours; refrigerate quickly to avoid over-souring |
Fermentation pace is directly tied to ambient temperature, so a warm summer kitchen and a cool winter kitchen produce very different timelines. In a hot kitchen, check your kimchi after the first night. In a cold kitchen (below 60°F), give it an extra day or two at room temperature before refrigerating.
Kimchi is a probiotic-rich fermented food. The LAB it contains support a diverse gut microbiome. If you have concerns about sodium intake or are immunocompromised, consult a healthcare provider before consuming fermented foods regularly.
Safety red flags — discard immediately if you see:
- Fuzzy mold (any color) on the surface or jar walls
- A rotten, putrid smell rather than a sour, tangy, or funky one
- Slimy texture on the cabbage itself (not just the brine)
A strong smell is normal. Kimchi is pungent. The distinction is between “aggressively sour and garlicky” (fine) and “something has gone wrong” (discard).
How should you store kimchi and how long does it last?
Glass is the best container for kimchi. Wide-mouth mason jars, specialty kimchi crocks, and food-grade glass containers all work well. Avoid reactive metals. Plastic is acceptable if it is food-grade and odor-resistant, though kimchi will eventually stain and scent plastic containers permanently.
- The kimchi changes flavor and texture over time, starting fresh and crunchy, becoming more sour and softer as it ages, making it suitable for different uses at different stages.
Keep a small serving jar in the front of the fridge for daily use. Every time you open the main jar and expose it to air, you slightly accelerate oxidation. A dedicated small jar means the bulk of your batch stays undisturbed.
Label every jar with the date made and your target taste date. A simple piece of masking tape works fine.
What are the most common kimchi mistakes and how do you fix them?
Pro Tip: The difference between a failed batch and a salvageable one is usually caught in the first 48 hours. Taste early and often.
- Overcrowding jars: Packing too tightly with no headspace causes brine to overflow and creates pressure buildup. Visible mold requires discarding the batch — but overflow and pressure are preventable. Leave that 1–2 inch gap.
Adjusting for climate: In a warm kitchen (above 75°F), place the jar in the coolest corner of your home or a basement. In a cold kitchen (below 60°F), set the jar near a warm appliance or in a slightly warmer room. The cold ferment principle that works for bread dough applies here too: slower fermentation at lower temperatures builds more nuanced flavor.
Discard rules, no exceptions: fuzzy mold on the surface, sliminess on the cabbage, or a rotten (not sour) smell. Sanitize the jar with boiling water before reusing it.
What variations can you make with this kimchi recipe?
The seasoning paste is the heart of every variation. Once you have a reliable paste, the choice of vegetable and cut is mostly a question of labor and texture, not flavor.
Common variations
- Mak kimchi (cut cabbage): The beginner’s best friend. Same paste, same fermentation, but the cut cabbage is easier to pack, easier to serve, and faster to assemble.
- Pogi kimchi (whole/quartered cabbage): Traditional and worth attempting after your first successful mak batch. The whole-leaf structure creates a different texture and the classic presentation.
- Kkakdugi (radish kimchi): Replace napa cabbage with Korean radish or daikon cut into 1-inch cubes. The paste is nearly identical. Fermentation is slightly faster because radish releases liquid quickly.
- Vegan kimchi: Swap fish sauce and saeujeot for soy sauce plus kelp powder or a vegan fish sauce. Fermentation proceeds normally; the flavor is cleaner and less funky in the early weeks.
Ingredient swap table
| Original Ingredient | Substitute | Notes |
|---|---|---|
| Gochugaru | Gochugaru is not replaceable 1:1 | Smoked paprika + cayenne approximates color and heat but not flavor |
| Fish sauce | Soy sauce + kelp powder (1:1 ratio) | Produces less umami depth; fermentation unaffected |
| Saeujeot | Vegan fish sauce or miso paste | Miso adds body; use 1 tablespoon |
| Sweet rice flour porridge | Grated Asian pear or apple | Adds natural sugar and moisture; paste is thinner |
| Korean radish | Daikon | Nearly identical; daikon is milder |
Vegan kimchi tends to produce less of the characteristic funk in the first two weeks, but by month two the flavor gap narrows considerably. The LAB fermentation itself is not affected by the swap.
What can you make with homemade kimchi?
Kimchi flavor evolves from fresh and crunchy to deeply sour and complex. Match the age of your kimchi to the dish.
- As banchan (side dish): — Serve fresh or lightly fermented kimchi alongside rice, grilled meat, or soup. No cooking required.
- Kimchi grain bowls: Pair with a fried egg, steamed rice, and a drizzle of sesame oil. The Korean ground beef bowl on Forkwardkitchen uses kimchi as a core component and comes together in 15 minutes.
- Bibimbap: A classic Korean rice bowl where kimchi is a standard topping. The bibimbap recipe on Forkwardkitchen walks through the full assembly.
For cooked dishes, always use kimchi that has been fermenting for at least 2–3 weeks. Fresh kimchi lacks the depth that heat brings out.
Key Takeaways
Authentic homemade kimchi requires a 2–3% salt-to-cabbage ratio by weight, a well-made seasoning paste, and temperature-aware fermentation to produce safe, flavorful results every time.
| Point | Details |
|---|---|
| Salt by weight, not volume | Use a kitchen scale; target 2–3% salt relative to trimmed cabbage weight for reliable LAB fermentation. |
| Leave headspace in jars | Pack kimchi with 1–2 inches of headspace to accommodate CO2 buildup and prevent overflow. |
| Temperature controls timing | At moderate room temperatures, kimchi reaches mild tanginess in a few days; in warmer conditions, check more frequently to avoid over-fermentation. |
| Discard on fuzzy mold | Fuzzy mold, sliminess, or a rotten smell means discard the batch and sanitize equipment before restarting. |
| Forkwardkitchen tested recipes | Forkwardkitchen’s from-scratch kimchi guide covers both mak and pogi methods with honest difficulty ratings and step-by-step instructions. |
Why mak kimchi is the right starting point
The conventional advice for first-time kimchi makers is to attempt pogi, the traditional whole-cabbage version, because it is “authentic.” That advice is backwards. Pogi requires more time, more physical effort, and more precision in the salting step. A beginner who struggles with pogi on their first try often concludes that kimchi is harder than it is.
Start with mak. Cut-cabbage kimchi delivers the same seasoning profile, the same fermentation behavior, and nearly the same texture in a fraction of the assembly time. Once you have made mak twice and understand how the paste should smell, how the cabbage should feel after brining, and how your specific kitchen temperature affects fermentation pace, pogi becomes straightforward.
The other thing most guides underemphasize: keep a fermentation journal for your first three batches. Note the date, the salt percentage, the room temperature, and when you moved the jar to the fridge. Kimchi is a living product, and your kitchen is a variable. Two batches made with identical ingredients can taste different in January versus July. Tracking those variables is what turns a good first batch into a consistently great process.
Forkwardkitchen’s tested recipes for your next kitchen project

Making kimchi from scratch is one of the most rewarding fermentation projects a home cook can take on, and it gets faster and more intuitive with every batch. Forkwardkitchen publishes original, thoroughly tested recipes built for exactly this kind of cooking: projects that teach technique, not just steps. Every recipe on the site carries an honest difficulty rating and complete instructions, so you know what you are getting into before you start.
Whether you want a quick weeknight meal to use your new kimchi or a more advanced fermentation project to tackle next, the full recipe index has both. Browse tested recipes across every skill level, from 15-minute bowls to multi-day projects, all developed from scratch and written for real home kitchens.
Useful sources and further reading
These resources are worth bookmarking if you want to go deeper on kimchi technique, fermentation science, or sourcing authentic ingredients in the U.S.
- Maangchi — Easy Kimchi (Mak): — The most-watched Korean cooking channel in English. Maangchi’s mak recipe is the gold standard for beginners and includes video guidance.
- My Korean Kitchen — Kimchi Recipe: — Excellent detail on the rice porridge binder, headspace management, and container burping. Useful for troubleshooting texture and paste adhesion issues.