Artisan Sourdough Bread Recipe for Beginners
Master this sourdough bread recipe for beginners to create a professional artisan sourdough loaf with a blistered crust, open crumb, and a perfect tangy flavor.
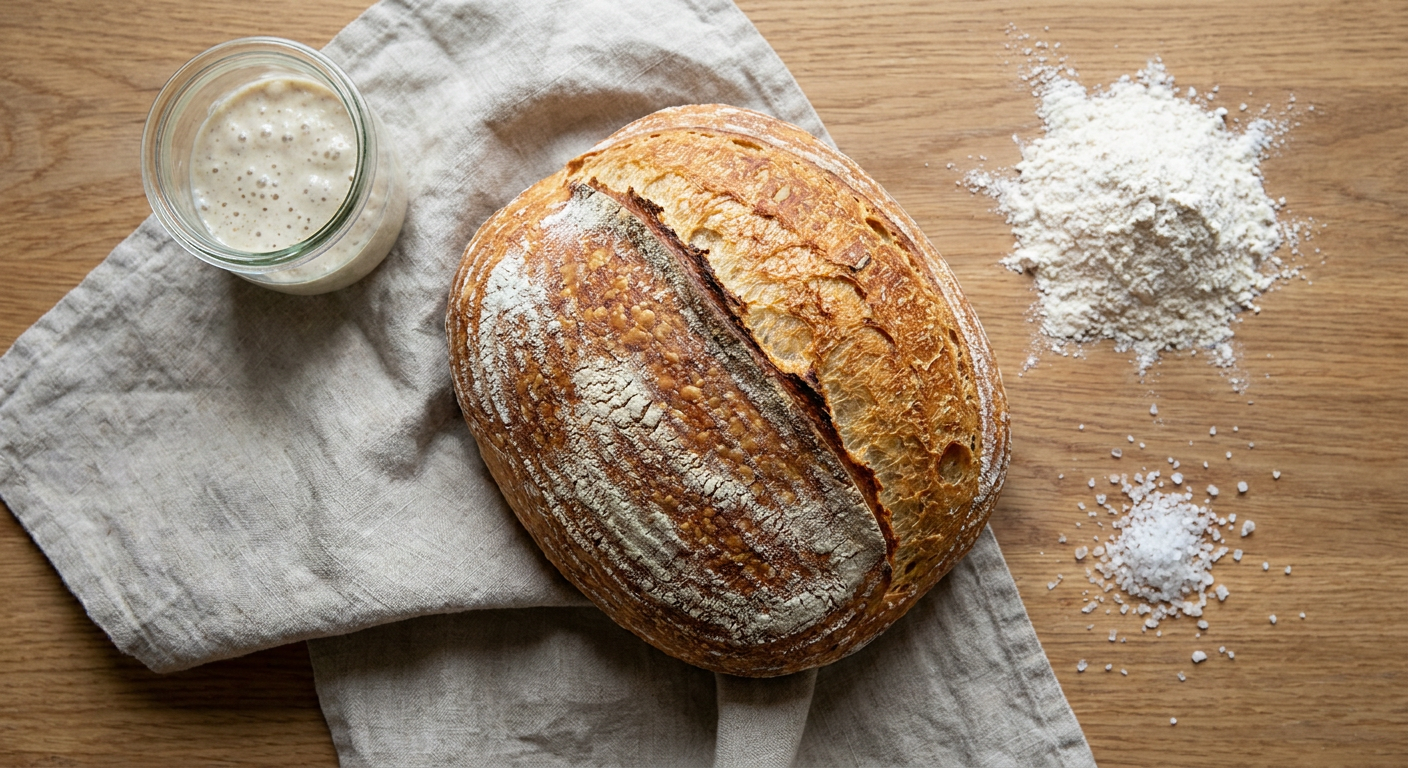

Stepping into the world of wild yeast can feel like a chemistry experiment, but this sourdough bread recipe for beginners strips away the mystery while keeping the high-end results. We are aiming for a true artisan sourdough loaf—one with a shatteringly crisp crust and those coveted interior air pockets—using a straightforward schedule that fits into your life.
Learning how to make sourdough bread is less about following a rigid clock and more about understanding the dough's fermentation. By utilizing a 78% hydration level and a consistent coil-fold technique, you will develop a strong gluten structure that supports a massive oven spring without needing professional bakery equipment.
Ingredients
The Levain
- 35g active sourdough starter (fed and bubbly)
- 35g bread flour (12.7% protein)
- 35g room temperature water
The Main Dough
- 400g bread flour (approx. 3 1/4 cups)
- 50g whole wheat flour (approx. 1/2 cup)
- 350g filtered water, warmed to 80°F (27°C)
- 100g ripe levain (from above)
- 10g fine sea salt
Instructions
- 1
Build the levain by mixing the starter, 35g flour, and 35g water in a small jar. Let it sit in a warm spot for 4-6 hours until it has doubled or tripled in volume and passes the float test.
- 2
Autolyse the dough by mixing the 400g bread flour, 50g whole wheat flour, and 350g water in a large bowl until no dry flour remains. Cover and rest for 40 minutes to allow the flour to hydrate.
- 3
Incorporate the levain into the autolyzed dough by dimpling it in with wet fingers, then folding the dough over itself for 2 minutes. Rest for 30 minutes.
- 4
Add the sea salt to the dough with a splash of water. Squeeze the dough through your fingers (the pincer method) to fully integrate the salt, then transfer to a clean, squared-off glass container.
- 5
Perform four sets of coil folds every 30 minutes. With wet hands, reach under the middle of the dough, lift it up until it releases from the container, and let it fold under itself. Rotate 180 degrees and repeat, then do the same for the other two sides.
- 6
Bulk ferment the dough at room temperature (70-75°F) until it has grown by about 50% in volume and looks jiggly with visible bubbles on the surface. This usually takes 4-6 hours.
- 7
Shape the loaf by gently stitching the dough into a taut boule or batard. Place it top-side down into a floured banneton or a bowl lined with a floured tea towel.
- 8
Cold retard the dough by placing the banneton in the refrigerator for 12 to 15 hours. This develops the flavor and makes the dough easier to score.
- 9
Preheat your dutch oven inside the oven to 500°F (260°C) for at least 45 minutes.
- 10
Score the dough by flipping it onto parchment paper and using a sharp razor or lame to make one decisive 1/2-inch deep cut down the center.
- 11
Bake the bread by carefully placing the dough (on the parchment) into the hot dutch oven. Cover with the lid and drop the oven temperature to 450°F (230°C). Bake for 20 minutes.
- 12
Remove the lid and continue baking for 20-25 minutes until the crust is a deep mahogany brown. Cool on a wire rack for at least 2 hours before slicing.
Nutrition (per serving)
Estimates only — not medical or dietary advice.
- Calories
- 1655 kcal
- Protein
- 58 g
- Carbs
- 338 g
- Fat
- 6 g
- Fiber
- 22 g
- Sugar
- 2 g
- Sodium
- 3892 mg
Tips
- → Temperature is your most important ingredient; if your kitchen is cold, use a slightly warmer water (85°F) to keep the fermentation active.
- → Don't skip the cold retard in the fridge; it firms up the dough's surface, which is the secret to getting a clean 'ear' when you score it.
- → Wait to slice! Slicing into hot bread releases steam prematurely, which can turn the interior gummy and cause the loaf to go stale faster.
FAQ
Why does my sourdough bread spread out instead of rising up?
This usually happens due to under-developed gluten or over-proofing. Ensure you are performing all four sets of coil folds and that your shaping is tight enough to create surface tension.
How do I know if my starter is ready to bake with?
Your starter should reliably double in size within 4-6 hours of feeding. You can also drop a teaspoon of starter into a glass of water; if it floats, the yeast is active and gassy enough for baking.
Can I use all-purpose flour instead of bread flour?
For this specific hydration level, bread flour is highly recommended because its higher protein content absorbs more water and provides the strength needed for an open crumb.
You might also like
 Bread
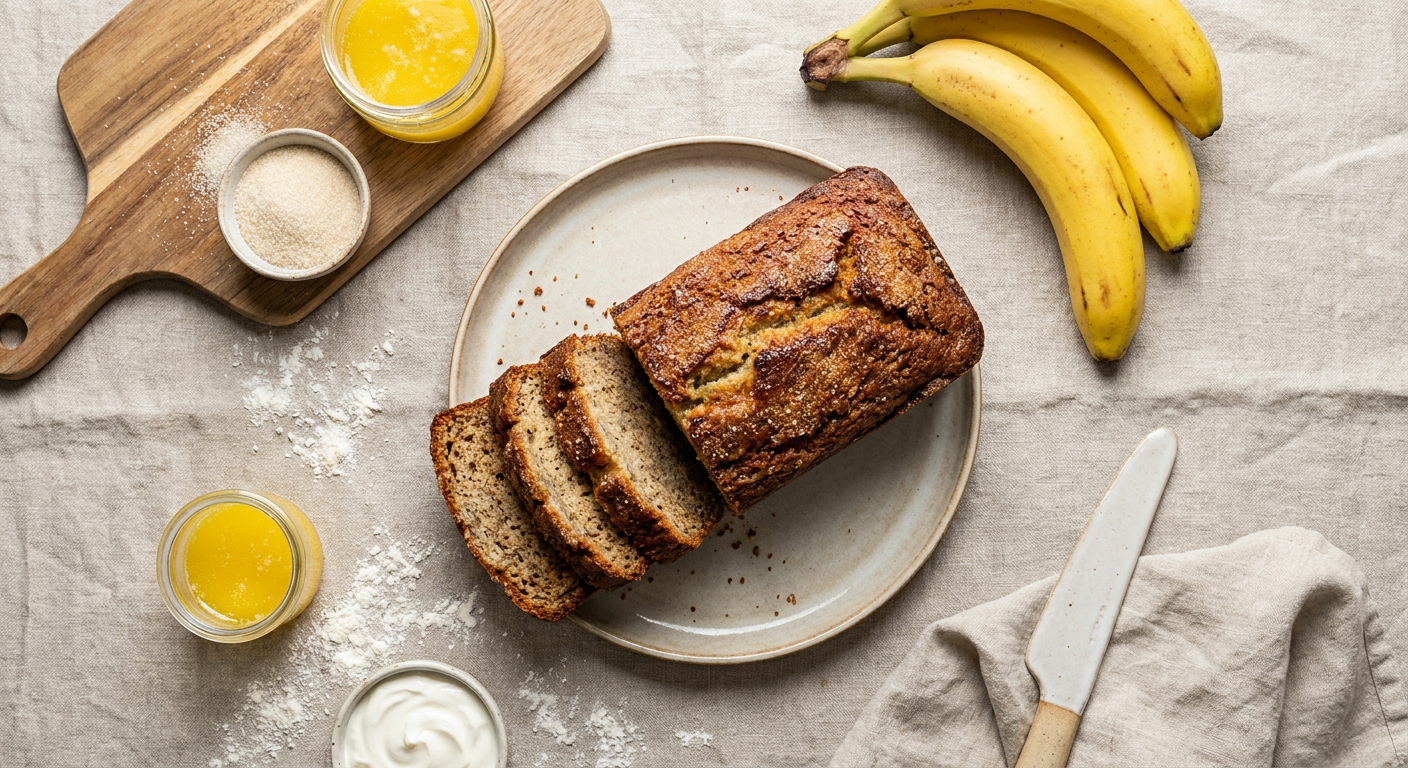
BreadMoist Banana Bread Recipe with 3 Bananas and Sugar Crust
This banana bread recipe with 3 bananas uses sour cream and melted butter for a moist, caramelized loaf. An easy one bowl banana bread with a crackly sugar top.
 Bread
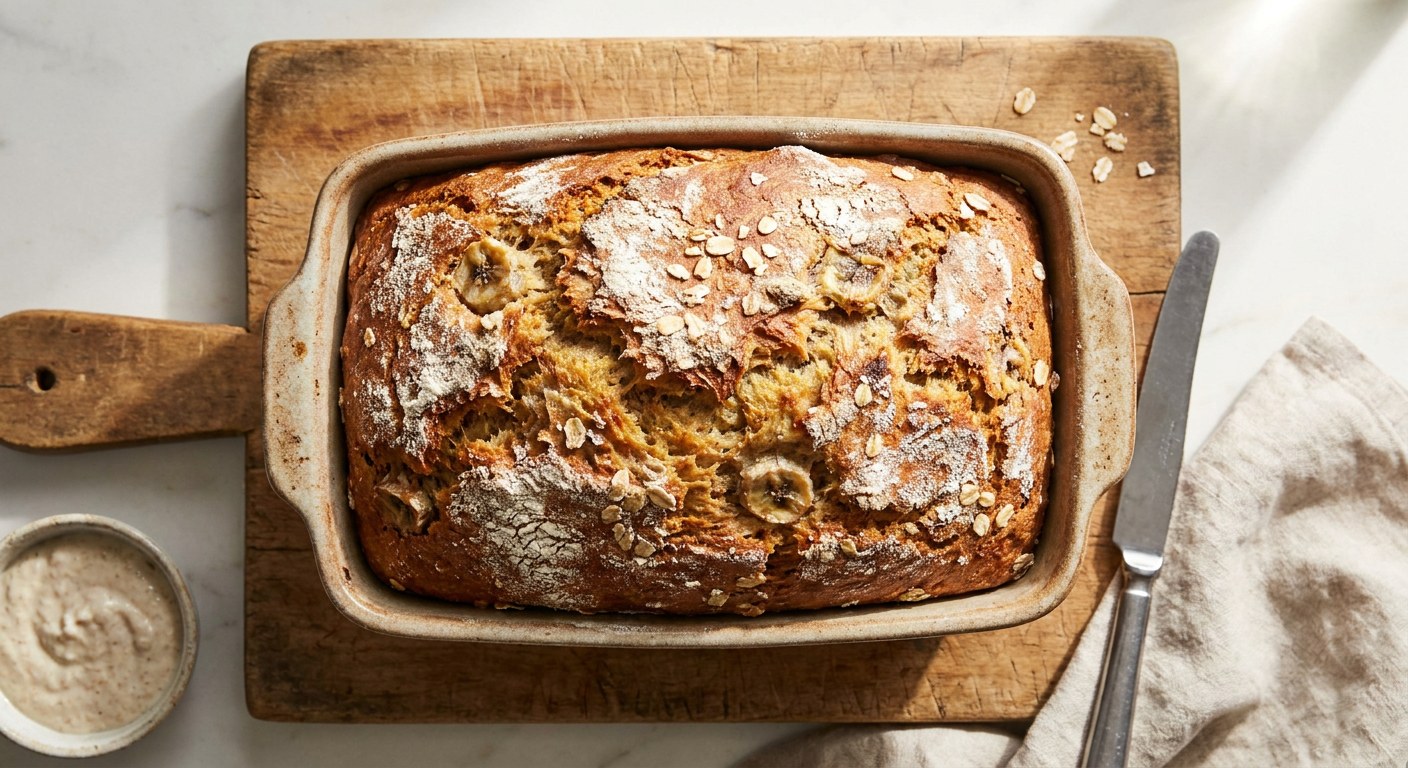
BreadOne-Bowl Tangy Sourdough Quick Bread with Banana
Learn to make a moist sourdough quick bread using your leftover discard. This easy sourdough banana bread requires no rise time and delivers a deep, tangy flavor.
 BreadAdvanced
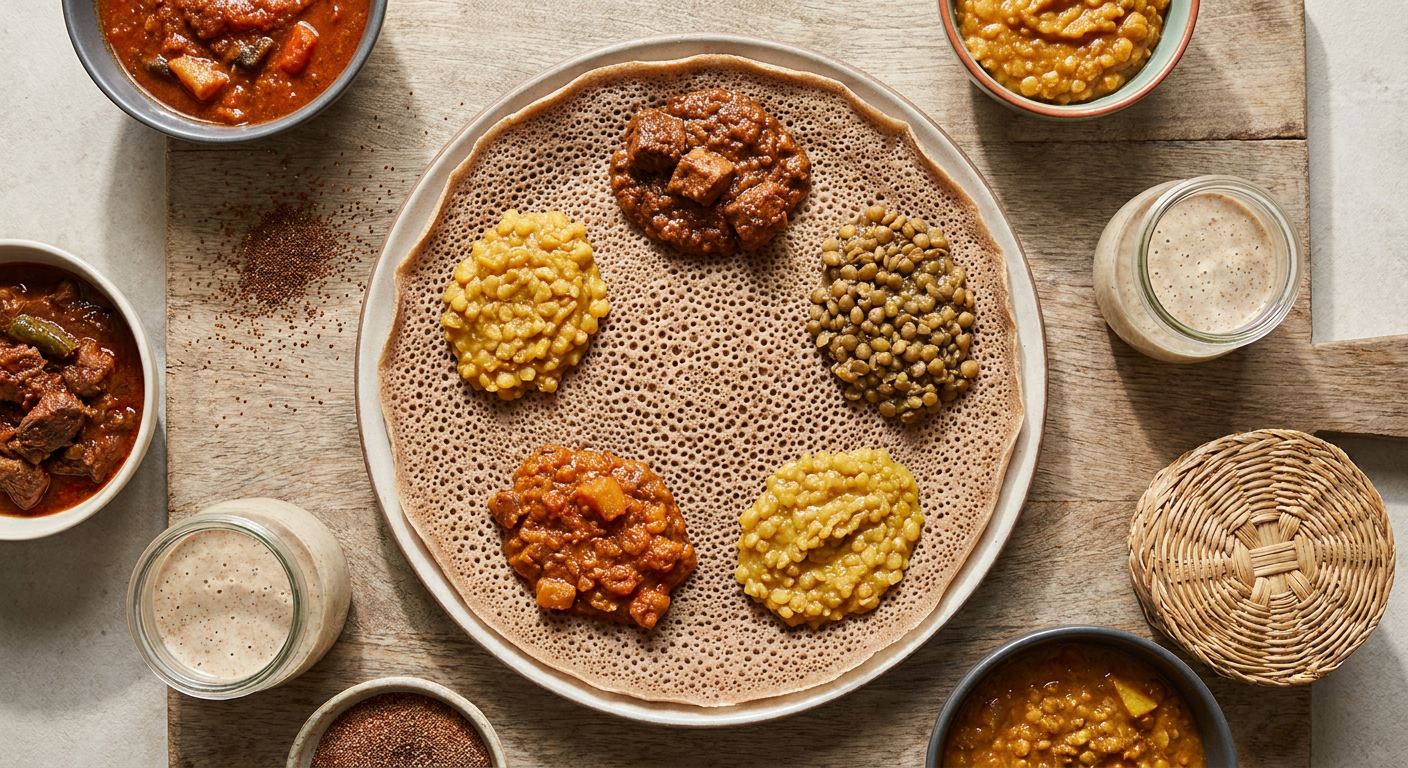
Authentic Injera Recipe: Fermented Teff Flatbread
Master this authentic injera recipe to create the perfect tangy, bubbly Ethiopian injera at home using a 24-hour teff fermentation and the traditional absit method.
 Bread
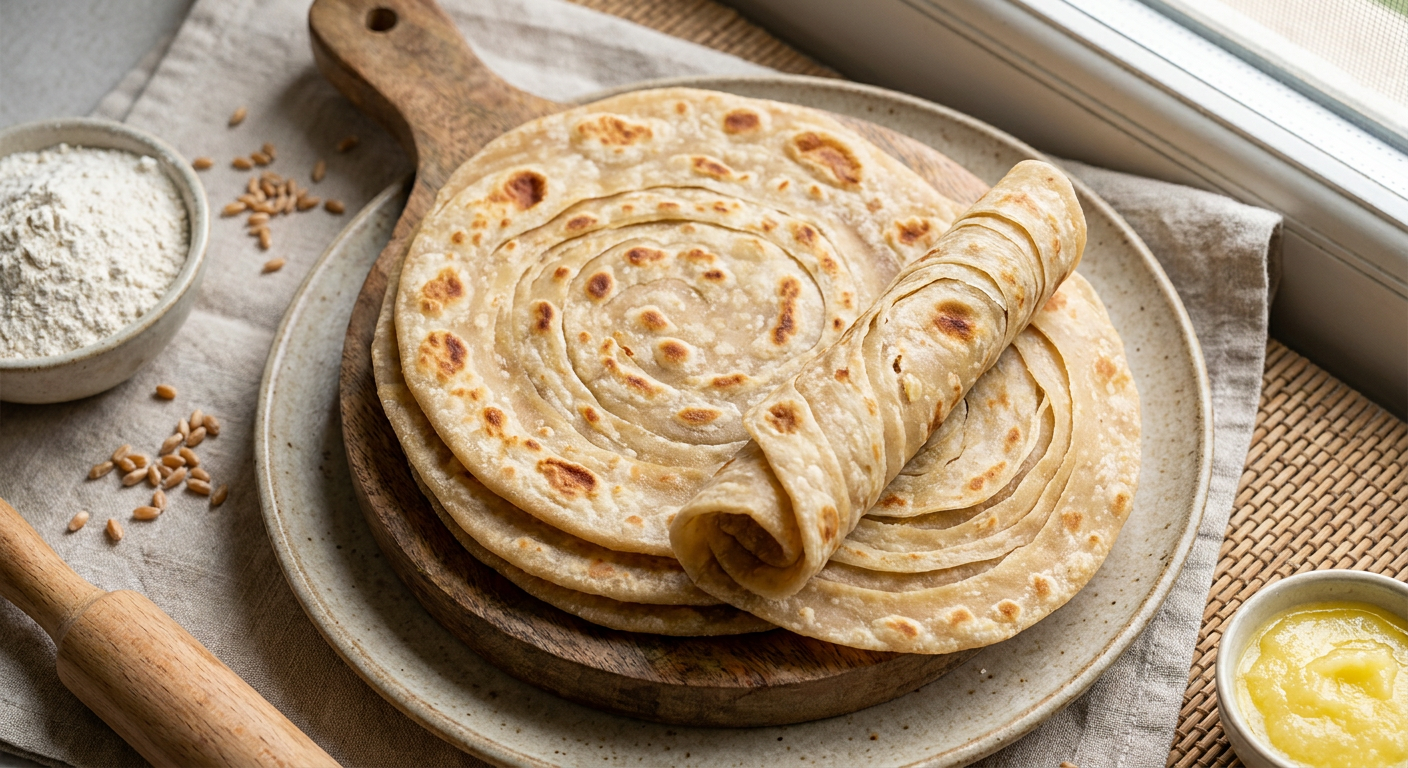
BreadSoft and Flaky Kenyan Chapati Recipe with Layered Dough
This authentic Kenyan chapati recipe creates soft, flaky flatbreads using a traditional coiling technique. Perfect for stews, these East African chapatis are a kitchen staple.