October 4, 2026
Drop 25°F, Check Sooner: Convection vs Conventional Oven for Home Cooks
Practical, recipe-tested rules for home cooks switching between convection and conventional ovens. When to drop 25°F, check earlier, and which dishes to skip.

Drop 25°F, Check Sooner: Convection vs Conventional Oven for Home Cooks
Convection uses a fan to circulate hot air for faster, more even browning, while conventional, or static, heat surrounds food more gently and suits delicate batters. The simple rule: pick convection for roasting, crisping, and multi-rack bakes, and stick with conventional for cakes, custards, and anything with a fragile rise. When you do switch to convection, drop the temperature by about 25°F or start checking roughly a fifth sooner.
TL;DR:
- Convection ovens are ideal for roasting, vegetables, and multi-rack baking due to even heat circulation and faster browning, but may dry out delicate baked goods.
- Switching from conventional to convection typically requires reducing temperature by 25°F and checking for doneness 20 to 30 percent earlier.
- The effectiveness of convection depends on oven design, with true convection models having dedicated heating elements and multiple fans performing more consistently.
- Testing your specific oven with recipes like cookies or chicken thighs helps determine optimal temperature and timing adjustments, avoiding uneven results.
- Convection is unsuitable for delicate dishes such as soufflés, custards, or steam-dependent recipes, which benefit from gentle, even conventional heat.
Table of Contents
- Convection vs conventional: a side-by-side look
- How each oven type actually moves heat
- Converting a recipe from conventional to convection
- Matching the oven setting to the dish you’re making
- Testing your oven and fixing common convection problems
- What we found testing chicken thighs on both settings
- How to tell if your oven actually has convection
- Why the “right” setting still depends on your oven
- Practice convection vs conventional with these recipes
- FAQ
- Sources
Convection vs conventional: a side-by-side look
The two modes cook differently enough that picking the wrong one can ruin a bake, especially on delicate items. A fan-forced oven moves air constantly, which strips the thin layer of still, humid air that normally hugs food as it cooks. That’s why convection browns faster and handles multiple racks more evenly, while conventional heat leaves that humid layer in place, which is gentler but slower and less even edge to edge.
| Factor | Convection | Conventional |
|---|---|---|
| Heat distribution | Circulated by fan, more even across racks | Radiates from top/bottom elements, can have hot spots |
| Typical time change | Often cooks faster | Baseline timing |
| Best for | Roasts, vegetables, cookies, multi-rack bakes | Cakes, custards, soufflés, delicate pastries |
| Browning effect | Stronger, more even browning | Lighter, more gradual browning |
| Moisture effect | More moisture loss, crispier surface | Retains more surface moisture |
| Preheat behavior | Similar preheat time, some models skip preheat need | Standard preheat required |
| Multi-rack performance | Strong, removes the need to rotate pans as often | Weaker, often needs rotation mid-bake |
A few practical consequences follow from that table:
- Converting a 350°F recipe to convection usually means setting it to 325°F and checking for doneness several minutes early.
- Multi-rack baking, like two sheets of cookies, is where convection earns its keep, since airflow erases the usual top-rack-versus-bottom-rack gap.
- Delicate items like cheesecake or meringue often do better left on conventional, since the fan can dry the surface before the center sets.
- Results vary by model, so treat any conversion rule as a starting point, not a guarantee.
How each oven type actually moves heat
Ovens cook food through three mechanisms working together: conduction (direct contact, like a pan touching a rack), radiation (heat beaming off the oven’s walls and elements), and convection (heat carried by moving air). In a standard bake, conduction does most of the work. Academic testing that measured heat transfer in residential ovens found conduction contributes about 59% of the energy in a traditional bake, with radiation next and natural convection the smallest share.
Turning on the fan changes that balance. Forced convection increases the convection share of heat transfer and speeds up moisture loss from the food’s surface, which is exactly why convection-baked foods brown faster and crisp more: the fan clears away the humid air pocket that would otherwise slow evaporation and soften the crust.
This also explains why ovens behave so differently from one brand to the next:
- A basic convection oven adds a fan to the existing top and bottom elements.
- “True convection” models add a third, dedicated heating element behind the fan for more consistent airflow and temperature.
- Some ovens offer separate convection bake and convection roast modes, each running the fan at a different speed with its own temperature logic.
- Double-fan or multi-fan designs, found in some higher-end ranges, push air more aggressively and can shorten cook times further.
Because of this variation, the same recipe can behave differently in two ovens that both claim “convection,” which is why testing your own machine matters more than memorizing a single rule.
Converting a recipe from conventional to convection
Most conventional recipes can move to convection with a short, repeatable process rather than guesswork.
- Start by lowering the oven temperature by about 25°F from what the recipe states.
- Shorten the expected cook time by roughly 20% to 30%, and set your first check near the low end of that range.
- Check doneness early using visual cues (color, a toothpick, a firm top) rather than waiting for the original time to elapse.
- For meat, confirm with an instant-read thermometer instead of relying on time or appearance alone.
- Note what you changed and the result so the next attempt in that oven needs less trial and error.
Worked example: a cookie recipe written for 350°F conventional becomes 325°F convection, with a first check at around 8 minutes instead of 10. A roast chicken recipe calling for 45 minutes at 400°F conventional might hit safe internal temperature closer to 35 minutes at 375°F convection, confirmed with a thermometer rather than the clock.
Pro tip: When a recipe gives a temperature range instead of a single number, convert the low end first. It’s easier to add a few minutes than to rescue an overcooked dish.

Matching the oven setting to the dish you’re making
Not every dish benefits from the fan, and knowing which ones do saves a lot of guesswork.
- Cookies and sheet-pan bakes: convection favors even browning across multiple racks and is usually safe once you apply the standard temperature and time conversion.
- Cakes, custards, and delicate pastries: stick with conventional, or switch the fan off if your oven allows it, since the drier airflow can crack a cake’s surface or dry out custard before the center sets.
- Roasts and vegetables: convection speeds up browning and crisping on skin and edges; lower the temperature and lean on a thermometer rather than a timer for meat.
- Casseroles and long, slow bakes: convection can dry out exposed edges over a long cook, so consider covering with foil for the first portion of baking or dropping the temperature further than the standard 25°F.
Pro tip: If a recipe calls for a foil tent partway through, that’s usually a sign the dish is moisture-sensitive enough that convection needs a lighter touch, or should be skipped altogether.
Testing your oven and fixing common convection problems
A little testing up front avoids a ruined dinner later. Consumer Reports recommends running a favorite recipe through your oven once before committing to convection for something that matters, since performance is inconsistent across models.
- Bake a tray of plain sugar cookies or white bread slices on two racks at once, one with convection on and one with it off, and compare browning side by side.
- Note where the darkest and lightest spots land. Consistent unevenness points to a hot spot worth avoiding for delicate items.
- If edges brown too fast, lower the fan speed if your oven offers one, or drop the temperature another 10 to 15 degrees.
- If browning is too light, confirm the convection element or fan is actually engaging. Some ovens require a separate button rather than just a temperature dial.
- Use low-sided pans and leave space between trays and the oven walls. Crowded racks block airflow and erase convection’s advantage.
Pro tip: Tent foil loosely over anything browning too quickly rather than opening the door repeatedly, which lets heat escape and resets your cook time. A buildup of grease on the fan or rear vent can also throw off airflow over time, so keeping those parts clean, the kind of job a service like Cleanny’s oven cleaning handles well, keeps convection performance consistent.
What we found testing chicken thighs on both settings
Running the same tray of boneless chicken thighs through conventional and convection settings showed the difference clearly. On conventional heat at the recipe’s listed temperature, the skin crisped slowly and needed the full cook time to color properly. On convection, dropping the temperature by 25°F and checking 5 minutes early produced visibly crispier skin in less time, with the interior staying just as juicy.
A few adjustments made the convection version work:
- Lowered the oven from 425°F to 400°F to avoid scorching the skin before the inside finished cooking.
- Started checking at the 17-minute mark instead of 22.
- Placed the tray on the middle rack rather than the top, since convection airflow reduced the need for extra top-rack browning.
The same airflow effect is why air fryer chicken thighs and air fryer chicken in general crisp so efficiently: an air fryer is essentially a small, concentrated convection oven. Try the thigh recipe both ways in your own oven and track what temperature and timing actually works, since results shift from one machine to the next.
How to tell if your oven actually has convection
Check your oven’s control panel first. A dedicated “Convection,” “Convection Bake,” or “Convection Roast” button or dial setting is the clearest sign. Some ranges only show a small fan icon next to the bake setting instead of spelling it out.
If the panel doesn’t make it obvious, look inside the oven cavity itself. A visible circular fan on the back wall, sometimes behind a round vent cover, almost always means the oven has convection capability, true convection models pair that fan with a third heating element mounted near it. Standard ovens without that rear fan and cover rely only on top and bottom elements with no air circulation.

The owner’s manual settles any doubt and usually explains which specific modes your model supports, since brands differ: some ovens run only a single fan speed, others offer separate bake and roast convection modes, and a few include multiple fans for faster airflow. If you’ve lost the manual, the manufacturer’s website typically has a downloadable copy under your model number. Testing is still worthwhile even once you confirm the fan exists, since how strongly it performs varies from one unit to the next.
Why the “right” setting still depends on your oven
No conversion chart replaces a few test bakes in your own kitchen. Ovens from the same brand, even the same model year, don’t always brown or dry food at identical rates, so the 25°F rule is a starting point, not a guarantee.
My practical default: convection for anything roasted, crisped, or baked across multiple racks, and conventional for anything that needs a gentle, even rise. Test once, write down what worked, and the guesswork disappears after that first batch.
— Oloru
Practice convection vs conventional with these recipes
Reading about oven settings only gets you so far. The fastest way to learn how your own oven behaves is to run a recipe through both modes and watch what changes.
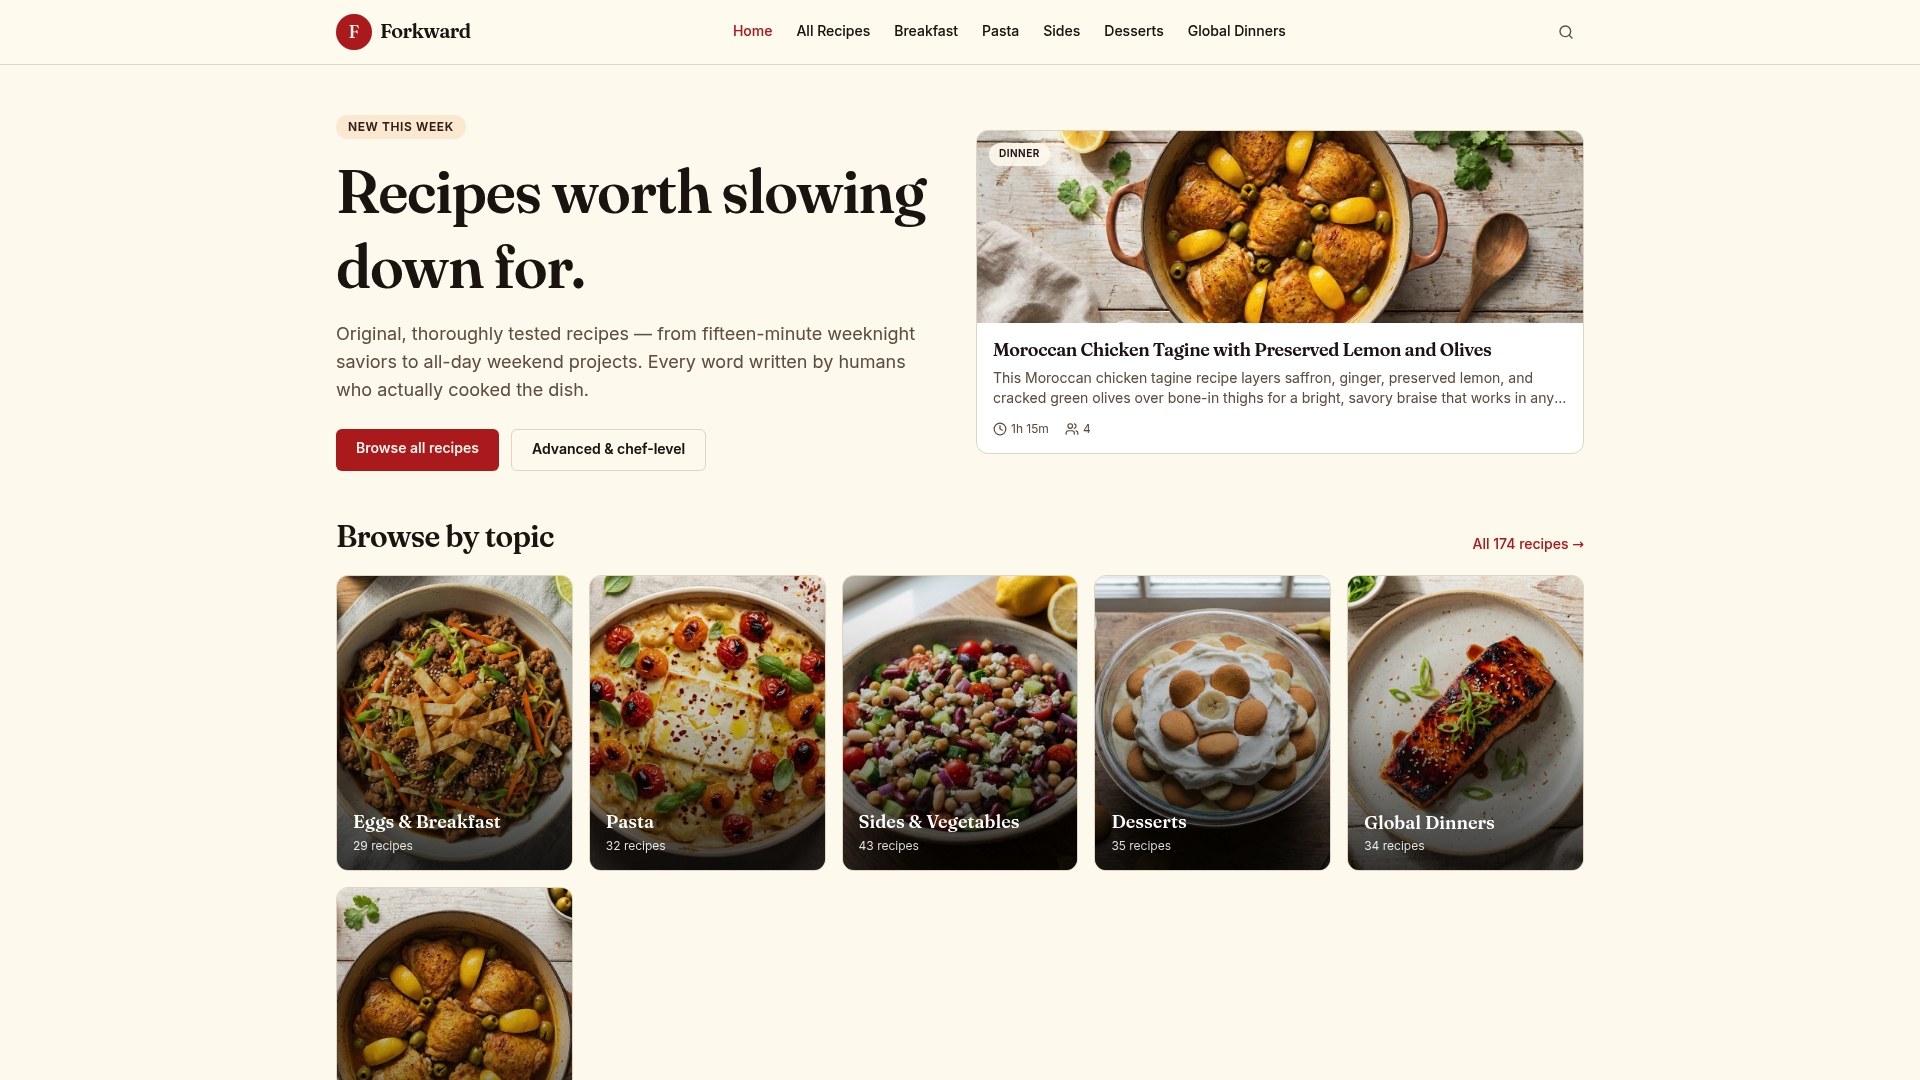
Forkward Kitchen’s boneless chicken thighs recipe is a good first test since skin crispness makes the convection effect obvious within one try. The baked chicken breast recipe works well for practicing the temperature and time conversion on something forgiving, since it leans on an internal thermometer rather than guesswork. For vegetables, the roasted zucchini with parmesan recipe shows how much faster browning happens under moving air. Every recipe is built and tested from scratch, with honest difficulty ratings, so you know what you’re attempting before you start. Browse the full recipe collection to find your next test bake.
FAQ
What should not be cooked in a convection oven?
Delicate batters, soufflés, custards, and quick breads tend to do better on conventional heat, since the moving air in convection mode can dry their surface or disrupt a gentle rise before the center sets. Dishes that rely on steam, like some cheesecakes, also fare better without the fan pulling moisture away.
What is the equivalent of 350 in a convection oven?
A common conversion is to lower a 350°F conventional setting to about 325°F on convection, and to start checking for doneness earlier than the recipe states. Because ovens vary, treat that number as a starting point and confirm with a thermometer or visual check rather than the clock alone.
What are the drawbacks of a convection oven?
The main drawback is moisture loss. The fan that speeds browning also pulls humidity away from food faster, which can dry out delicate baked goods or toughen the surface of long, slow-cooked dishes if the temperature isn’t adjusted. Performance also varies by model, so the same recipe can behave differently from one convection oven to the next.
Can you use a convection oven as a regular oven?
Yes. Most convection ovens let you turn the fan off and use the top and bottom elements alone, which functions just like a conventional oven. That makes it easy to switch settings depending on whether a dish calls for gentle, even heat or faster, drier airflow.
Sources
- Convection vs. conventional ovens: what’s the difference? — Whirlpool
- Convection oven cooking tips — Consumer Reports
- Measurement of conduction, radiation, and convection thermal energy to assess baking performance in residential ovens — University of Louisville thesis
- Convection bake vs. bake: What’s the difference? — Breville