July 19, 2026
Air Fryer Chicken: Juicy Results Every Time in 2026
Unlock juicy, tender air fryer chicken every time with this foolproof recipe. Perfect for quick weeknight meals! Discover how to cook it right.
Air Fryer Chicken: Juicy Results Every Time in 2026
The foolproof air fryer chicken recipe you’ll use every week
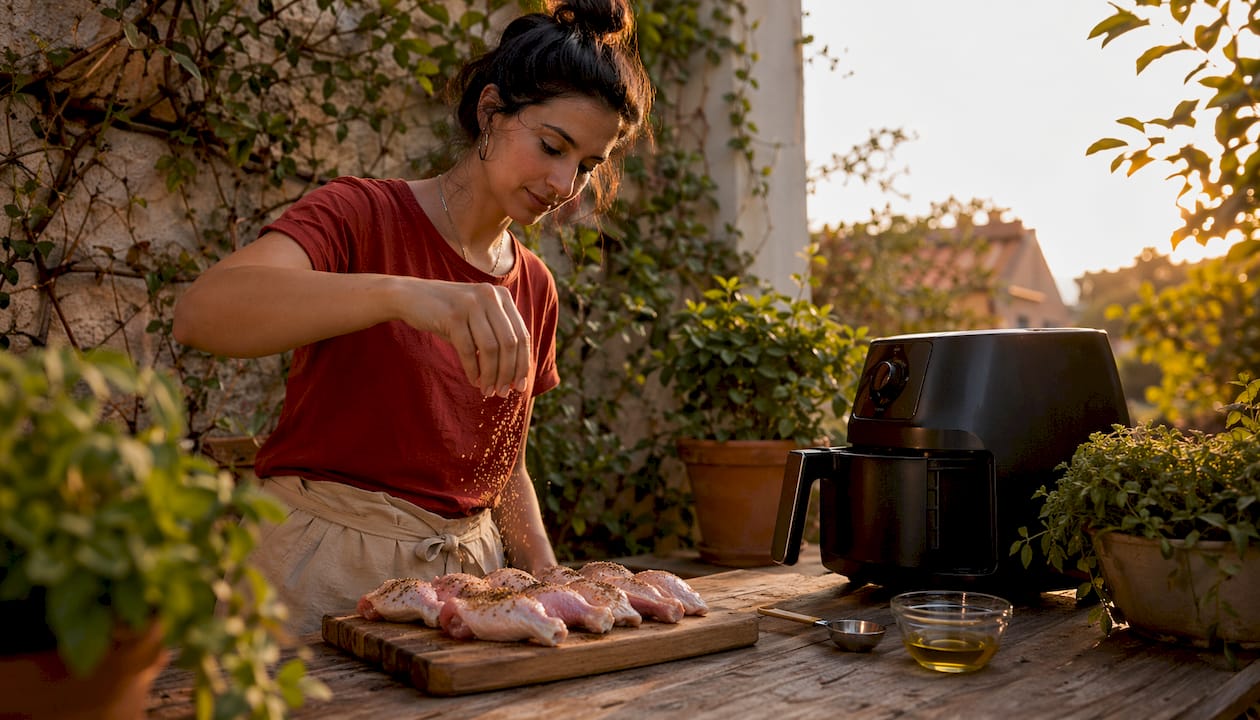
The fastest path to juicy, well-seasoned chicken at home runs straight through your air fryer. Boneless breasts cook in about 10 to 15 minutes at medium-high heat, while bone-in thighs require longer cooking times at a higher temperature. Pull the chicken when an instant-read thermometer reads 165°F at the thickest part, then let it rest 5–10 minutes before slicing.
Core steps at a glance:
- Pat chicken completely dry with paper towels before seasoning
- Coat lightly with olive oil, then apply your spice rub on both sides
- Preheat the air fryer 3–5 minutes before adding chicken
- Place pieces in a single layer, skin-side down for bone-in cuts
- Flip halfway through cooking for even browning
- Rest for several minutes after cooking before cutting to allow juices to redistribute.
Timing by cut:
- Boneless, skinless breasts, small (5–7 oz): 10–15 minutes at 370°F–400°F
- Boneless, skinless breasts, medium (8–10 oz): 10–15 minutes at 370°F–400°F
- Boneless, skinless breasts, large (11–12 oz): 10–15 minutes at 370°F–400°F
- Boneless thighs: 11–13 minutes at 375°F–380°F
- Bone-in, skin-on thighs: 16–22 minutes at 400°F
Pro Tip: Pull the chicken at 165°F and tent loosely with foil. Resting brings the juices back into the meat, ensuring juicy results every time.
How to prepare and cook chicken in the air fryer, step by step
Getting great results starts well before the basket. The prep work, not the machine, is what separates dry, bland chicken from something genuinely worth eating.
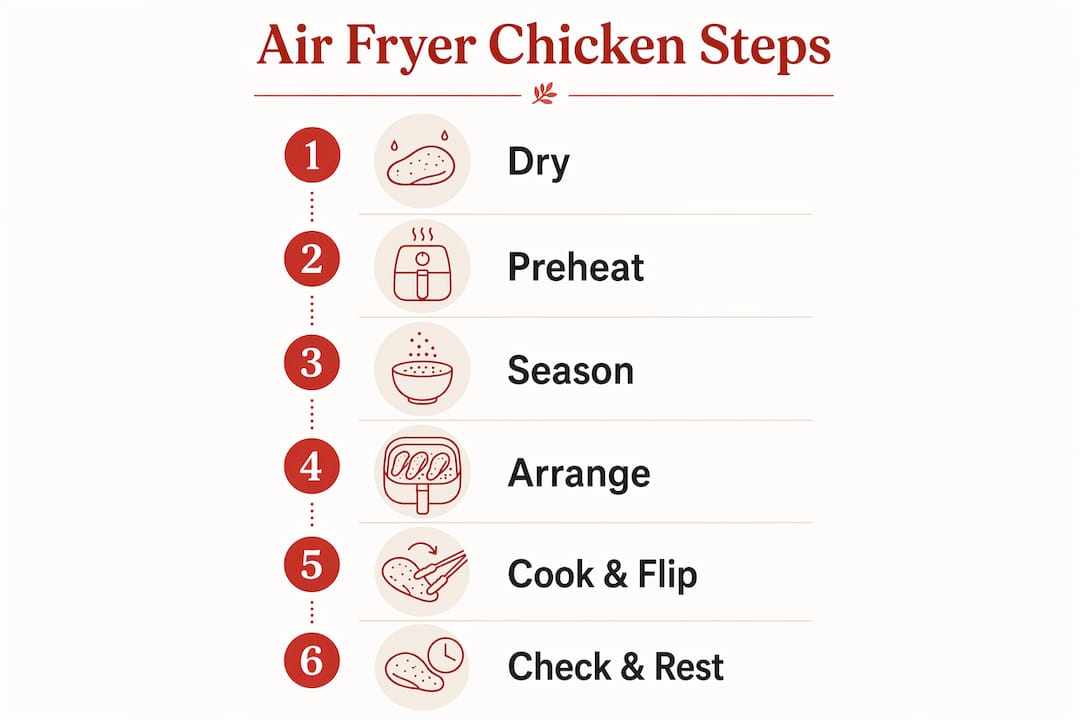
1. Dry or brine the chicken
Pat the chicken dry with paper towels. If you have time, a short saltwater brine of 1–2 hours dramatically improves moisture retention, especially for lean breasts. Use 1 tablespoon of kosher salt per cup of water, submerge the chicken, and refrigerate. After brining, rinse and pat completely dry. Wet chicken steams instead of browns, so this step is non-negotiable.
For a dry brine, rub the chicken with kosher salt and a pinch of baking powder, then leave it uncovered in the fridge for at least 1 hour (up to 24 hours). The baking powder raises skin pH, helping proteins break down faster for crispier, more evenly browned skin.
2. Preheat the air fryer
Set the air fryer to your target temperature and let it run for 3–5 minutes. Preheating is especially useful for bone-in cuts where you want an immediate sear on the skin.
3. Season generously
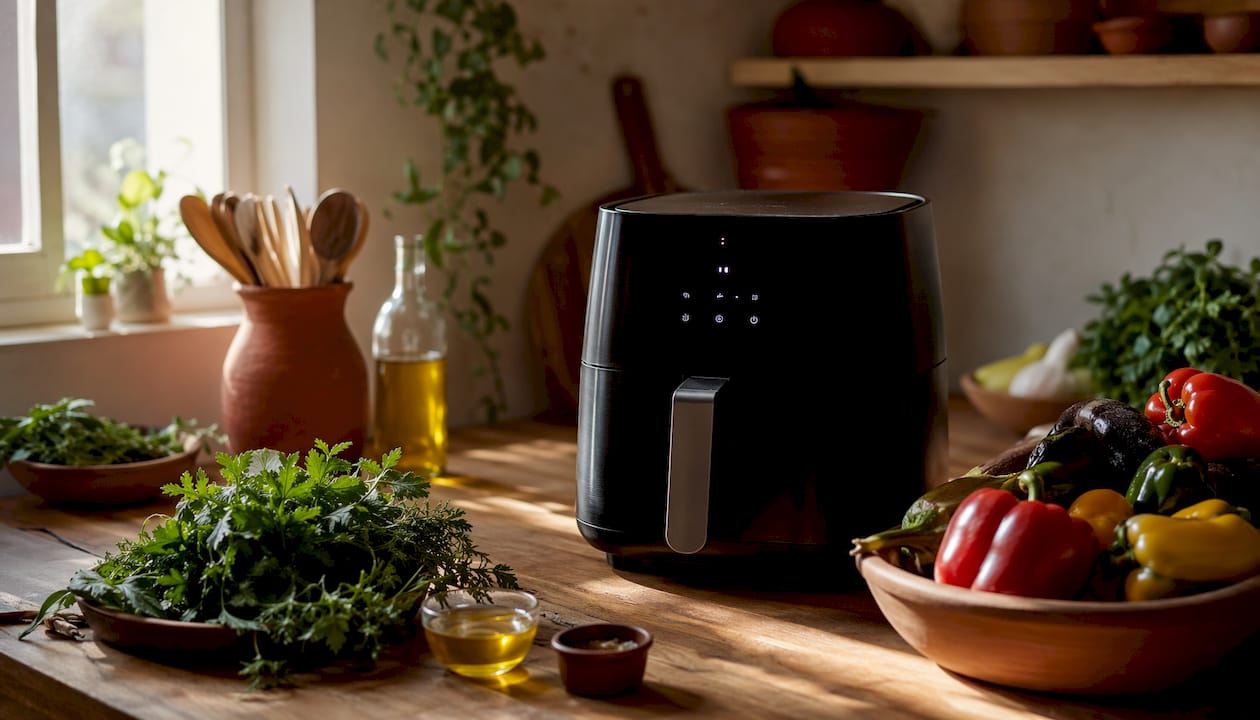
Brush or rub both sides with a light coat of olive oil, then apply your spice blend. Oil helps the seasoning adhere and promotes browning. A good rule of thumb: 1/2 to 1 tablespoon of seasoning per pound of chicken.
4. Arrange without crowding
Place chicken in a single layer with pieces not touching. Overcrowding blocks hot air circulation, which turns what should be a crispy exterior into a steamed, soft one. Cook in batches if needed.
5. Cook and flip
Start bone-in cuts skin-side down. Flip halfway through cooking using tongs. For boneless breasts, flipping is optional but improves even browning on both sides.
6. Check temperature and rest
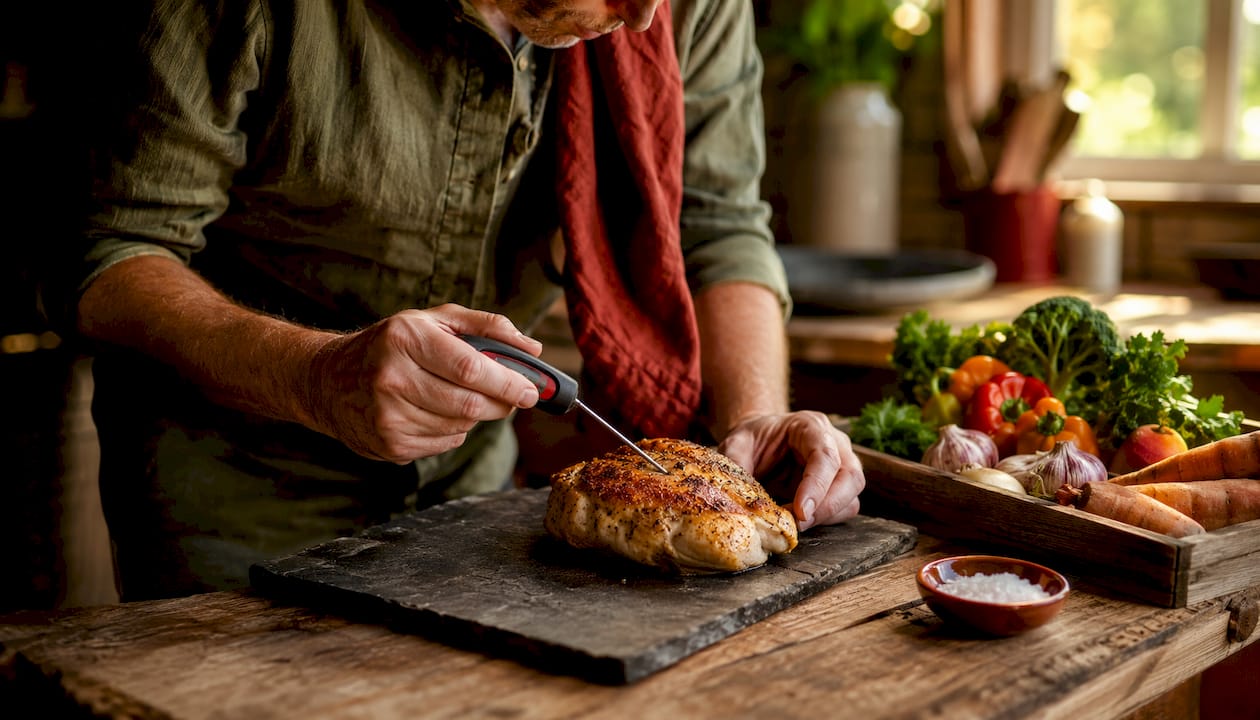
Insert an instant-read thermometer into the thickest part, avoiding bone. Once it reads 165°F, transfer to a cutting board and rest for 5–10 minutes before slicing.
Pro Tip: A wire rack inside the basket lifts the chicken off the surface, improving airflow underneath and preventing a soggy underside on bone-in cuts.
Seasoning blends and marinades that actually make a difference
The air fryer’s rapid heat locks in whatever flavor you put on the chicken, so seasoning quality matters more here than in slower cooking methods. These blends work across both breasts and thighs.
Dry rubs (apply right before cooking or up to 24 hours ahead):
- Classic garlic paprika: Smoked paprika, garlic powder, onion powder, salt, and black pepper. Works on every cut, every time.
- Lemon-pepper: Finely grated lemon zest, coarsely ground black pepper, garlic powder, and onion powder. Bright and sharp, great on boneless breasts.
- Chipotle-lime: Chipotle chile powder, lime zest, ground cumin, and a touch of brown sugar. The sugar caramelizes beautifully in the air fryer’s heat.
- Za’atar-mint: Za’atar, minced fresh mint, granulated garlic, and olive oil. Earthy and herbal, pairs well with a yogurt dipping sauce.
- Dijon-thyme: Dijon mustard, fresh thyme, lemon zest, and olive oil. The mustard acts as a binder and adds a subtle tang.
- Miso-ginger: White miso paste, freshly grated ginger, and finely grated garlic. One tester described the result as having a “lovely caramelized crust that tasted like it just came off the grill.”
Wet marinades (1–4 hours in the fridge):
- A simple Cajun blend mixed into olive oil works fast and adds heat without overpowering.
- Fajita or taco seasoning stirred into oil makes a quick weeknight option that doubles as a meal-prep base.
One key principle: moisture is the enemy of crispiness. Whether you use a dry rub or a wet marinade, always pat the chicken thoroughly dry before it goes into the basket. The seasoning sticks better to a dry surface, and you’ll get the Maillard browning that makes air fryer chicken genuinely crave-worthy.
How to adjust cooking time and temperature by cut and size
No single setting works for every piece of chicken. Cut, size, bone-in versus boneless, and your specific air fryer model all shift the math.
Temperature guidance by cut:
- Lean boneless breasts do best at 370°F–380°F. Higher heat toughens them before the center cooks through.
- Bone-in, skin-on thighs need 400°F to render the fat and crisp the skin without undercooking the meat near the bone.
- Boneless thighs sit in the middle: 375°F–380°F gives good color without drying them out.
Cooking time reference:
| Cut | Weight / Size | Temperature | Time |
|---|---|---|---|
| Boneless breast | Small (5–7 oz) | 370°F–400°F | 10–15 min |
| Boneless breast | Medium (8–10 oz) | 370°F–400°F | 10–15 min |
| Boneless breast | Large (11–12 oz) | 370°F–400°F | 10–15 min |
| Boneless thigh | Any | 375°F–380°F | 11–13 min |
| Bone-in, skin-on thigh | ~8 oz each | 400°F | 16–22 min |
Air fryers vary more than ovens do. A basket-style model runs hotter than an oven-style air fryer at the same dial setting. Check doneness 2–3 minutes early the first time you cook a new cut in a new machine.
Key adjustment factors:
- Bone-in cuts always take longer; the bone slows heat transfer to the center
- Thicker pieces need lower temperatures and more time to cook through without burning the exterior
- Flipping halfway through is especially important for bone-in cuts to ensure even browning on both sides
- Boneless thighs are more forgiving than breasts; their higher fat content means a minute or two of overcooking rarely ruins them
For crispy air fryer chicken thighs with bone-in, skin-on cuts, a wire rack inside the basket makes a real difference in how the underside browns.
How to store and reheat air fryer chicken without drying it out
Cooked chicken keeps well when handled correctly, and the air fryer is actually one of the better tools for reheating it.
Refrigerating leftovers:
- Store in an airtight container within two hours of cooking
- Refrigerate for up to 4 days
- Keep pieces whole when possible; sliced chicken dries out faster
Reheating:
- Air fryer at 350°F for 1–2 minutes is the fastest method and preserves the exterior texture better than a microwave
- Oven at 350°F in a covered baking dish works well for larger batches
- Microwave is the least ideal option; it tends to make the skin rubbery and the meat uneven
Freezing:
- Freeze in an airtight, freezer-safe container for up to 3 months
- Thaw overnight in the refrigerator before reheating; never thaw at room temperature
- Label with the date so you’re not guessing later
Avoiding dryness:
- Do not slice chicken before storing if you plan to reheat it whole
- A light drizzle of chicken broth in the container before refrigerating helps maintain moisture
- Reheat only what you plan to eat; repeated heating dries chicken out quickly
These cooked breasts and thighs work well in meal prep bowls throughout the week, making the extra batch worth cooking.
What food safety and culinary experts say about juicy air fryer chicken in 2026
The single most important number in air fryer chicken cooking is 165°F. That is the internal temperature the USDA requires for safe poultry, measured at the thickest part with an instant-read thermometer. Resting the chicken for 5–10 minutes after cooking allows the internal temperature to finish rising and lets the juices redistribute through the meat.
The air fryer cooks faster than a standard oven because its smaller cavity and rapid fan circulation concentrate heat more efficiently. That speed is an advantage for weeknight cooking, but it also means the margin between perfectly cooked and overdone is narrower. An instant-read thermometer removes the guesswork entirely.
Moisture in cooked chicken comes from internal temperature control and brining, not from the amount of oil you add before cooking. Adding extra oil does not compensate for overcooking. The real lever is pulling the chicken at the right moment and letting carryover heat do the rest.
Bone-in, skin-on thighs are the most forgiving cut for anyone still learning their machine. Their higher fat content and the insulating effect of the bone make it much harder to overcook them compared to lean boneless breasts.
Frequently asked questions:
What temperature should I cook chicken in the air fryer? Use 370°F–380°F for boneless breasts and 400°F for bone-in, skin-on thighs. Boneless thighs work well at 375°F–380°F.
Do I need to flip chicken in the air fryer? Flipping halfway through is recommended for bone-in cuts and improves browning on boneless cuts, though boneless breasts still cook through without flipping.
How do I know when air fryer chicken is done? Use an instant-read thermometer. The internal temperature must reach 165°F at the thickest part before the chicken is safe to eat.
How to clean your air fryer after cooking chicken
Chicken fat and seasoning residue build up fast, and a dirty basket affects both flavor and performance on the next cook. Clean the air fryer after every use.
Most baskets and trays are dishwasher-safe, but hand washing with warm soapy water and a non-abrasive sponge extends their nonstick coating longer. Let the basket cool completely before washing; dunking a hot basket in cold water can warp it.
For stuck-on bits, fill the basket with warm soapy water and let it soak for 10–15 minutes before scrubbing. A soft-bristle brush reaches the mesh areas better than a flat sponge. Avoid steel wool or abrasive pads on any coated surface.
Wipe down the interior of the air fryer unit with a damp cloth after each use. Grease that splatters onto the heating element can smoke on the next cook and affect the flavor of whatever you’re making. Check the element occasionally and wipe it gently when cool.
The drip tray at the bottom collects rendered chicken fat. Empty and wash it every time. Skipping this step is the most common reason air fryers start smoking during cooking.
Common mistakes that ruin air fryer chicken
Even with a good recipe, a few habits consistently produce dry, pale, or unevenly cooked results.
Skipping the pat-dry step. Surface moisture turns to steam in the basket, which prevents browning. This applies whether you brined the chicken or not.
Overcrowding the basket. Restricted airflow steams chicken rather than crisping it. If pieces are touching, cook in smaller batches.
Not preheating for bone-in cuts. A cold basket means the chicken starts cooking slowly, which can lead to uneven results. A 3–5 minute preheat costs almost nothing in time.
Relying on time instead of temperature. Every air fryer runs differently. A recipe that says “18 minutes” in one machine might take 14 minutes in yours. The thermometer is the only reliable indicator.
Pulling the chicken too early or too late. Undercooking is a food safety issue; overcooking is a texture issue. Both are solved by checking temperature rather than guessing by color or timing alone.
Using too much oil. A light coat is all you need. Excess oil pools in the basket, smokes, and can make the exterior greasy rather than crispy.
Not resting the chicken. Cutting into chicken immediately after cooking pushes the juices out onto the cutting board. Five minutes of rest keeps them in the meat where they belong.
Choosing the right air fryer size and model for cooking chicken
Capacity is the most practical factor when buying an air fryer for chicken. A 2-quart model fits one or two small breasts. A 4-quart basket handles three to four average-sized pieces comfortably. For families or batch cooking, a 5.8-quart or larger model lets you cook four bone-in thighs in a single layer without crowding.
The Ninja Air Fryer Pro XL is a widely used option for home cooks who cook chicken regularly. Its larger basket accommodates multiple pieces without stacking, and the fan circulation is consistent enough that the cooking times in most recipes translate reliably.
A 6-quart air fryer is the sweet spot for most households. It fits a standard batch of four chicken thighs or three to four boneless breasts in one go, which covers a weeknight dinner for a family of four without requiring multiple rounds.
Oven-style air fryers (the ones that look like a small toaster oven with a rotisserie) run slightly cooler than basket models at the same temperature setting. If you use one, add 2–3 minutes to the cooking times listed in most recipes and verify with a thermometer. They do handle a whole chicken better than basket models, making them worth considering if you want to cook an air fryer whole chicken regularly.
For anyone just starting out, a basket-style model in the 5–6 quart range offers the best balance of capacity, consistent results, and ease of cleaning.
Key Takeaways
The single most reliable rule for juicy air fryer chicken is this: cook to 165°F internal temperature, rest for at least 5 minutes, and never skip patting the chicken dry before seasoning.
| Point | Details |
|---|---|
| Always hit 165°F | Use an instant-read thermometer at the thickest part; pull at 165°F for safety. |
| Dry brining improves both flavor and texture | Salt and baking powder rubbed on the skin and refrigerated for 1–24 hours produces juicier meat and crispier skin. |
| Never overcrowd the basket | Single-layer cooking with pieces not touching is what separates crispy results from steamed, soggy ones. |
| Adjust time by cut and size | Boneless breasts need 10–15 minutes at 370°F–400°F; bone-in thighs need 16–22 minutes at 400°F. |
| Forkwardkitchen recipes are tested for reliability | The air fryer chicken thighs recipe on Forkwardkitchen covers dry brining and crispy skin technique in full detail. |
The part most recipes skip telling you
The air fryer is genuinely one of the best tools for chicken. But the machine gets too much credit, and the prep work gets almost none. Every time someone complains that their air fryer chicken came out dry or pale, the problem traces back to one of three things: no brine, wet chicken in the basket, or pulling it by time instead of temperature.
The baking powder trick is the one that surprises people most. It sounds like a baking ingredient with no business near a savory chicken rub, but the chemistry is real. It raises the pH of the skin, breaks down proteins faster, and produces that crackly, deeply browned exterior that most home cooks assume requires deep frying. Pair it with a salt dry brine and an overnight rest in the fridge, and you get results that are genuinely hard to match with any other method.
The other thing worth saying plainly: bone-in thighs are the better starting point for anyone who is still figuring out their machine. They are cheaper, more forgiving, and harder to ruin. Once you’ve cooked a few batches and know how your air fryer actually behaves, moving to boneless breasts is straightforward. Starting with breasts and getting dry results is what makes people give up on the whole method.
Trust the thermometer. Not the color, not the time, not the sound. The thermometer.
More tested recipes worth cooking next
Forkwardkitchen builds every recipe from scratch and tests it until the results are consistent, not just once-in-a-while good. If air fryer chicken has become a regular in your rotation, the full recipe collection covers everything from quick weeknight poultry dishes to more involved weekend projects, each with honest difficulty ratings so you know exactly what you’re getting into before you start.
Every recipe on the site includes the kind of detail that actually matters: why a step works, what to watch for, and what to do when something goes sideways. That’s the difference between a recipe you cook once and one you come back to. Browse the collection and find your next reliable dinner.