August 25, 2026
Brown Butter: The Nutty, Toasted Secret to Better Baking
Unlock unique flavors in your baking with brown butter, a nutty secret that elevates everything from cookies to sauces. Learn how to make it!
Brown Butter: The Nutty, Toasted Secret to Better Baking
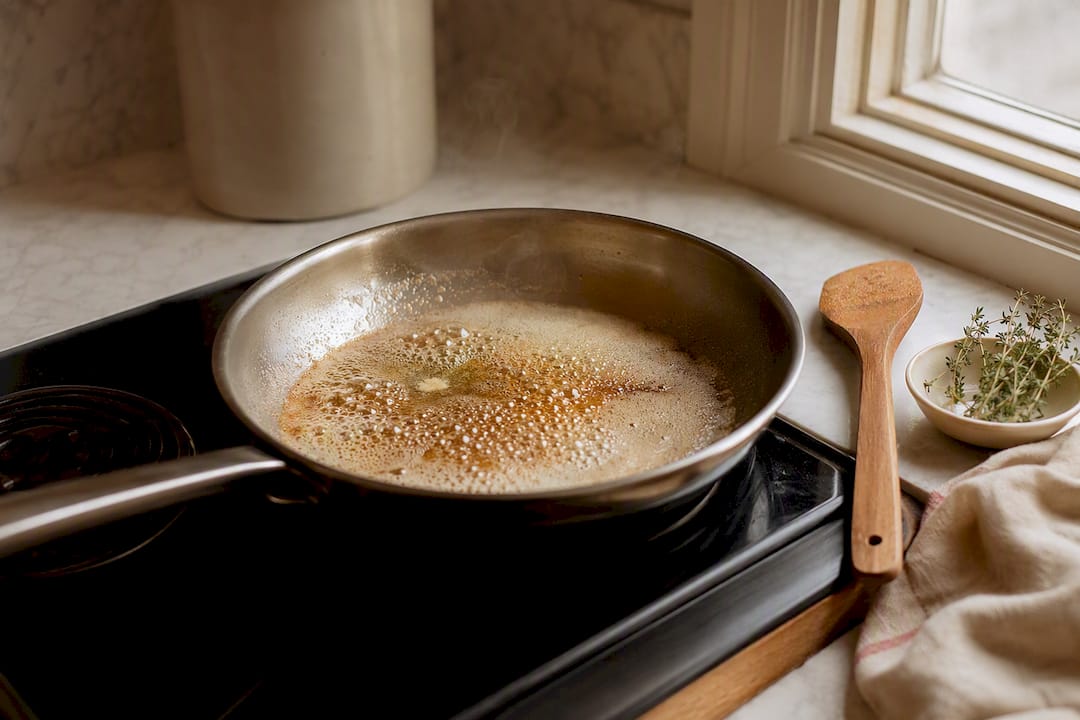
Brown butter is melted butter cooked until its milk solids toast to a deep golden brown, giving you a nutty, caramel-scented ingredient that tastes nothing like the stick you started with. The French call it beurre noisette, literally “hazelnut butter,” because that’s exactly what it smells like once it’s done. Melt it, let it foam, watch the solids turn gold, then pull it off the heat before it turns black.
That’s the whole trick: catching it at the right second.
- What it is: Butter cooked past melting until the milk solids caramelize
- Why it matters: Adds nutty, toasty depth to cookies, sauces, vegetables, and more
- The process in one line: Melt, foam, brown, remove immediately to stop the cooking
Key Takeaways
Brown butter transforms ordinary melted butter into a nutty, caramelized ingredient by toasting its milk solids, and success depends on removing it from heat at the exact right moment.
| Point | Details |
|---|---|
| Definition | Brown butter, or beurre noisette, is butter cooked until its milk solids caramelize into a nutty, toasted flavor. |
| Pan choice matters | Light-colored, heavy-bottomed pans make the color change easier to spot than dark cast iron or nonstick. |
| Timing is short | Small batches typically brown in 3 to 6 minutes; watch for aroma and color rather than relying only on the clock. |
| Stop the cooking | Transfer hot butter to a heatproof bowl immediately to prevent carryover scorching. |
| Storage windows | Refrigerate for 5 to 14 days or freeze portioned amounts for up to 3 months. |
| Try it yourself | Forkwardkitchen’s tested cookie, muffin, and pasta recipes show exactly how brown butter performs in real dishes. |
Table of Contents
- How to Make Brown Butter Step by Step
- Why Does Brown Butter Burn So Fast?
- Where Brown Butter Actually Shines in Recipes
- How Long Does Brown Butter Last?
- What Forkward’s Test Kitchen Learned About Timing
- Why This One Technique Changes How You Cook
- Try Forkward’s Brown Butter Recipes Next
- Sources
How to Make Brown Butter Step by Step
Start with the right pan. A light-colored, heavy-bottomed skillet or saucepan, stainless steel works better than a dark one because you need to actually see the milk solids turn golden as they cook. Dark cast iron or nonstick hides that color shift until it’s too late, and by the time you smell trouble, you’re often already burnt.
You’ll also want a heatproof bowl standing by. That’s not optional. The moment the butter hits the color and smell you’re after, it needs somewhere to go besides the hot pan.
The method:
- Cut unsalted butter into even chunks so it melts at the same rate, then place it in your pan over medium heat.
- Let it melt fully, then watch it foam up. That foam is water evaporating out of the butter, and it’s normal.
- As the foam subsides, the milk solids drop to the bottom of the pan and start to toast. Swirl or stir occasionally so they don’t stick and scorch in one spot.
- Watch for the color to shift from pale yellow to golden, then to a shade closer to light brown sugar, and listen for the sizzle to quiet down as moisture cooks off.
- Smell for a nutty, toasted aroma. That’s your real signal, more reliable than the clock.
- The moment you see graham-cracker brown solids and catch that nutty smell, pull the pan off the heat and immediately pour everything into your heatproof bowl.
- Stir briefly in the bowl. This stops the carryover cooking that would otherwise keep browning the solids after you’ve taken the pan away.
For a small batch, about 4 tablespoons of butter, expect the whole process to take roughly 3 to 6 minutes once it starts foaming. Double the butter and you’ll add a couple minutes, since there’s more mass to heat through.
Should you use salted or unsalted butter? Unsalted gives you more control, since you can season the finished dish exactly how you want. If you only have salted on hand, it works fine, just taste before adding more salt elsewhere in the recipe.
One detail that trips people up: brown butter loses volume as water cooks out of it. If a recipe calls for a specific amount of brown butter, measure it after browning and cooling, not before. Eyeballing “half a stick” of raw butter and assuming it equals the same amount browned will throw off delicate baking ratios.
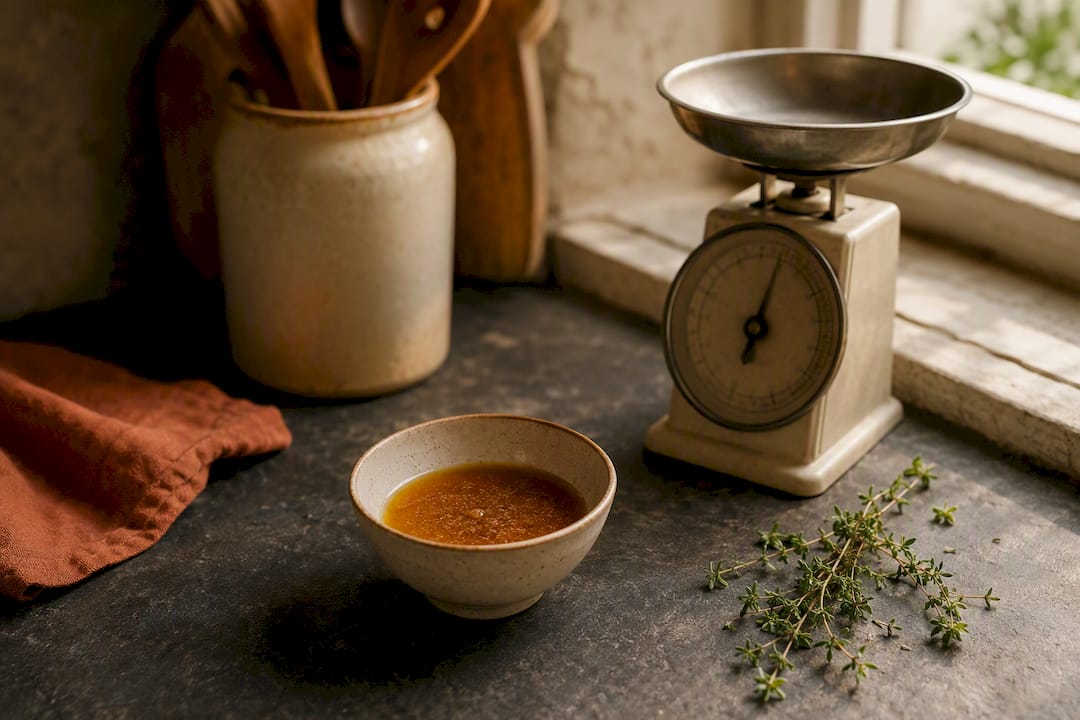
Pro Tip: Set a timer for 3 minutes as a checkpoint, not a stopping point. Butter can go from perfectly toasted to burnt in under 30 seconds once the solids really start browning, so treat the timer as a warning to start watching closely, not a signal to walk away.
Why Does Brown Butter Burn So Fast?
Butter goes from “almost there” to ruined in a matter of seconds because the milk solids have very little mass. Once they start toasting, the sugars and proteins in them caramelize and then scorch in a tight window, and there’s no built-in buffer. Lower your heat to medium or medium-low rather than cranking it high to speed things along. High heat gives you less margin for error and more splatter to clean up.
If foam on top is hiding the color of the solids underneath, use this trick: spoon a bit of the butter onto a white plate and check the color there. A white background makes it far easier to judge whether you’re at golden or already past it.
If you catch it slightly scorched but not black, you have options. A faint bitterness might still work in a robust savory dish, but for baking, strain out the darkest solids through a fine mesh sieve and taste before committing the batch to a recipe. If it smells acrid rather than nutty, start over. Burnt butter doesn’t mellow with time; it just sits there tasting burnt.
Pan choice matters more than most recipes let on:
- Light stainless steel: Best for visibility, easiest to judge color accurately.
- Dark cast iron: Holds heat well but hides color changes, raising your risk of overshooting.
- Nonstick: Works in a pinch, though dark coatings create the same visibility problem as cast iron, and the coating isn’t built for the higher, sustained heat some batches need.
Splatter happens mostly during the foaming stage, so keep a lid nearby, tilted slightly, if your stovetop is more crowded than you’d like.
Where Brown Butter Actually Shines in Recipes
Brown butter earns its keep in both sweet and savory cooking, and the swap from regular butter is almost always a straight one-to-one by weight or volume, measured after browning and cooling.
In baking, it transforms cookies, blondies, and quick breads with a toffee-like depth that plain melted butter can’t touch. Forkward’s brown butter and bread flour chocolate chip cookies lean into that contrast, and the rest-and-salt version pushes the flavor even further with an overnight dough rest. Quick breads and muffins benefit too. The banana muffins built around brown butter taste noticeably richer than a standard bakery version.
In savory cooking, brown butter works beautifully as a pasta sauce base. Food52’s guidance suggests roughly 6 to 8 tablespoons per pound of pasta as a starting point for a light, even coating, tossed with the pasta straight off the heat. It’s also excellent finishing roasted vegetables, drizzled over scallops or white fish, or spooned over gnocchi.
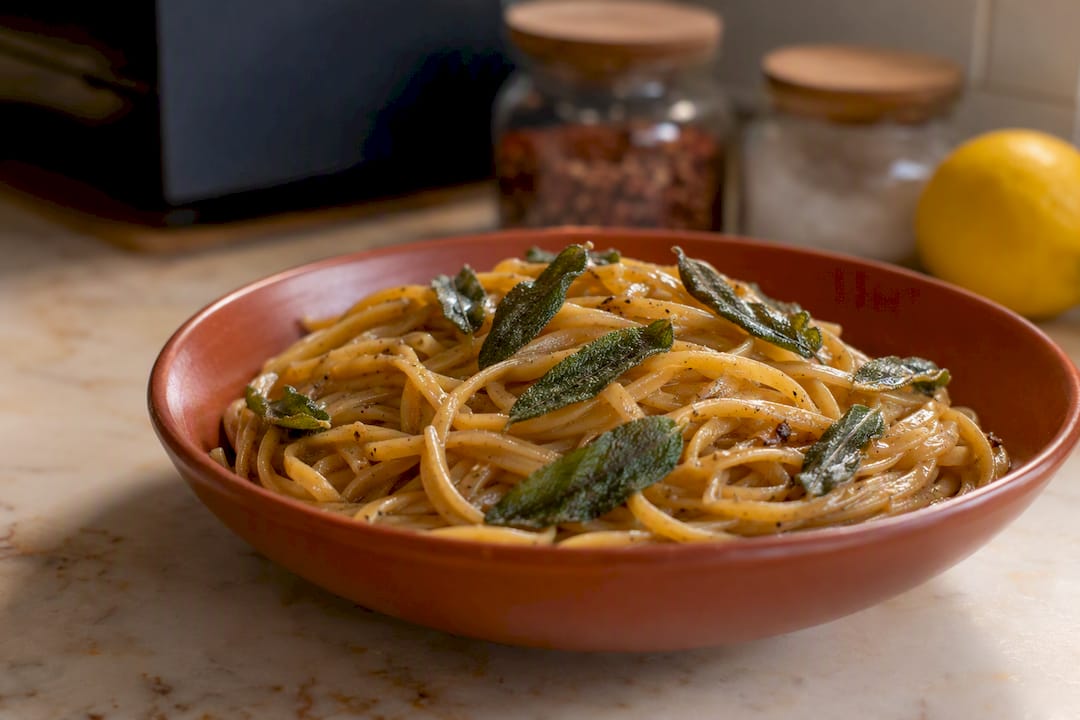
Classic pairings that amplify the nutty flavor: fresh sage leaves crisped right in the butter as it browns, a squeeze of lemon juice to cut the richness, or toasted nuts stirred in at the end for texture.
Pro Tip: Add a pinch of flaky salt right when you pull the butter off the heat. Salt added while it’s hot dissolves cleanly and balances the sweetness of the caramelized solids far better than salt stirred in later.
How Long Does Brown Butter Last?
Because water cooks out during browning, you’ll end up with slightly less volume than you started with, another reason to measure the finished product cold rather than trusting the raw butter amount in a recipe.
Once it’s cooled to room temperature, refrigerate brown butter in an airtight container for roughly 5 to 14 days. For longer storage, freeze it for up to about 3 months.
- Portion it into tablespoon-sized dollops or an ice cube tray before freezing, so you can thaw only what a recipe calls for.
- Label containers with the date and amount, since browned butter looks a lot like plain melted butter once frozen solid.
- Thaw in the refrigerator overnight or gently on the stovetop over low heat, and avoid refreezing a portion once it’s thawed.
- Decide upfront whether you’re keeping the browned milk solids in the mix or straining them out. Solids left in add flavor but shorten how clean the butter looks after freezing and reheating.
What Forkward’s Test Kitchen Learned About Timing
We ran small batches of 4 tablespoons and medium batches of 8 tablespoons across both gas and electric stovetops to see how much the timing guidance actually held up.
On medium-low gas heat, 4 tablespoons of butter browned in about 3 to 5 minutes, while 8 tablespoons took closer to 4 to 7 minutes. Electric coil burners ran slightly slower across both batch sizes, but the same visual and aroma cues applied regardless of heat source. A light-colored stainless pan consistently made the color shift easier to judge than the dark skillet we tested alongside it.
We generally leave the solids in for baking applications, where the flavor payoff outweighs the extra visual clutter, and strain only when the butter needs to look clean for a finishing sauce.
Why This One Technique Changes How You Cook
Brown butter is one of the rare kitchen moves where five extra minutes reshapes an entire dish, not just tweaks it. Melted butter tastes like butter. Browned butter tastes like something you’d swear had a secret ingredient.
I reach for it constantly in baking, cookies and blondies especially, since the flavor payoff is enormous for almost no added effort. I save it for savory finishing touches, like a pasta sauce or a drizzle over vegetables, when I want a dish to feel a little more considered than a weeknight standard. If you’ve never made it, Forkward’s tested recipes are a low-risk place to start.
— Oloru
Try Forkward’s Brown Butter Recipes Next
Forkwardkitchen tests every recipe from scratch, which means our brown butter instructions come with exact timing, honest difficulty ratings, and troubleshooting built in rather than vague “cook until golden” advice you have to guess your way through.
If cookies are calling your name, start with the brown butter and bread flour chocolate chip cookies or the overnight rest-and-salt version for deeper flavor. Want something faster with no oven required? The salted brown butter edible cookie dough delivers the same toasty flavor in a fraction of the time. Craving something savory instead? Browse Forkwardkitchen’s full pasta collection for ideas on where brown butter sauce fits into a weeknight dinner, or explore the complete recipe library for more ways to put this technique to work.
Sources
- How To Brown Butter
- How to Make Brown Butter (the Foolproof Way) | The Kitchn
- How to Make Brown Butter | Bon Appétit
- Make This Transformative Ingredient, Add It to Everything