September 9, 2026
Four Tested Moves to Perfect Smash Burgers at Home
Make crispy, lacy smash burgers at home with four tested moves: 80/20 beef, one hard smash, cast iron timing, and tips for batch cooking and rescuing patties.
Four Tested Moves to Perfect Smash Burgers at Home
The whole trick comes down to four moves: pack loose small balls of 80/20 ground beef, hit them with brutal heat on a cast-iron skillet, smash once with real force to a thin patty, and pull them fast. That single hard smash triggers the Maillard reaction across the entire surface of the patty, not just the edges, which is why this is one of the most forgiving techniques a home cook can master.
TL;DR:
- Use 80/20 ground beef, roughly 3 to 4 ounces per ball, with the fat ratio being crucial for achieving a crispy crust and juicy center.
- Preheat the pan until very hot and smash the beef immediately with full force to create a broad Maillard reaction, ensuring optimal browning.
- Cook each patty for about one minute per side, avoiding crowding the pan to maintain high surface temperatures and proper searing.
- Proper handling includes portioning, minimal handling of the beef, and strict hygiene to prevent sticking, greasing, or contamination issues.
- Variations like double-stack slices or sliders can enhance crust and texture, but the key remains high heat, quick searing, and careful timing.
Table of Contents
- What You Need for Smash Burgers at Home
- How to Cook Smash Burgers Step by Step
- Timing Cheat Sheet for Cooking Multiple Burgers
- Common Smash Burger Problems and How to Fix Them
- Smash Burger Variations Worth Trying
- Why This Smash Burger Recipe Works
- Choosing the Right Beef for Smash Burgers
- Shaping and Portioning Patties the Right Way
- Storing and Handling Patties Before You Cook
- Safe Handling Tips for Raw Ground Beef
- When Smash Burgers Beat Other Burger Styles
- Where to Find the Full Tested Smash Burger Recipe
- Sources
What You Need for Smash Burgers at Home
Good smash burgers start with the right meat, not a fancy setup. You want 80/20 ground beef, meaning 80% lean and 20% fat. That fat ratio matters more than any other ingredient decision you’ll make, since it’s what melts into the crust and keeps the center from drying out during a fast, high-heat cook. If your butcher only has 75/25, grab it. Anything leaner than 85/15 will fight you the whole way.
Here’s the full shopping and equipment list:
- Ground beef, 80/20 fat ratio, portioned into 3 to 4 ounce balls (2 ounces if you’re going for an ultra-thin double stack)
- Kosher salt and coarse black pepper
- American cheese or another good melter, like sharp cheddar
- Soft potato buns and a few tablespoons of softened butter for toasting
- A cast-iron skillet or flat griddle, big enough to give each patty breathing room
- A sturdy metal spatula or a dedicated smash press
- An instant-read thermometer, which is optional but helpful if you’re nervous about doneness
Skip the nonstick pan. Nonstick coatings can’t handle the heat you need and won’t develop the same crust. If you don’t own a stiff spatula, a bench scraper or even a foil-wrapped slotted spatula works in a pinch. A detailed smash burger recipe walks through the exact gear used in testing, if you want a visual reference before you start.
How to Cook Smash Burgers Step by Step
This method is fast. Once your beef hits the pan, you’re working in seconds, not minutes, so read through the whole process before you start cooking.
- Prep everything first. Portion your beef into loose, barely-packed balls (don’t compress them into tight spheres) and set them on a tray. Butter your bun halves and toast them, cut side down, in a dry skillet until golden. Have your cheese, toppings, and serving plates ready to go, because once the beef hits the pan, there’s no pausing.
- Get the pan screaming hot. Preheat your cast-iron skillet or griddle over high heat until very hot. You’ll know it’s ready when a drop of water sizzles and evaporates almost instantly, or when the surface just starts to shimmer. This is the single most common place people undershoot.
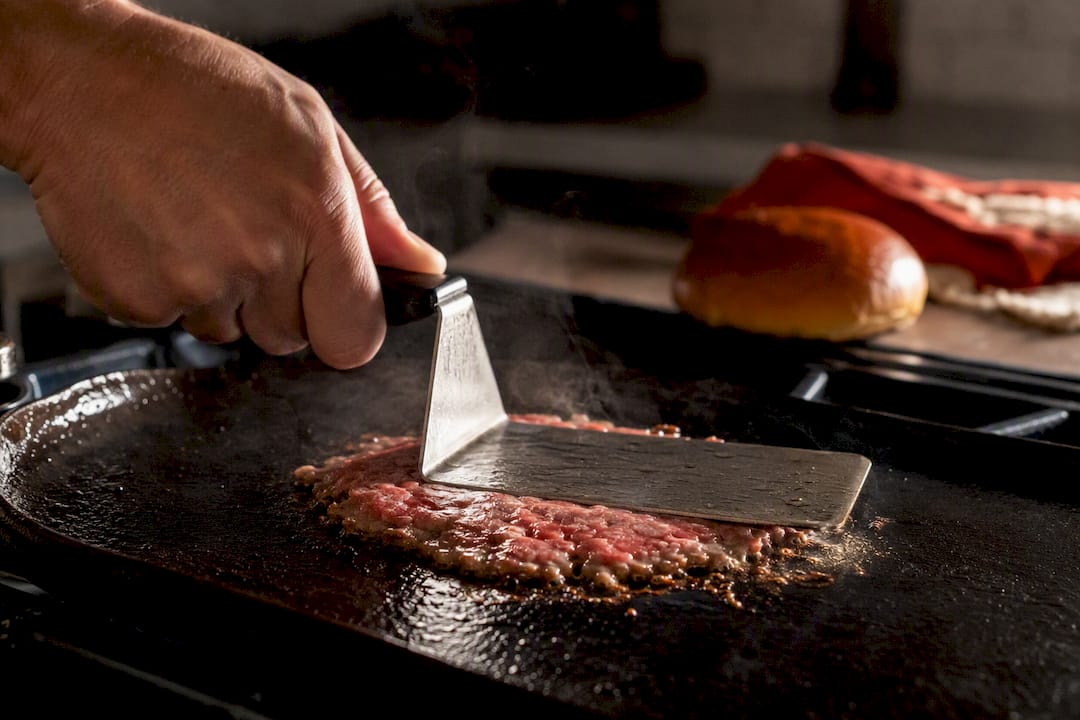
- Smash once, hard. Drop a beef ball onto the hot surface and press down immediately with a second spatula or a dedicated press, using your body weight, not just your wrist. One firm smash to roughly 1/8 to 1/4 inch thick is enough. Smashing repeatedly squeezes out juice and toughens the meat.
- Season right after smashing. Salt and pepper go on the moment the patty hits its final thickness, not before. Salting raw beef too early draws out moisture and can leave you with a denser, less juicy patty.
- Sear undisturbed. Leave the patty alone for about a minute, depending on thickness, until the edges turn deep brown and lacy. Resist the urge to peek or nudge it. Use your spatula to scrape underneath and confirm the crust has released before flipping.
- Flip and cheese immediately. Flip once, and the second the patty turns, lay your cheese slice on top so it melts into the crust. If you’re stacking a double, flip one patty directly onto the other so the cheese binds both layers together.
- Rest for 30 seconds, then assemble. Pull the patties onto your toasted bun right away. Build from the bottom up: sauce, patty and cheese, toppings, top bun. Serve immediately. These burgers lose their crispness fast if they sit.
That short sear window is doing all the work. According to Bon Appétit’s smash burger technique, the combination of high fat content, a loosely packed ball, and a screaming-hot surface is what produces that lacy, deeply caramelized edge while the center stays juicy.
Timing Cheat Sheet for Cooking Multiple Burgers
A medium-size cast-iron skillet comfortably fits a few patties at a time without crowding; a larger griddle can hold more. Crowding the pan drops the surface temperature and steams the meat instead of searing it, so resist the urge to cram in more.
- Single patty: sear about a minute per side
- Double stack: a bit longer since the layered patties are thinner
- Toast buns before starting your first patty, not during, so they stay crisp while the beef cooks
- Keep finished burgers warm under a loose foil tent, or in a 200°F oven, while you cook remaining batches
- For 6 to 8 burgers, work in pairs and re-heat the pan for 30 seconds between rounds to recover lost temperature
The New York Times Cooking method backs this same rhythm: preheat hard, cook in small batches, and never let the pan cool between rounds.
Common Smash Burger Problems and How to Fix Them
Sticking is almost always a heat problem, not a pan problem. If your patty doesn’t release, it hasn’t formed a full crust yet. Give it another 15 to 20 seconds before trying again, and make sure you’re using bare cast iron or carbon steel rather than a coated nonstick surface.
Greasy or steamed-looking edges usually mean the pan wasn’t hot enough or you crowded too many patties in at once. Turn the heat up, give each patty more room, and wipe excess grease from the pan between batches so it doesn’t pool.
Dry, crumbly burgers point to two culprits: leaner beef than 80/20, or over-smashing. Pressing down more than once flattens out the juice along with the meat. If you’ve already overcooked a batch, a thin slice of cheese and a 30 second rest under foil can rescue some moisture.
Pro Tip: The lacy crust comes from one hard smash followed immediately by a quick scrape with your spatula underneath the patty. That scraping motion lifts the deepest browned bits before they burn, and it tells you exactly when the crust has fully released from the pan.
Smash Burger Variations Worth Trying
Once you’ve got the base technique down, there’s a lot of room to play. A double-stack with two 2-ounce patties and a cheese layer in between gives you more crust per bite than a single thicker patty ever could, since stacking two thin patties increases the ratio of seared surface to meat.
- Ultra-thin patties (about 2 ounces each) maximize crust and work well for anyone who wants more texture than beefiness
- Slider-sized smash burgers on Hawaiian rolls turn the same technique into a party-friendly bite, especially good for caramelized onion sliders
- Smash burger tacos swap the bun for a crispy tortilla shell, which has been tested with a smash burger taco recipe
- A simple mayo-based burger sauce (mayo, ketchup, a little pickle brine, and paprika) complements the crust without overwhelming it
- Crispy garlic rosemary smashed potatoes make a natural side, since they share the same high-crust cooking logic
Why This Smash Burger Recipe Works
Recipes are tested for reproducibility before publication, including exact timings, heat levels, and difficulty ratings, so you’re not guessing at what “hot enough” or “45 seconds” actually means in your own kitchen. This guide reflects the same in-kitchen testing, and the searing principles behind it echo techniques used across other high-heat dishes, including how to sear scallops for a golden crust, where the same conduction and timing rules apply.
The instructions here were shaped by hands-on kitchen work from Oloru, who focused on getting the smash, sear, and flip sequence tight enough that a first-time cook could reproduce it on the first try.
Choosing the Right Beef for Smash Burgers
Freshly ground beef from a butcher counter, ground the same day, almost always outperforms pre-packaged chub rolls for smash burgers. Fresh grind has looser texture and hasn’t been compressed during packaging, which means it forms that loose, craggy ball shape that smashes into a craggier, more textured crust.
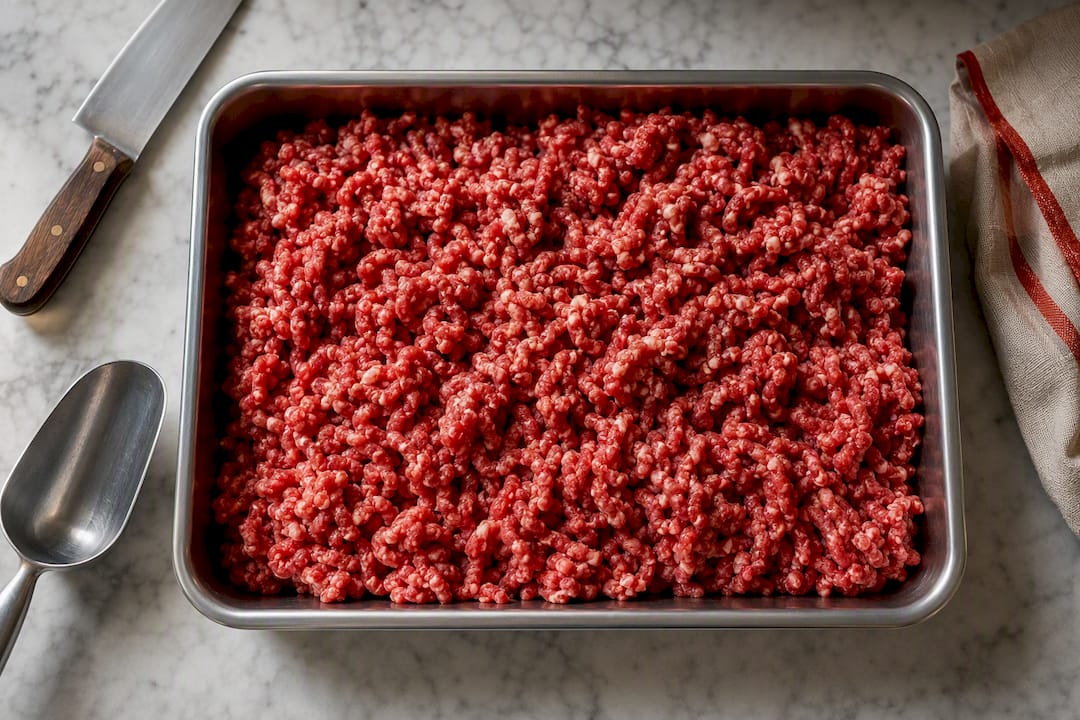
Pre-packaged ground beef works fine as a backup, but check the label for the fat percentage rather than trusting the cut name alone. “Ground beef” labeled simply as that is often 73/27 to 80/20, while “ground round” or “ground sirloin” runs leaner, sometimes 90/10 or higher, and will cook up noticeably drier under high heat.
If your grocery store grinds in-house, ask what blend they’re using. Many butchers combine chuck for fat and flavor with a leaner cut like round for structure, landing right around that 80/20 sweet spot without you having to blend it yourself. Chuck alone, ground coarse, also works well and brings a slightly beefier flavor than a blended mix.
Avoid pre-formed frozen patties for this technique entirely. They’re compressed too tightly during manufacturing, which fights against the loose-ball approach that makes a smash burger’s crust so lacy and irregular in the first place. The whole point is unevenness. A machine-pressed patty smashes into a uniform disc instead of that craggy, high-surface-area shape that catches maximum browning.
Shaping and Portioning Patties the Right Way
Weigh your beef before shaping if you want consistent results across a whole batch. Standard smash burger patties are typically small servings, with even smaller portions used for double stacks or sliders. A kitchen scale takes the guesswork out, especially if you’re cooking for a group and want every burger to finish around the same time.
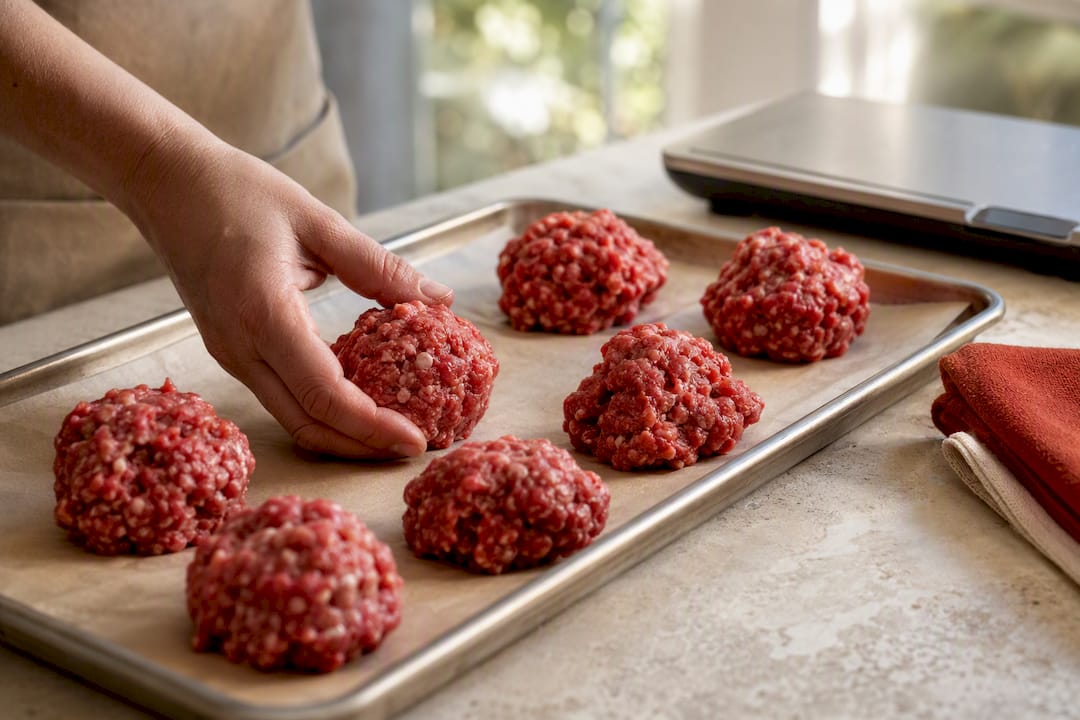
Once portioned, roll each amount into a loose, rough ball. Don’t knead it or pack it tight like you would a meatball. The goal is minimal handling. Overworking the meat activates proteins that make the final patty dense and springy instead of tender, which is the opposite of what you want here.
Keep the balls slightly irregular rather than perfectly round to promote crust texture. That unevenness actually helps once the ball hits the pan, since it smashes into a craggy shape with more total surface area for the crust to form across. A too-smooth, too-round ball tends to smash into a cleaner, more uniform circle with less texture at the edges.
Line your portioned balls up on a parchment-lined tray or plate in the order you plan to cook them. Since the sear happens in under two minutes per patty, having everything staged and ready prevents the scramble of trying to portion beef while your pan is already smoking hot.
Storing and Handling Patties Before You Cook
Ground beef is one of the more perishable proteins in your fridge, so timing matters. If you’re portioning patties ahead of a cookout or meal prep session, keep the beef refrigerated at 40°F or below until you’re within 30 minutes of cooking. Pulling patties fully to room temperature isn’t necessary for smash burgers the way it might be for a thick steak, since the whole cook happens so fast that a slightly cold center won’t stall your sear.
For same-day cooking, you can portion your balls ahead and keep them covered in the fridge. For longer storage, raw portioned patties freeze well for up to three months if wrapped tightly in plastic and sealed in a freezer bag with the air pressed out. Thaw them overnight in the fridge rather than on the counter.
Never refreeze beef that’s already been thawed once, and don’t let portioned patties sit at room temperature for more than 30 minutes before cooking. Ground beef has more surface area than a whole cut, which means more exposure points for bacterial growth if it sits too long in the temperature danger zone between 40°F and 140°F.
Safe Handling Tips for Raw Ground Beef
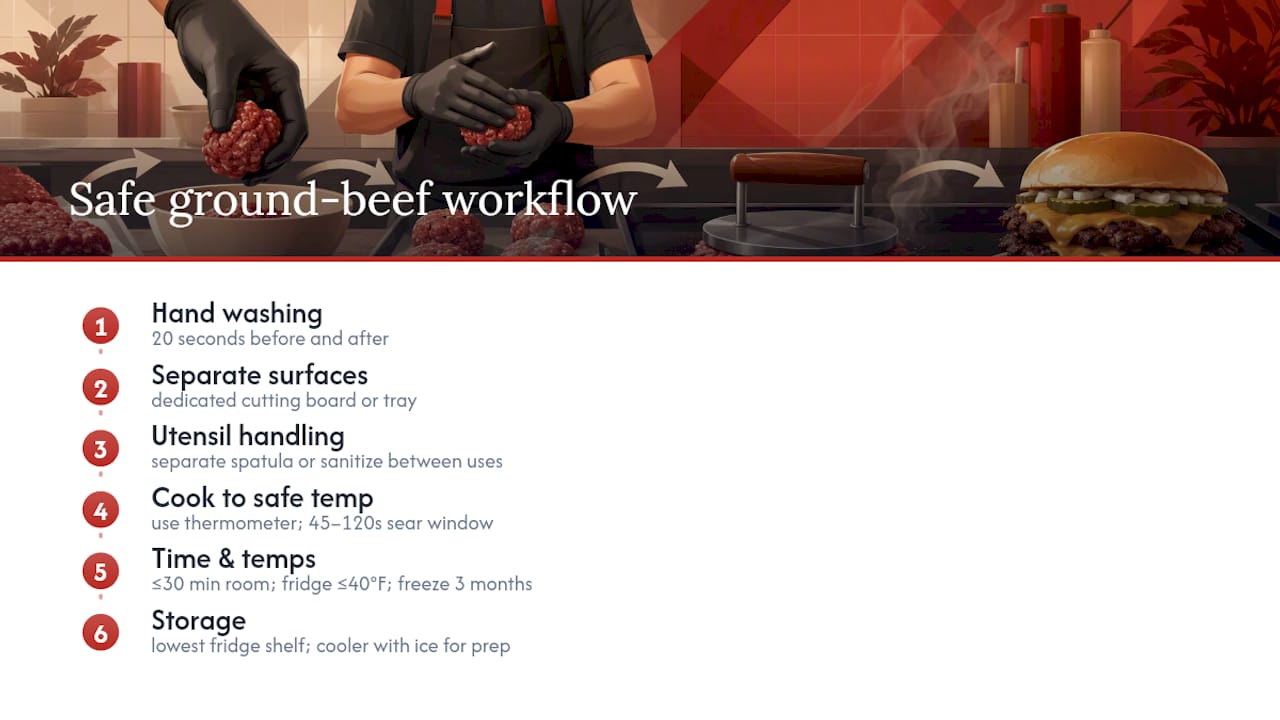
Wash your hands with soap for at least 20 seconds before and after handling raw beef, and keep a separate cutting board or tray dedicated to raw meat if possible. Cross-contamination is one of the most common kitchen mistakes, especially when you’re moving fast between portioning patties and grabbing buns or toppings.
Use a separate spatula for raw and cooked patties if you’re working in a busy kitchen with multiple people cooking at once, or at minimum, wipe your spatula clean between flipping raw meat and touching anything else. Any surface, cutting board, or utensil that touched raw beef needs a hot, soapy wash before it touches something ready to eat.
Cook ground beef until cooked through and safe to eat; using a thermometer can help confirm doneness. Because smash burger patties are so thin, they often hit that temperature within the same 45 to 120 second sear window that builds the crust, so a properly cooked smash burger rarely ends up overdone by the time it’s food-safe.
Store raw beef on the lowest shelf of your fridge, never above ready-to-eat foods, so any drips can’t contaminate something below it. If you’re prepping a big batch for a cookout, keep raw patties in a cooler with ice until right before they hit the grill or pan.
When Smash Burgers Beat Other Burger Styles
Smash burgers win on busy weeknights and any time you’re craving maximum crust over a big, juicy centerpiece. They cook in minutes, need almost no cleanup planning, and reward speed over patience.
Thicker, grilled patties still make more sense for a slow weekend cookout where the burger is the main event and you want a juicier bite with less crust. Pair smash burgers with something crisp on the side, like potato wedges, and a cold beer or a fountain soda. Dinner’s ready in under 15 minutes total.
— Oloru
Where to Find the Full Tested Smash Burger Recipe
If you want the exact printable version of everything covered here, complete with step photos and Forkward Kitchen’s honest difficulty rating, the full smash burger recipe has the whole process laid out start to finish.
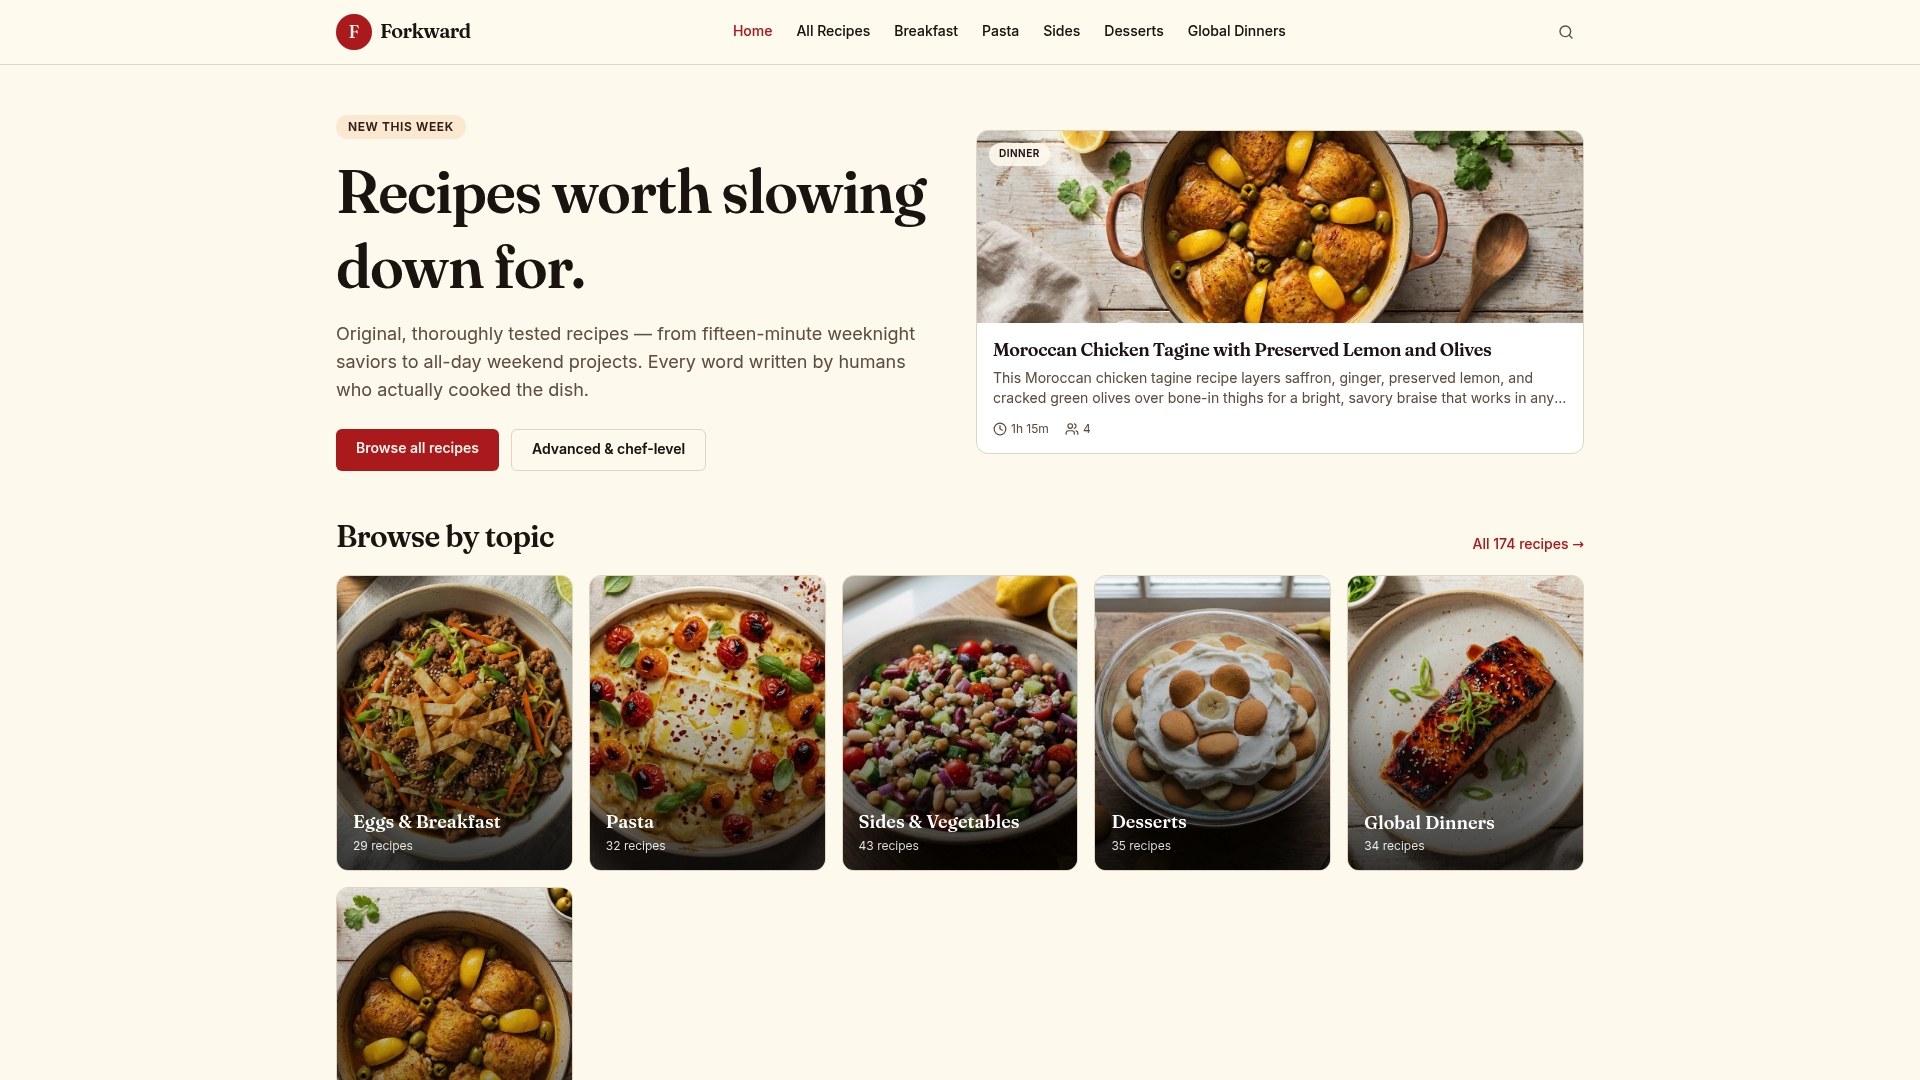
What sets this approach apart is the testing behind every recipe: real timings, real heat levels, and a difficulty rating you can actually trust before you start cooking, instead of guessing whether “high heat” means your stove’s 7 or its 10. That matters most with a technique this fast, where a 20 second miscalculation is the difference between lacy crust and a gray, steamed patty.
Beyond the smash burger, the full recipe collection covers everything from quick weeknight dinners to weekend projects for cooks ready to push their skills further, including advanced and chef-level recipes for anyone who’s mastered the basics and wants a bigger challenge. Browse the hub, pick your next dish, and start cooking with a recipe that’s already been tested for you.
Sources
- BA’s Best Smash Burgers | Bon Appétit
- Smash Burgers | The New York Times Cooking
- Ultra smashed cheeseburger (Serious Eats | The Food Lab)