August 12, 2026
How to Sear Scallops for a Perfect Golden Crust
Learn the secret to sear scallops with a perfect golden crust in just 10–20 minutes. Enjoy a delicious, restaurant-quality dish at home!
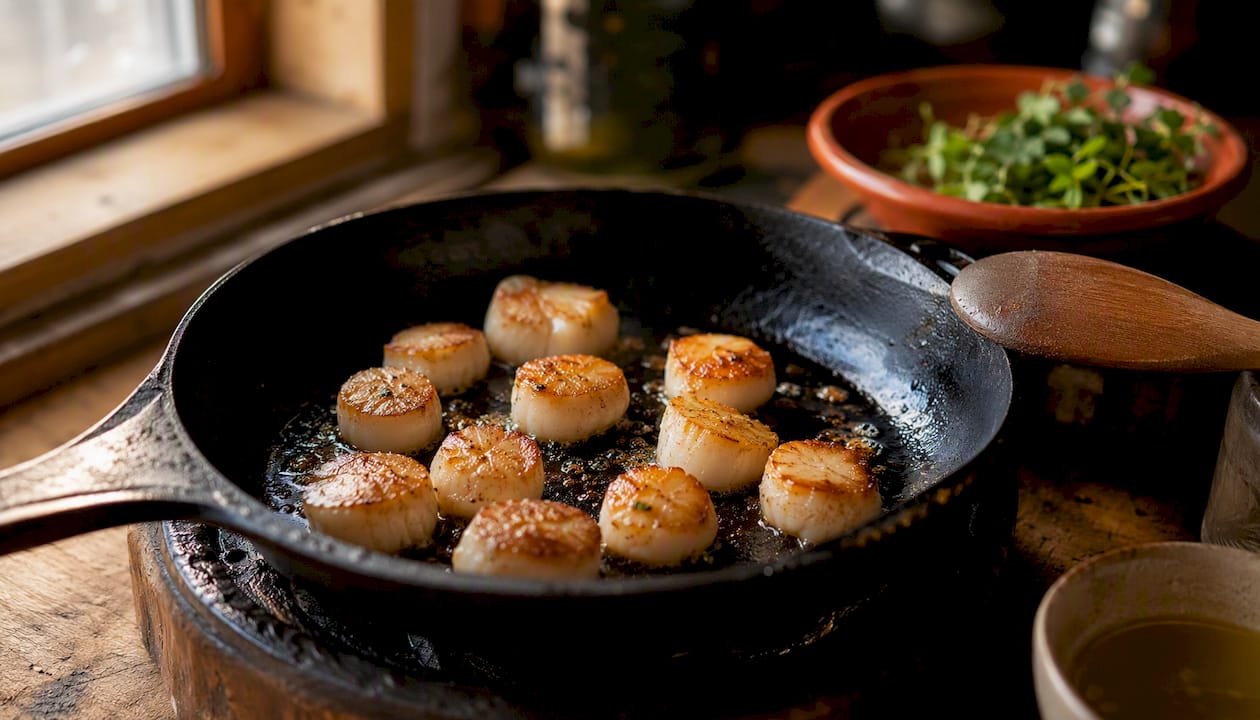
How to Sear Scallops for a Perfect Golden Crust
Perfect pan-seared scallops come down to three things: dry scallops, a screaming-hot pan, and the discipline to leave them alone. Done right, you get a deep mahogany crust on the outside and a just-opaque, almost custardy center in 10–20 minutes flat, yielding about 4 servings (12–16 large sea scallops).
Here’s the checklist before you even turn on the burner:
- Buy dry. Dry scallops have no added water or chemical treatment. Wet scallops steam instead of sear.
- Pat dry and space them. Moisture is the enemy of browning. Give each scallop at least an inch of breathing room in the pan.
- Screaming-hot pan, hands-off sear. Get the oil shimmering before the scallops go in, then don’t touch them until they release on their own.
Total time: 10–20 minutes. Serves 4.
Key Takeaways
Dry scallops, a properly preheated heavy pan, and a hands-off sear of 1.5–2 minutes per side are the three non-negotiable conditions for a restaurant-quality golden crust at home.
| Point | Details |
|---|---|
| Buy dry scallops | Wet scallops treated with STP release water in the pan and prevent browning. |
| Pat dry and rest | Salt-and-rest on paper towels for 10–15 minutes draws out surface moisture for a thicker crust. |
| Hot pan, neutral oil | Heat cast-iron or stainless steel until oil shimmers; target ~385°F pan surface for precision searing. |
| Hands-off, then flip | Sear 1.5–2 minutes undisturbed; flip only when the scallop releases naturally from the pan. |
| Forkwardkitchen’s tested recipe | Rated medium difficulty, 15 minutes to plate, with honest notes on what works on home stovetops. |
Table of Contents
- How to sear scallops: the quick pan-seared recipe
- What to look for when buying and prepping scallops
- Which pan and fat give you the best sear?
- The exact searing technique, step by step
- Finishing techniques and two quick pan sauces
- Why scallops steam instead of sear — and how to fix it
- Variations worth trying
- What Forkwardkitchen’s testing actually found
- The case for mastering this one technique
- Forkwardkitchen’s tested seared scallops recipe is ready for you
- Sources
How to sear scallops: the quick pan-seared recipe
Yield: 4 servings | Prep time: 5 minutes | Cook time: 6–8 minutes
Ingredients
- 1½ lbs large dry sea scallops (about 12–16 scallops, U10–U20 size)
- 2 tablespoons neutral oil (canola, vegetable, or grapeseed)
- 2 tablespoons cold unsalted butter
- ¾ teaspoon kosher salt
- ¼ teaspoon freshly ground black pepper
- 1 lemon, cut into wedges for serving
Instructions
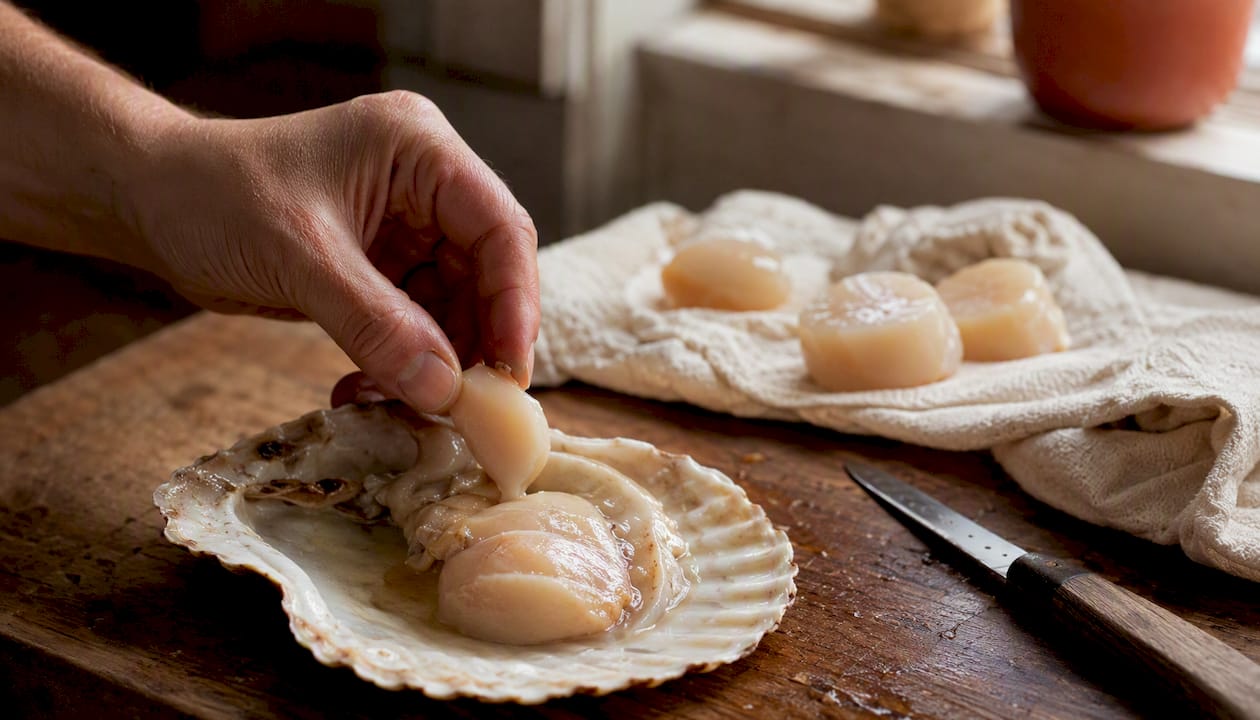
- Remove the side muscle. Peel off the small, tough crescent-shaped muscle attached to the side of each scallop. It pulls off easily with your fingers.
- Pat completely dry. Press each scallop between paper towels. Season with salt and pepper right before cooking, not earlier.
- Heat the pan. Place a cast-iron or heavy stainless-steel skillet over high heat for 2–3 minutes until the pan is very hot. Add the oil and heat until it shimmers and just begins to smoke.
- Sear the first side. Place scallops flat-side down, leaving at least 1 inch between each one. Do not move them. Sear for 1.5–2 minutes until a deep golden crust forms and the scallop releases naturally from the pan.
- Flip once. Turn each scallop. Add cold butter to the pan and tilt it to baste the scallops for 1–1.5 minutes.
- Rest briefly and serve. Transfer to a warm plate. Squeeze lemon over the top and serve immediately.
Recipe notes: Sea scallops (the large ones) are the right call here. Bay scallops are too small and will overcook before a crust develops. If you can only find wet scallops, see the prep section below for a mitigation step. Work in batches if your pan is smaller than ideal size.
What to look for when buying and prepping scallops
The sear starts at the fish counter, not the stove.
Dry vs. wet scallops
Wet scallops are treated with sodium tripolyphosphate (STP), a preservative that causes them to absorb and retain water. When they hit a hot pan, that water steams off before any browning can happen. You end up with a pale, rubbery scallop sitting in a puddle of liquid. Dry scallops contain nothing but scallop. They’re often labeled “dry-packed” or “chemical-free” at the counter, and they tend to look slightly ivory or beige rather than bright white. Ask your fishmonger directly if the label isn’t clear.
Size selection
For pan searing, you want large sea scallops, typically graded U10 (under 10 per pound) or U20 (under 20 per pound). These give you enough surface area to develop a real crust before the center overcooks. Bay scallops, the small sweet ones, are better suited for pasta or chowder.
Removing the side muscle
The small, crescent-shaped muscle on the side of each scallop (sometimes called the “foot”) is safe to eat but noticeably tougher than the rest. It doesn’t sear the same way either. Pinch it between your thumb and forefinger and pull it straight off. Takes two seconds per scallop.
Drying the scallops
Salting and resting scallops on paper towels for about 10–15 minutes draws surface moisture out before they hit the pan. Lay them on a paper-towel-lined plate, sprinkle lightly with salt, and refrigerate uncovered. Skip rinsing under running water right before cooking — that just adds the moisture back.
Pro Tip: If you’re stuck with wet scallops, America’s Test Kitchen recommends soaking them in 1 quart cold water mixed with ¼ cup lemon juice and 2 tablespoons salt for 30 minutes to help draw out the STP. Results still won’t match dry scallops, but it’s a meaningful improvement.
Which pan and fat give you the best sear?
The right pan
Cast-iron and heavy stainless-steel skillets are the two best options for pan-seared scallops. Both retain heat well enough to recover quickly when cold scallops hit the surface. Thin pans drop temperature too fast and you lose the sear. Nonstick pans can’t handle the high heat needed for a proper crust without degrading the coating.
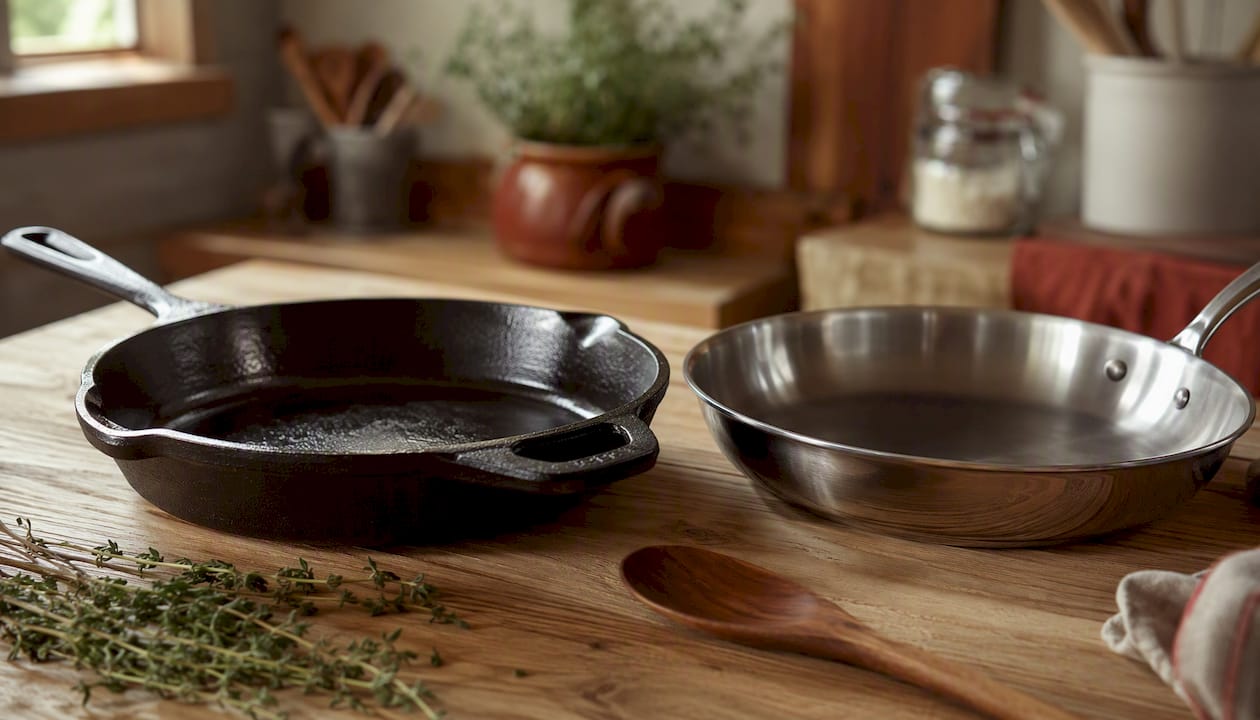
Cast-iron holds heat longer and is forgiving on slightly uneven burners. Stainless steel heats faster and gives you better visibility on the crust color. Either works. A 12-inch pan is the ideal size for a single batch of 6–8 scallops.
Fats for the initial sear
Use a neutral, high-smoke-point oil for the initial sear — canola, vegetable, or grapeseed all work well. Butter burns at the temperatures you need for a proper crust, so it has no place in the pan at the start. Olive oil is borderline; extra-virgin in particular smokes and turns bitter at high heat.
When to add butter
Butter comes in after the first flip. America’s Test Kitchen recommends adding cold butter after the initial sear so the milk proteins contribute additional browning without scorching. Tilt the pan slightly and spoon the foaming butter over the scallops continuously for the last 60–90 seconds. The result is a richer crust and a nutty, aromatic finish.
Equipment checklist:
- 12-inch cast-iron or stainless-steel skillet
- Tongs (not a fork — piercing breaks the crust)
- Paper towels
- Instant-read thermometer (optional but useful)
- A warm plate for resting
Pro Tip: Warm your serving plate in a low oven (200°F) while you cook. Scallops cool fast, and a cold plate kills the texture before the first bite.
The exact searing technique, step by step
Before the pan goes on
Pull scallops from the refrigerator about 10 minutes before cooking. You don’t need them at room temperature, but taking the chill off helps them cook more evenly and reduces the temperature drop when they hit the pan.
The searing sequence
- Place the dry skillet over high heat for 2–3 minutes.
- Add oil. Wait until it shimmers and the first wisps of smoke appear.
- Place scallops flat-side down in a single layer, at least 1 inch apart. If they don’t all fit, work in batches.
- Do not touch them. Resist the urge to check, slide, or nudge. The scallop will stick at first and release naturally once the crust has formed.
- After 1.5–2 minutes, check one scallop by gently pressing the edge with tongs. If it lifts cleanly, the crust is ready. If it resists, wait another 20–30 seconds.
- Flip once. Add cold butter. Baste for about a minute.
- Remove from heat.
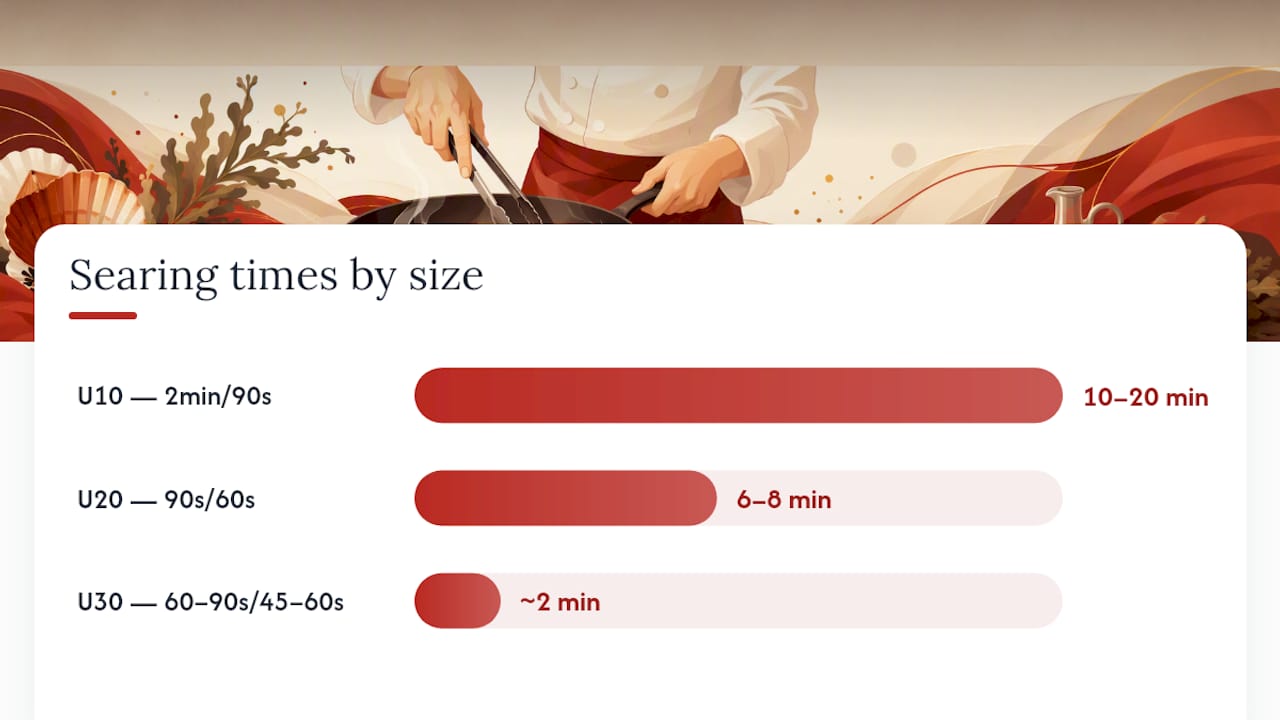
Timing by scallop size
| Scallop size | First side | Second side | Total cook time |
|---|---|---|---|
| U10 (very large) | 2 minutes | 90 seconds | 10–20 minutes |
| U20 (large) | 90 seconds | 60 seconds | 6–8 minutes |
| U30 (medium) | 60–90 seconds | 45–60 seconds | ~2 minutes |
Doneness and temperature
A properly cooked scallop is opaque at the edges with a slightly translucent center that firms up as it rests. The internal temperature for tender scallops is generally around the lower to mid 100s Fahrenheit. ChefSteps recommends targeting a pan surface temperature of around 385°F as a precision benchmark — hot enough to build a deep crust while protecting the edges from scorching. An infrared thermometer makes this easy to verify.
A short note on food safety: The FDA recommends cooking seafood to an internal temperature of 145°F for full safety. Scallops pulled at 115–125°F are still slightly undercooked at the center by that standard. If you’re cooking for immunocompromised individuals, pregnant women, or young children, cook to 145°F and accept a slightly firmer texture.
Finishing techniques and two quick pan sauces
Butter basting
Once you flip the scallops, add 2 tablespoons of cold butter to the pan. It will foam immediately. Tilt the pan toward you and use a spoon to continuously scoop the foaming butter over the top of each scallop. Cold butter (not softened) matters here — it melts gradually and gives you more control over the baste without burning.
Lemon-butter pan sauce
After removing the scallops, keep the pan over medium heat.
- Add 1 tablespoon minced shallot. Cook 30 seconds.
- Add ¼ cup dry white wine. Scrape up any browned bits.
- Reduce by half, about 1 minute.
- Remove from heat. Swirl in 2 tablespoons cold butter and a squeeze of lemon juice.
- Season with salt and pour over plated scallops.
Brown-butter-caper sauce
- After removing scallops, add 3 tablespoons butter to the pan over medium heat.
- Cook until the butter turns golden brown and smells nutty, about 2 minutes.
- Add 2 tablespoons capers and 1 tablespoon lemon juice. It will spit — stand back.
- Swirl once and pour directly over the scallops.
Serving suggestions
Simple sides keep scallops front and center. Creamy polenta, sautéed spinach, cauliflower purée, or a light arugula salad all work. For a heartier plate, brown butter skillet cornbread pairs naturally with the brown-butter-caper sauce and soaks up every drop. Avoid heavy, starchy sides that compete with the scallop’s sweetness.
Why scallops steam instead of sear — and how to fix it
Most searing failures trace back to one of five causes.
- Too much moisture on the scallop. The surface water steams before the Maillard reaction can start. Fix: pat dry more aggressively, or use the salt-and-rest method for 10–15 minutes before cooking.
- Pan not hot enough. A lukewarm pan produces gray, rubbery scallops. Fix: heat the dry pan for a full 2–3 minutes before adding oil, and wait for the oil to shimmer and smoke.
- Overcrowding. Too many scallops drop the pan temperature and trap steam. Fix: work in two batches. Leave at least 1 inch between each scallop.
- Moving scallops too soon. Lifting a scallop before the crust forms tears the surface and ruins the sear. Fix: wait for natural release — if it sticks, it’s not ready.
- Butter added too early. Butter burns at high heat and turns acrid before the crust develops. Fix: add cold butter only after the first flip.
Pro Tip: If your scallops are releasing liquid into the pan mid-sear, the pan wasn’t hot enough when they went in. Don’t panic — pour off the liquid carefully (the pan is very hot), crank the heat back up, and let the surface dry out before the flip. You’ll lose some crust depth, but the scallop is still salvageable.
Variations worth trying
Once you have the base technique down, these variations are worth the extra step.
- Bacon-wrapped scallops. Wrap each scallop in a half-strip of thin-cut bacon, securing with a toothpick. Chill for 15 minutes before searing so the bacon holds its shape. Sear on all sides over medium-high heat, about 2 minutes per side. The bacon fat bastes the scallop as it cooks — no added oil needed. Best for a dinner party appetizer.
- Sesame-crusted scallops. Press one flat side of each dry scallop into a plate of mixed black and white sesame seeds before searing. The seeds toast in the pan and add crunch and a nutty depth. Works well on a weeknight — no extra prep time.
- Miso butter glaze. Whisk 1 tablespoon white miso with 1 tablespoon softened butter and brush onto scallops after the first flip. The miso caramelizes quickly, so watch the heat. Pairs well with a cucumber salad or steamed rice.
- Sous-vide finish with sear. Cook scallops sous-vide at 123°F for 30 minutes, then sear in a screaming-hot pan for 45–60 seconds per side. This is the precision route — the center is perfectly set before the pan even heats up, and the sear is purely about the crust. Best for dinner parties or when you want zero margin for error. For more advanced techniques like this, the chef-level recipe collection at Forkwardkitchen covers the full sous-vide method.
What Forkwardkitchen’s testing actually found
Testing this recipe across multiple sessions produced a few findings that aren’t obvious from reading other guides.
- Cast-iron won on weaker burners. On a standard home electric range, cast-iron retained heat better between batches than stainless. On a gas range, the gap narrowed considerably.
- The salt-and-rest method made a visible difference. Scallops rested on salted paper towels for 15 minutes produced a noticeably thicker crust than scallops patted dry immediately before cooking. The surface was drier and the browning started faster.
- Grapeseed oil outperformed canola at very high heat. Both worked, but grapeseed produced less smoke and a slightly cleaner flavor at the temperatures needed for a proper sear.
- Difficulty rating: Medium. The technique is straightforward, but timing is unforgiving. The window between perfectly cooked and rubbery is about 30 seconds.
- Time to plate: 15 minutes from cold scallops to table, including a single batch.
Pro Tip: If your stovetop runs cool (common with older electric ranges), preheat the pan for an extra minute and consider using a slightly smaller pan to concentrate the heat. A 10-inch pan for 6 scallops will outperform a 12-inch pan half-filled on a weak burner.
For a technique parallel in quick seafood skillet cooking, the shrimp scampi recipe at Forkwardkitchen uses the same hot-pan, butter-finish approach and is worth reading alongside this one.
The case for mastering this one technique
There’s a version of this dish that most home cooks never quite reach — not because it’s technically hard, but because the margin for error feels narrow and the stakes feel high. Scallops are expensive. The window between a perfect sear and a rubbery disappointment is genuinely short. That combination makes people cautious, and caution is exactly what kills the crust.
The reward for committing to a screaming-hot pan and keeping your hands off is a scallop that tastes like it came from a serious restaurant kitchen. The crust is genuinely different from anything a gentle sauté produces — caramelized, slightly sweet, with a texture that contrasts the soft center in a way that makes the dish. Once you’ve nailed it once, the technique becomes automatic.
Try the recipe above, note where your timing lands for your specific burner and pan, and adjust from there. Forkwardkitchen rates this as a medium-difficulty recipe — achievable on the first attempt if you follow the prep steps, and nearly foolproof by the second.
Forkwardkitchen’s tested seared scallops recipe is ready for you
Every recipe at Forkwardkitchen is tested from scratch, rated honestly for difficulty, and written so you know exactly what to expect before you start cooking. The seared scallops recipe above carries a medium difficulty rating and a 15-minute time-to-plate estimate — both verified through multiple test rounds.
If you want to keep building your seafood repertoire, the full recipe index at Forkwardkitchen includes tested techniques across every skill level, from fast weeknight plates to weekend projects that reward the extra time. Browse the collection and find your next cook.