July 24, 2026
How to Cook Rice Perfectly: Methods, Ratios, and Tips
Master how to cook rice perfectly with the right water ratios, methods, and essential tips for delicious results every time.
How to Cook Rice Perfectly: Methods, Ratios, and Tips
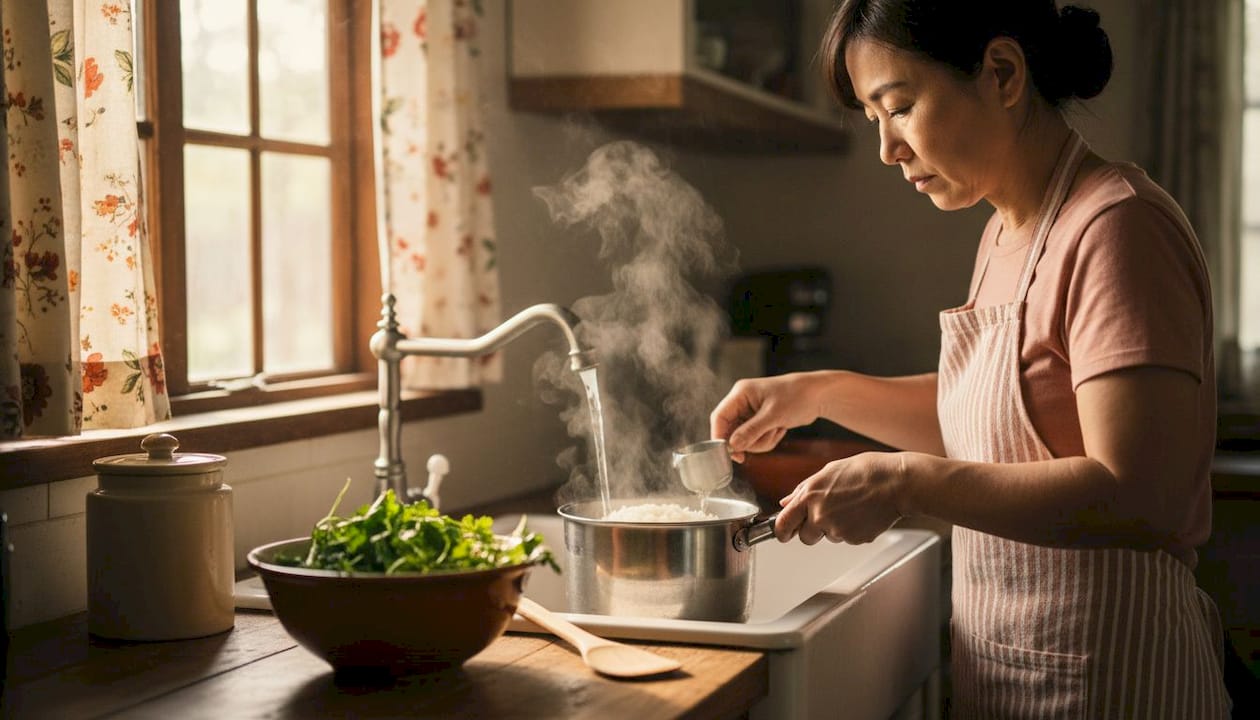
Perfect rice comes down to three things: the right water ratio, the right method, and the patience to let it rest. The stovetop absorption method is the most common technique in the U.S., typically using 1 cup of rice to 2 cups of water, brought to a boil then simmered covered until absorbed. However, research from America’s Test Kitchen confirmed that a 1:1 ratio is sufficient to cook all rice varieties perfectly when evaporation is eliminated; the 2:1 ratio compensates for steam lost during typical stovetop cooking.
Here is what you need to know upfront:
- Measure accurately. Use a dry measuring cup for rice and a liquid cup for water.
- Match the ratio to the method. Stovetop, oven, and microwave each require slightly different amounts of liquid.
- Keep the lid on. Lifting it releases steam and wrecks the cook.
- Rest the rice. Five to ten minutes off heat, lid still on, transforms average rice into something genuinely good.
- Fluff, don’t stir. A fork or rice paddle separates the grains without activating starch.
Whether you are cooking on the stove, in the oven, or in the microwave, the method matters less than understanding why each step works. This guide walks through all of it.
Table of Contents
- What type of rice should you use?
- What is the right rice to water ratio?
- How to cook rice on the stove
- How to cook rice in the oven
- How to cook rice in the microwave
- Common mistakes that ruin rice
- Tips and troubleshooting for better rice every time
- What culinary experts and food science say about cooking rice
- Ready to put it all together?
- Key Takeaways
What type of rice should you use?
Rice is not a monolith. The variety you choose determines texture, cooking time, and how well it pairs with a dish. Getting this right before you even touch the stove saves a lot of frustration.
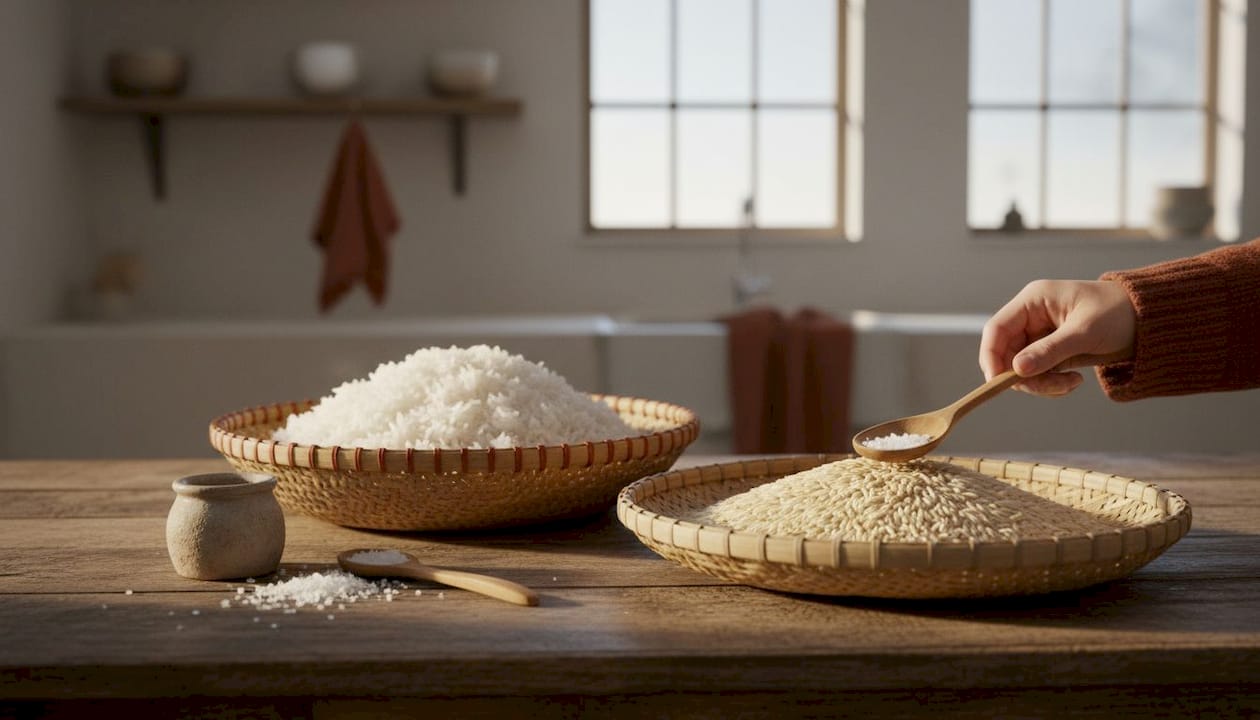
Long-grain white rice (including U.S.-grown varieties) stays fluffy and separate after cooking, making it the go-to for everyday meals, stir-fries, and side dishes. Medium-grain rice is slightly stickier and works well in dishes like paella or rice bowls where a little cling is welcome. Short-grain rice is the stickiest of the three, ideal for sushi and Korean rice dishes where the grains need to hold together.
- Jasmine rice: A fragrant long-grain variety from Thailand. Softer and slightly stickier than basmati, with a floral aroma. According to food writers Amanda Maneesilasan and Chitra Agrawal, jasmine is softer and stickier than basmati, making it a natural fit for curries, Thai dishes, and rice puddings.
- Basmati rice: Originally from India and Pakistan, basmati has extra-long, thin grains that stay firm and dry after cooking. It excels in pilafs, biryanis, and any dish where you want distinct, separated grains.
- Brown rice: Whole-grain rice with the bran layer intact. Nuttier flavor, chewier texture, and significantly longer cook time (40–45 minutes on the stove versus 15–18 for white rice).
- Parboiled rice: Partially cooked before milling, which makes it firmer and less sticky than regular white rice. Good for casseroles and dishes where the rice will continue cooking in liquid.
- Wild rice: Technically a grass seed, not rice, but cooked the same way. Takes 40–50 minutes and needs about 3 cups of water per cup of grain.
The jasmine vs. basmati question comes up constantly. Both are aromatic long-grain varieties, but they are not interchangeable. Jasmine suits sticky, saucy dishes; basmati belongs in dishes where each grain should stand alone. There is also a nutritional angle: basmati has a lower glycemic index than jasmine, which matters if you are managing blood sugar.
What is the right rice to water ratio?
The standard rule of thumb is 2 parts liquid to 1 part rice by volume. That works as a starting point, but it is not the whole story. Research from America’s Test Kitchen found that a 1:1 ratio is sufficient to cook every type of rice when evaporation is eliminated entirely. The extra water in most recipes exists purely to compensate for steam lost during cooking.
What that means practically: your pot, your lid, and your stove all affect how much water you actually need. A loose-fitting lid loses more steam than a tight one. A wide, shallow pan evaporates faster than a narrow, deep one. Evaporation, pot lid tightness, vessel shape, and heat intensity all shift the water needed, so treat published ratios as a starting point and adjust based on your kitchen.
| Rice type | Parts liquid to 1 part rice | Stovetop cook time | Oven cook time |
|---|---|---|---|
| White, long grain | 2 (stovetop/oven); 1:1 in non-evaporative sealed conditions | 15–18 minutes | 25–30 minutes |
| White, medium grain | 1½ | 15–18 minutes | 25–30 minutes |
| White, short grain | 1¼ | 15–18 minutes | 25–30 minutes |
| Brown, medium or long grain | 2¼ | 40–45 minutes | 50–60 minutes |
| Parboiled | 2¼ | 20 minutes | 30–40 minutes |
| Jasmine, white | 2 | 15–18 minutes | 25–30 minutes |
| Basmati, white | 2 | 15–18 minutes | 25–30 minutes |
| Wild rice | 3 | 40–50 minutes | Not recommended |
A few ratio adjustments worth knowing:
- If you rinse the rice first, reduce cooking water by about 2 tablespoons per cup. Rinsed rice absorbs some water during washing, and skipping this adjustment produces mushy results.
- Brown rice needs more time, not necessarily more water. The bran layer takes longer to hydrate, which means more water evaporates during the extended cook. That is why the ratio is higher, not because the grain itself absorbs more.
- Scaling up changes evaporation math. Doubling the rice does not double the steam lost, so you may need slightly less water per cup when cooking large batches.
How to cook rice on the stove
The stovetop method gives you the most control and, for most home cooks, the best results. A heavy-bottomed saucepan with a tight-fitting lid is the right tool. Thin pans create hot spots that scorch the bottom before the top is done.
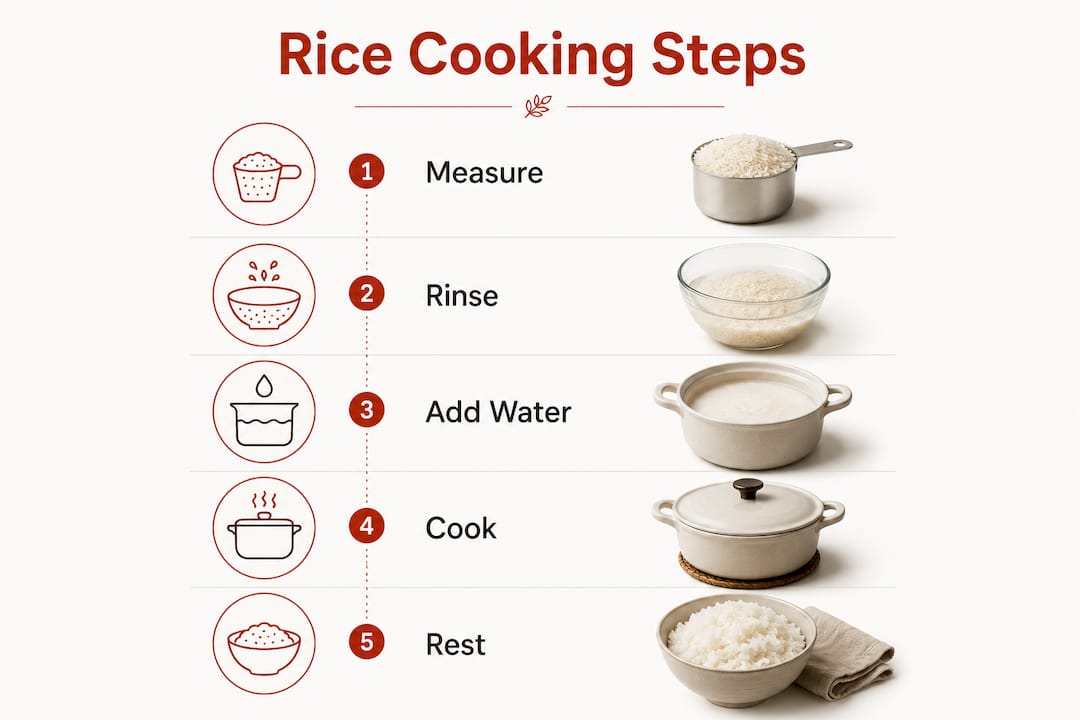
- Measure your rice and water. For white long-grain rice, use 1 cup rice to 2 cups water. Add a pinch of salt and, optionally, a small pat of butter or a splash of oil.
- Combine in the saucepan. Add rice and cold water together. Do not bring the water to a boil first for stovetop cooking.
- Bring to a boil over medium-high heat. Once the water is boiling, stir once or twice, then reduce heat to the lowest setting your stove allows.
- Cover tightly and simmer. White rice takes 15–18 minutes; brown rice takes 40–45 minutes; parboiled rice takes 25–30 minutes. Do not lift the lid.
- Check for absorption. Tilt the pan slightly. If liquid pools at the edge, cover and cook another 2–4 minutes. If the rice looks dry and tender, move on.
- Rest off heat. Remove the pan from the burner, keep the lid on, and let it stand for 5–10 minutes. This is when moisture redistributes through the grains.
- Fluff and serve. Use a fork or rice paddle to gently separate the grains. Serve immediately or keep covered until ready.
Pro Tip: If your rice is crunchy in the center after the full cook time, add 2–3 tablespoons of water, replace the lid, and cook on low for another 3–4 minutes. Undercooked rice is always fixable; overcooked rice is not.
For a practical look at the stovetop absorption technique, this beginner’s breakdown covers the method clearly. Once you have the basics down, dishes like restaurant-style shrimp fried rice become genuinely approachable.
How to cook rice in the oven
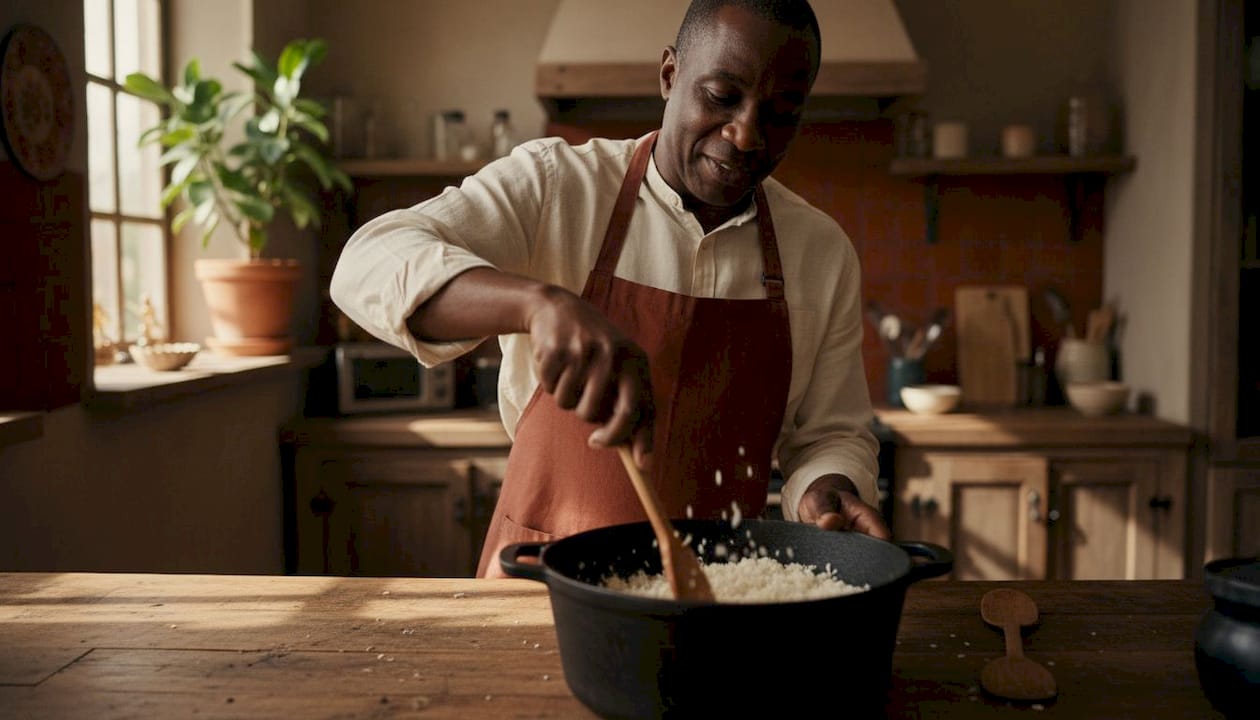
Oven rice is underrated for batch cooking. It frees up your stovetop, cooks more evenly than the stove for large quantities, and requires almost no attention once it is in. The key difference from stovetop: you must start with boiling liquid, not cold water. Cold water in a 350°F oven takes too long to come up to temperature, which leads to uneven cooking.
- Preheat your oven to 350°F.
- Bring your cooking liquid to a boil on the stovetop or in a kettle.
- Combine rice, boiling liquid, salt, and butter or oil in a baking dish or oven-safe pan. Stir briefly.
- Cover tightly with a lid or aluminum foil. A snug seal is critical here since loose foil lets steam escape and dries out the rice.
- Bake according to rice type: white rice for 25–30 minutes, parboiled rice for 30–40 minutes, and brown rice for 50–60 minutes.
- Rest for 10 minutes with the cover still on before fluffing.
Key points for oven rice:
- Use a baking dish that fits the quantity. Rice triples in volume, so a 1-cup batch needs at least a 2-quart dish.
- Oven cooking is energy-efficient when other dishes are already baking, since you are not running the oven just for rice.
- For a large batch (2 cups or more), a 9x13 pan works well and cooks evenly.
- Do not skip the rest period. The rice continues to steam in the residual heat, and skipping it leaves the top layer undercooked.
How to cook rice in the microwave
Microwave rice is fast and genuinely useful when the stove is occupied or you only need a small amount. The method works, but vessel selection matters more than most people realize. You need a deep, microwave-safe container, at least three to four times taller than the water level, because rice water bubbles up aggressively during cooking.
- Combine rice, boiling water, salt, and a small amount of butter or oil in a deep microwave-safe dish. Use 2 cups of water per 1 cup of white rice for microwave cooking.
- Cover the dish tightly with a microwave-safe lid.
- Microwave on high (100% power) for 5 minutes until boiling.
- Reduce to medium power (50%) and continue cooking: 15 minutes for white rice, 20 minutes for brown or parboiled rice.
- Let stand covered for 5 minutes after the microwave stops. Do not skip this step.
- Fluff with a fork and serve.
Quick reference for microwave rice:
- White rice: 5 minutes on high, then 15 minutes on medium (50% power)
- Brown rice: 5 minutes on high, then 20 minutes on medium (50% power)
- Parboiled rice: 5 minutes on high, then 20 minutes on medium (50% power)
- Always rest 5 minutes before opening the lid
- Microwave wattage varies; a 1,200-watt oven is the standard baseline for these times
Pro Tip: If your microwave runs below 1,000 watts, add 2–3 minutes to the medium-power stage. Higher-wattage microwaves may finish a minute or two early, so check for full water absorption before the rest period.
Common mistakes that ruin rice
Most bad rice traces back to a handful of repeatable errors. Knowing what they are makes it easy to avoid them.
- Wrong water ratio. Using too much water is the most common mistake. It produces soft, gummy rice with a sticky surface. Stick to the ratios in the table above and adjust for your equipment.
- Lifting the lid during cooking. Every time you open the pot, steam escapes. That steam is doing the work. Keeping the lid closed retains the heat and moisture the rice needs to cook through evenly.
- Stirring while the rice cooks. Stirring releases starch from the grains, which creates a sticky, gluey texture. Stir once when you first add the rice to boiling water, then leave it alone.
- Skipping the rest period. Pulling rice off the heat and serving it immediately leaves moisture unevenly distributed. The grains on the bottom are wetter; the ones on top are drier. Five to ten minutes covered off heat fixes this.
- Rinsing without adjusting water. If you rinse your rice, you need to reduce the cooking water slightly. Rinsed grains absorb water during washing, and using the full ratio on top of that leads to mushy results.
- Using the wrong pot. A thin pan with a loose lid is a recipe for scorched bottoms and undercooked tops. A heavy-bottomed saucepan with a snug lid makes a real difference.
Tips and troubleshooting for better rice every time
Small adjustments make a bigger difference than most cooks expect. These are the ones worth building into your routine.
- Swap water for broth. Chicken broth, vegetable stock, or bone broth adds depth without any extra effort. Use the same volume as you would water.
- Toast the rice first. Sautéing dry rice in a little butter or oil for 1–2 minutes before adding liquid adds a subtle nuttiness and helps keep the grains separate. This is the foundation of pilaf technique.
- Add aromatics early. A bay leaf, a smashed garlic clove, or a cinnamon stick added to the cooking liquid perfumes the rice without overpowering it.
- Adjust for altitude. At higher elevations, water boils at a lower temperature, which means rice takes longer to cook. Add about 1 minute of stovetop cook time for every 1,000 feet above sea level.
- Fix undercooked rice. If the rice is still crunchy after the full cook time, add 2–3 tablespoons of water, cover tightly, and cook on low for another 3–4 minutes. Do not increase the heat.
- Fix wet rice. If the rice is cooked but still has excess liquid, remove the lid and cook on low for 2–3 minutes to let the moisture evaporate. Alternatively, drape a clean kitchen towel over the pot under the lid to absorb steam.
- Never skip the fluff. Fluffing with a fork or rice paddle separates the grains and releases trapped steam. Rice left to sit without fluffing compacts as it cools.
The rest period deserves special attention. Allowing rice to sit covered for 5–10 minutes after cooking lets moisture redistribute evenly through every grain. It is the single step most home cooks skip and the one that most reliably separates good rice from great rice.
What culinary experts and food science say about cooking rice
The science behind rice cooking is more interesting than the basic instructions suggest, and understanding it makes you a better cook rather than just a better recipe-follower.
America’s Test Kitchen ran a controlled experiment cooking 17 different rice varieties, including white and brown short-grain, medium-grain, long-grain, basmati, jasmine, and red and black rice, in vacuum-sealed bags with a 1:1 ratio of rice to water. Every single variety cooked through perfectly. The conclusion: all rice types need the same amount of water to hydrate. The higher ratios in most recipes exist entirely to compensate for evaporation, not because different rice varieties absorb different amounts of water.
Cook, writer, and teacher Sonoko Sakai makes a related point: mastering stovetop technique with basic cookware often produces better-tasting rice than relying on expensive appliances. Heat management and patience, not gadgets, drive the result.
On the jasmine vs. basmati question, the distinction goes beyond texture. Jasmine suits saucy, rich dishes where a softer, slightly sticky base is an asset. Basmati belongs in dishes where each grain should stay distinct, like biryani or a Persian-style pilaf. Nutritionally, basmati’s lower glycemic index makes it the better choice for blood sugar management, though both varieties are close in calories and fat content.
The rinsing debate is worth settling clearly. Most U.S. white rice is enriched with iron, niacin, thiamin, and folic acid. Rinsing washes those nutrients away. If you are cooking American-grown enriched white rice, skipping the rinse is the right call nutritionally. If you are cooking imported jasmine or basmati and want less surface starch, rinse it, but reduce your cooking water by 2 tablespoons per cup to compensate.
A few additional insights worth keeping:
- Lid fit is not a minor detail. A loose lid can shift the effective water ratio enough to leave rice undercooked or unevenly cooked.
- Brown rice does not need more water than white rice in absolute terms. It needs more time, and that longer cook time means more evaporation, which is why the ratio appears higher.
- Resting rice is not optional for restaurant-quality texture. The 5–10 minutes off heat allows moisture to move from the wetter bottom grains to the drier top ones, producing even texture throughout.
- If you want separated grains, sauté the dry rice in butter or oil before adding liquid. The fat coats each grain and physically prevents them from sticking together during cooking.
For readers who want to put these techniques to work, the Nigerian Jollof Rice recipe on Forkwardkitchen is a good test of heat management and ratio control, and the Instant Pot Risotto shows how dramatically different the process becomes when you want the starch to do the opposite of what it does in fluffy rice.
Ready to put it all together?

Forkwardkitchen tests every recipe from scratch, with honest difficulty ratings and real cook notes, so you know exactly what you are getting into before you start. Whether you are cooking a simple weeknight pot of rice or working through a more ambitious dish, the full recipe collection covers every skill level and every occasion.
Key Takeaways
Cooking rice perfectly requires accurate water ratios, a tight lid, and a 5–10 minute rest period off heat, regardless of which method you use.
| Point | Details |
|---|---|
| Water ratio varies by method | Stovetop white rice typically uses 2 cups water per 1 cup rice to offset evaporation; in rice cookers or sealed methods, a 1:1 ratio is sufficient. Oven rice requires boiling liquid to start. |
| All rice hydrates at 1:1 | America’s Test Kitchen confirmed every rice variety cooks through with a 1:1 ratio when evaporation is eliminated. |
| Rest period is non-negotiable | Letting rice sit covered for 5–10 minutes off heat redistributes moisture and produces even, fluffy texture throughout. |
| Jasmine and basmati are not interchangeable | Jasmine is softer and stickier, suited to curries; basmati stays firm and separate, ideal for pilafs and biryani. |
| Rinsing enriched U.S. rice removes nutrients | Skip rinsing for American-grown enriched white rice; if you do rinse, reduce cooking water by 2 tablespoons per cup. |