August 1, 2026
How to Caramelize Onions: Tested Stovetop Method
Learn how to caramelize onions perfectly with our stovetop method. Unlock sweet, jammy flavors for soups, sauces, and more!
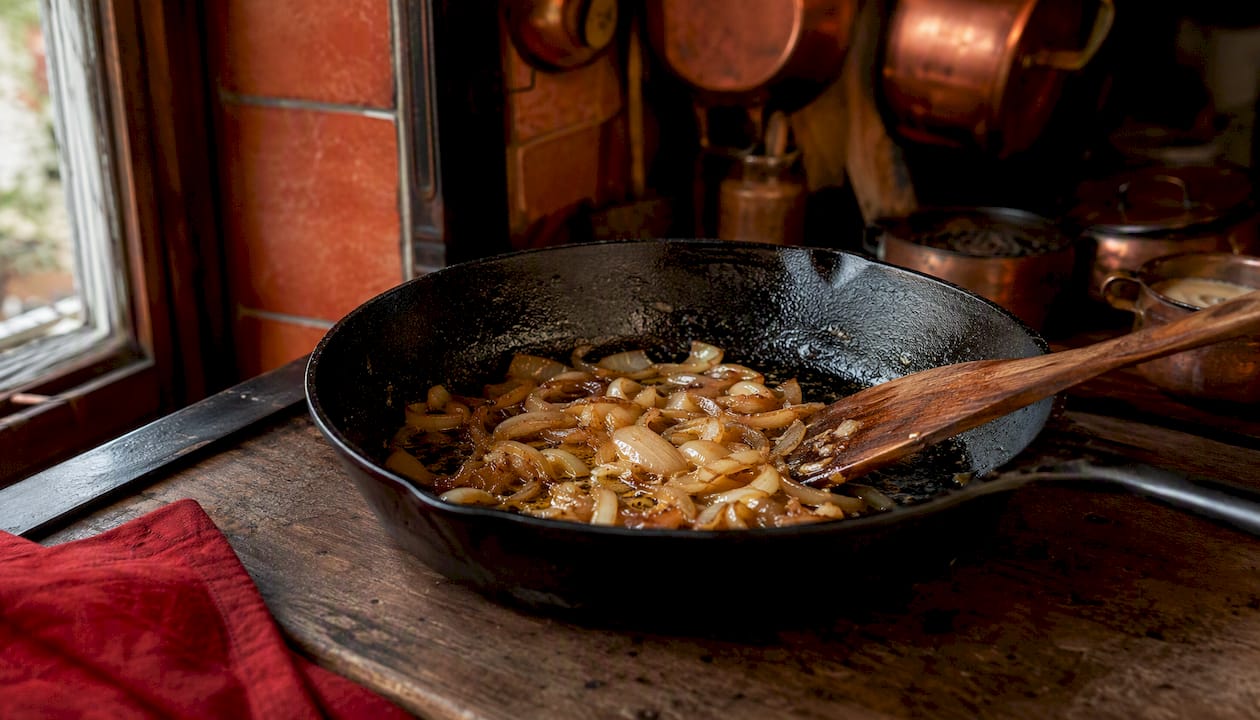
How to Caramelize Onions: Tested Stovetop Method
Low-and-slow stovetop is the best way to caramelize onions for most home cooks. No shortcut fully replicates the jammy, deeply sweet result you get from patient cooking over medium-low heat. That said, shortcuts are worth knowing:
- Use the full low-and-slow method when flavor is the whole point: French onion soup, onion dip, pasta sauce, or anything where the onions are the star.
- Use a faster method (higher heat with deglazing, or the baking soda trick) when you need a burger topping or a quick pasta addition and you’re working against the clock.
- Use the slow cooker or oven when you want a hands-off batch and don’t mind slightly less depth.
The single thing most home cooks get wrong: they quit at 20 minutes. The onions look golden, smell good, and seem done. They’re not. True caramelization, where sugars fully break down and the texture turns silky and jammy, needs more time than that. Visual cues matter more than the clock, but the clock still matters.
Table of Contents
- Which cooking method should you use to caramelize onions?
- How to caramelize onions on the stovetop (the tested method)
- What are the fastest ways to caramelize onions?
- What pan and ingredients give you the best results?
- What goes wrong when you caramelize onions, and how do you fix it?
- How do you store and use caramelized onions?
- Key Takeaways
- The case for slowing down
- Forkwardkitchen’s tested recipes start here
- Further reading and sources
Which cooking method should you use to caramelize onions?
| Method | Time | Flavor/Depth | Texture | Attention Needed | Equipment |
|---|---|---|---|---|---|
| Low-and-slow stovetop | 45–60 minutes | Deep, complex, sweet | Jammy, silky | Occasional stir | Wide skillet or saucepan |
| Quick stovetop (high heat) | 20–30 min | Good color, less nuance | Browned, slightly firmer | Frequent stir + deglaze | Wide skillet |
| Baking soda trick | 20–30 min | Good sweetness, slight risk of off-flavor | Softer, jammy | Moderate | Wide skillet |
| Instant Pot / pressure cooker | 20–30 min | Mild, less developed | Soft, sometimes mushy | Low | Instant Pot |
| Oven roasting | 40–45 minutes | Tangy-sweet (especially with balsamic) | Soft, slightly caramelized | Very low | Oven-safe skillet or baking dish |
| Slow cooker | several hours | Mild, sweet | Soft, uniform | Minimal | Slow cooker |
The low-and-slow stovetop method wins on flavor every time. Quick methods produce browned onions but lack the deep, jammy sweetness of true caramelization. That’s not a knock on shortcuts — it’s just an honest description of the tradeoff.
A few method-specific notes worth knowing before you choose:
- Quick stovetop: Works well for burger toppings. Expect good color and a slightly sharper flavor than the slow method.
- Baking soda trick: Speeds browning by raising the pH of the onions. Useful when you’re short on time, but the flavor difference from low-and-slow is real.
- Instant Pot: The pressure-cooking step softens onions fast, but the follow-up sauté rarely rescues the texture fully. Expect a softer, wetter result.
- Oven roasting: Hands-off and easy to clean up. Less fond development means less depth, but the result is pleasant for grilled cheese or frittatas.
- Slow cooker: Great for a big batch on a weekend. The flavor is mild and sweet rather than complex, which works fine for most applications.
How to caramelize onions on the stovetop (the tested method)
What you need
Yield: About a moderate yield of caramelized onions from several large onions
- several large yellow onions, thinly sliced, thinly sliced pole-to-pole
- some unsalted butter
- some olive oil
- a pinch of kosher salt
- a small amount of liquid (water, broth, or white wine) for deglazing
Yellow onions are the preferred choice for caramelizing because their higher natural sugar content produces sweeter, more complex results than white or red onions.
Step-by-step instructions
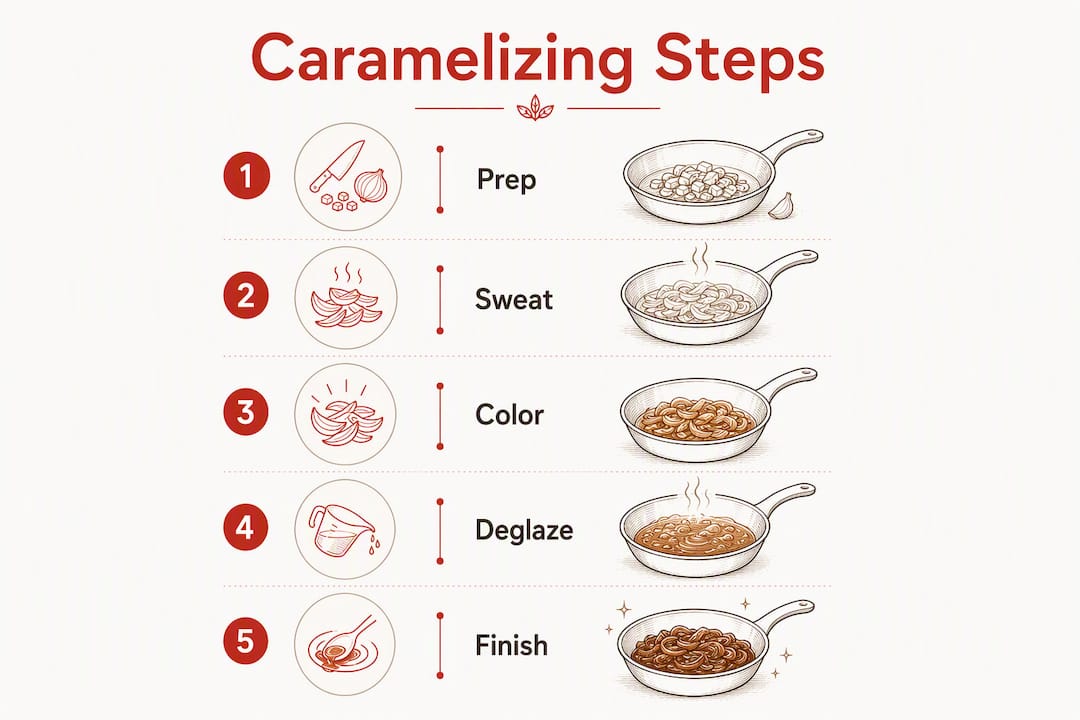
- Slice the onions. Cut pole-to-pole (root to tip) rather than crosswise. This preserves the cell structure and gives you longer, silkier strands that hold together as they cook.
- Heat the pan. Set a heavy stainless-steel skillet over medium heat. Add butter and olive oil together. The oil raises the smoke point; the butter adds flavor.
- Add the onions in batches. Don’t dump them all in at once. Add a few large handfuls, stir until they soften and shrink, then add more. Season with salt once all the onions are in.
- Cover for the first 5–8 minutes. Covering traps steam and wilts the onions quickly without burning. This is the sweat phase.
- Uncover and reduce heat to medium-low. Stir frequent intervals. The onions will release liquid, then slowly begin to color.
- Deglaze when you see fond. When browned bits appear on the pan bottom, add a tablespoon of liquid and scrape them up. Those bits are concentrated flavor. Use water for a neutral result, broth for savory depth, or white wine for a slight tang.
- Keep going until deep amber. Don’t stop at golden. Push to a deep mahogany color for the full result.
Timing and visual phases
| Phase | Visual Cue | Approximate Time |
|---|---|---|
| Sweat | Translucent, releasing liquid | — |
| Color development | Golden, volume reduced by half | 10–30 min |
| Deep caramelization | Amber to mahogany, jammy | 45–60 min |
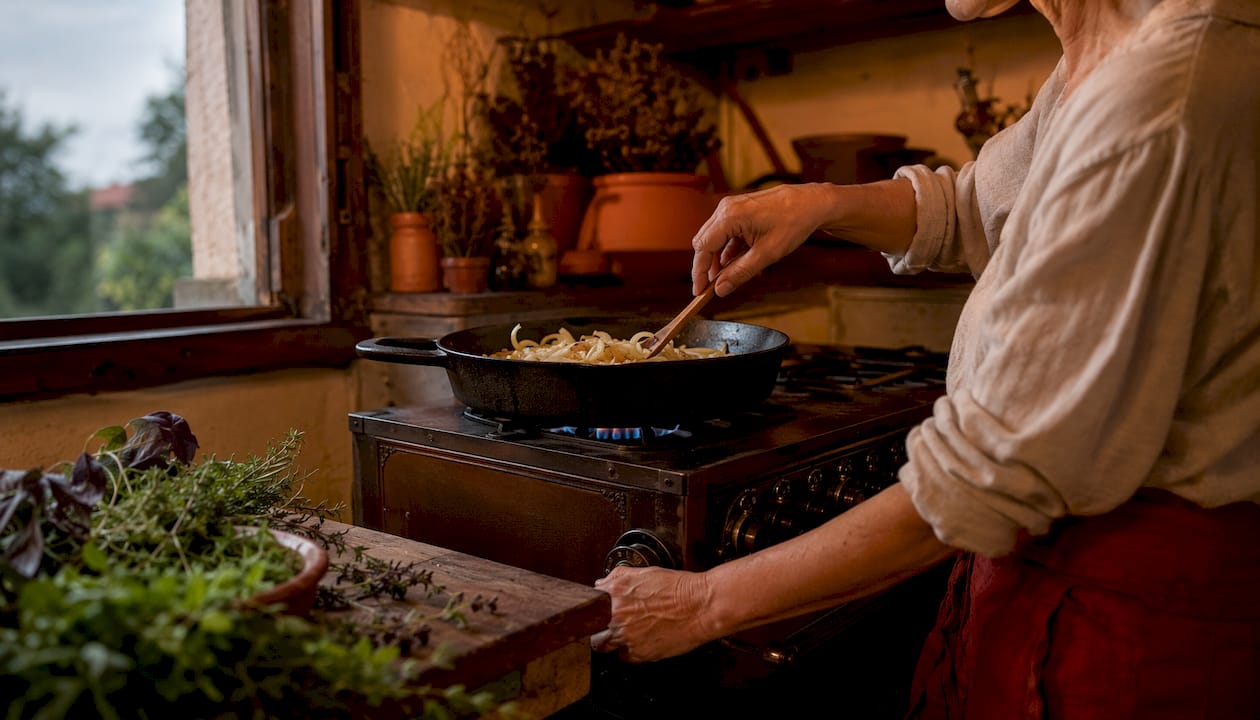
Pro Tip: Onion age and water content vary, so use the color and texture as your guide, not just the clock. An older, drier onion can caramelize faster than a fresh one. When the onions look like jam and smell deeply sweet, they’re done.
What are the fastest ways to caramelize onions?
Quick stovetop (higher heat with deglazing)
Crank the heat to medium-high and slice the onions thin. Add butter, then stir frequently and deglaze with a tablespoon of water every time the pan looks dry or fond starts to build. The process takes roughly around twenty to thirty minutes. The result has good color and a slightly less nuanced flavor than the slow method — solid for burger toppings, not ideal for French onion soup.
The baking soda trick
Small amounts of baking soda speed browning by raising the pH of the onions, which accelerates the Maillard reaction. The method starts with a covered pan and a splash of water to steam the onions, then proceeds with a press-and-scrape technique instead of constant stirring.
- Start onions in a covered pan with a splash of water over medium-high heat.
- Once the water evaporates, reduce to medium-high and press onions flat with a spatula. Wait 30 seconds, scrape up the fond, redistribute, and repeat.
- When the onions are nearly done, stir in a small baking soda solution (about a small measured amount dissolved in water appropriate for the onions used).
The flavor is genuinely good. But use baking soda sparingly. Too much produces a soapy, off-flavor that no amount of deglazing fixes. Skip this method entirely if you’re making a delicate dish where the onion flavor is front and center.
Instant Pot / pressure cooker
Sauté onions in the Instant Pot on the sauté setting for a few minutes, then pressure cook on high for 5 minutes. Release pressure, drain excess liquid, and sauté again for several minutes to develop color. The texture tends to be softer and wetter than stovetop results, and the flavor is milder. Fine for a quick pasta sauce, less satisfying for soup.
Oven roasting
Toss sliced or quartered onions with oil, salt, and optionally a splash of balsamic vinegar. Roast in an oven-safe skillet or baking dish at moderate oven temperature, covered with foil for the first 20 minutes, then uncovered for another 20–25 minutes. Finish under the broiler for 3–5 minutes if you want more color. The cleanup is easier than stovetop, and the tangy-sweet result works well for grilled cheese, frittatas, and flatbreads.
Slow cooker
Pile sliced onions into the slow cooker with butter and a pinch of salt. Cook on low for 8–10 hours. The result is soft, uniformly sweet, and requires almost no attention. Flavor depth is lower than stovetop, but the batch size can be large, making it a practical make-ahead option.
What pan and ingredients give you the best results?
Pan choice
A heavy-bottomed, wide skillet is the single most important equipment decision. Heavy stainless steel or cast iron distributes heat evenly and avoids hotspots that cause uneven browning. Wide surface area matters because it lets moisture evaporate rather than pool. A pan that’s too small turns into a steam bath, and steamed onions don’t caramelize.
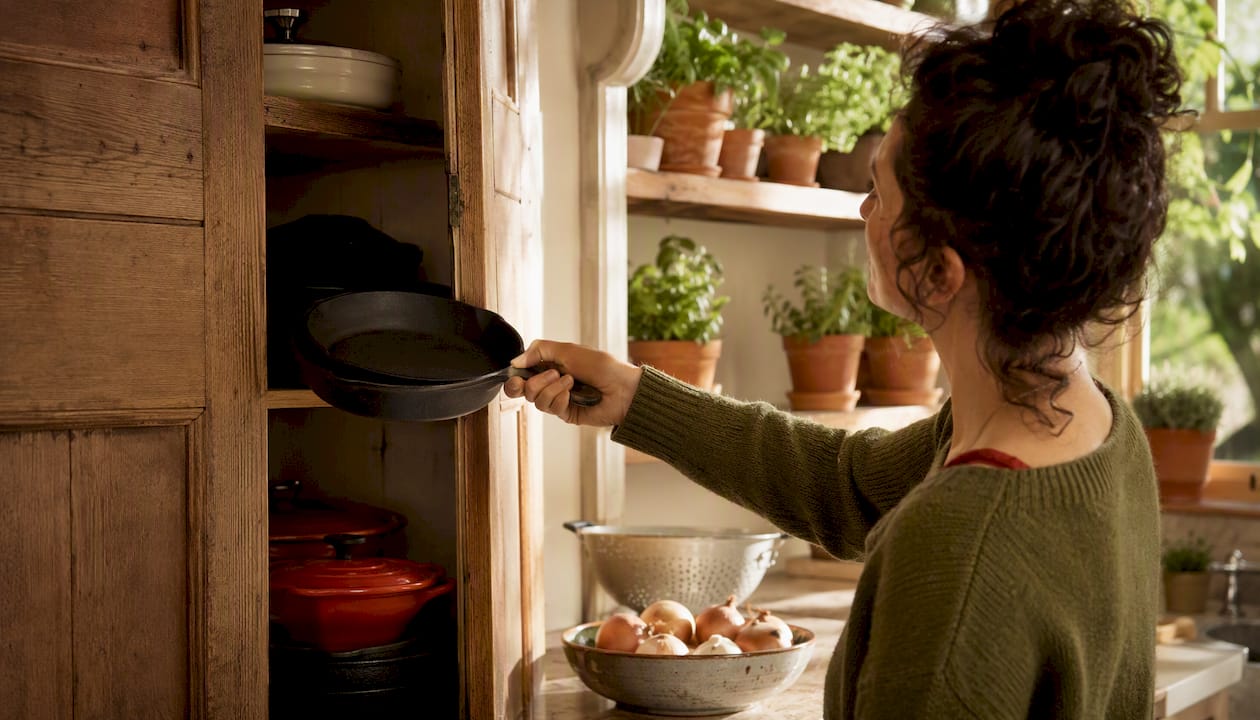
Pro Tip: If your pan looks crowded at the start, that’s fine. Onions shrink dramatically as they cook. A 12-inch skillet handles several large onions comfortably.
Which onion to use
Yellow onions are the standard choice, and for good reason. Their sugar content is higher than white onions, and their flavor is more complex than sweet onions like Vidalia, which can turn cloying. Red onions caramelize well but add a slightly different flavor profile and lose their color. Shallots caramelize beautifully and quickly, making them a good choice when you want a smaller batch with a more delicate result.
Slicing orientation
Pole-to-pole slicing (root to tip) keeps the cell walls more intact, which means the strands hold their shape longer and give you a silkier final texture. Crosswise slicing breaks down faster and produces a softer, more uniform mush. Both work, but pole-to-pole is the better choice for most applications.
Fat choices
Butter alone adds the most flavor but burns more easily at higher temperatures. Olive oil alone is more forgiving but adds less richness. A combination of both is the most practical approach for the stovetop method. Add a drizzle of neutral oil if you’re cooking at higher heat for a faster method. Skip sugar additions unless a recipe specifically calls for it. The onions have plenty of natural sugar, and adding more often makes the result cloying rather than complex.
What goes wrong when you caramelize onions, and how do you fix it?
- Burning instead of browning: Heat is too high. Lower it immediately and add a tablespoon of water to cool the pan. Rushing with higher heat produces a burnt exterior with a raw interior. There’s no fix for truly scorched onions; start over.
- Onions steaming instead of caramelizing: Pan is too crowded, or heat is too low. Remove some onions, increase heat slightly, and stir less frequently so moisture can evaporate.
- Uneven browning: Stirring too infrequently in spots, or the pan has hotspots. Switch to a heavier pan and stir more deliberately, scraping the bottom each time.
- Bitter or soapy flavor: Too much baking soda. Use no more than ¼ teaspoon per 2 lbs of onions, and dissolve it in water before adding.
- Lost fond: If the browned bits on the pan bottom look like they’re about to burn, deglaze immediately. Add a tablespoon of liquid and scrape. Those bits dissolve back into the onions as concentrated flavor.
Visual check while cooking: the onions should look progressively darker and smaller, smell sweeter as they cook, and feel soft when pressed with a spatula. If they smell sharp or acrid, the heat is too high.
How do you store and use caramelized onions?
Storage
Caramelized onions keep in the refrigerator for about a week in an airtight container, and they freeze well for a few months. For freezing, portion them into tablespoon-sized amounts in an ice cube tray, freeze solid, then transfer to a zip-top bag. That way you can pull out exactly what a recipe needs without thawing a whole batch.
Make-ahead workflow
Cook a large batch on the weekend: a batch made from several large onions yields enough for multiple meals. Cool completely before storing. Label the container with the date. Reheat gently in a skillet with a splash of water or broth to restore the texture. They reheat in about a few minutes.
Where to use them
| Use Case | Notes |
|---|---|
| French onion soup | Needs the full low-and-slow batch; blonde stage is enough for the soup base |
| Burger topping | Quick stovetop or oven method works fine here |
| Pasta (e.g., with cabbage and ham) | A few tablespoons from a frozen batch works perfectly |
| Quiche or frittata | Oven-roasted version adds a pleasant tang |
| French onion chicken | Use the full deep-caramelized batch for maximum flavor |
| Short ribs or braises | Add a few tablespoons to the braising liquid for depth |
Key Takeaways
Low-and-slow stovetop caramelization, taking 45–60 minutes over medium-low heat, produces the deepest flavor and jammiest texture of any method.
| Point | Details |
|---|---|
| Commit to the time | True caramelization takes 45–60 minutes; stopping at 20 minutes gives you browned onions, not caramelized ones. |
| Read visual cues | Color moves from translucent to golden to deep amber; texture and smell are more reliable than the clock alone. |
| Deglaze the fond | Add a tablespoon of liquid when browned bits appear and scrape them up — that’s where the flavor lives. |
| Store in portions | Freeze in tablespoon-sized portions for several months; refrigerate for up to about a week. |
| Forkwardkitchen’s approach | Every tested recipe on Forkwardkitchen includes honest timing and visual cues so you know exactly when you’re done. |
The case for slowing down
Most cooks who struggle with caramelized onions aren’t doing anything technically wrong. They’re just stopping too early because every recipe they’ve read told them 20 minutes was enough. It isn’t. That gap between what a recipe promises and what the pan actually needs is where most batches go sideways.
The low-and-slow method isn’t glamorous. It doesn’t have a clever trick or a piece of equipment to justify it. What it has is a result that no shortcut fully matches: onions that taste like they’ve been cooking for an hour, because they have. The baking soda trick is genuinely useful when you’re pressed for time, and the quick stovetop method produces perfectly respectable burger toppings. But for anything where the onions carry the dish, patience is the only ingredient that actually matters.
One thing worth saying plainly: the visual cues in this guide are more useful than any timer. Onions vary in age, water content, and sugar level, so timing must be guided by visual stages rather than a strict clock. When the onions look like jam and smell deeply sweet, you’re there. Not before.
Forkwardkitchen’s tested recipes start here
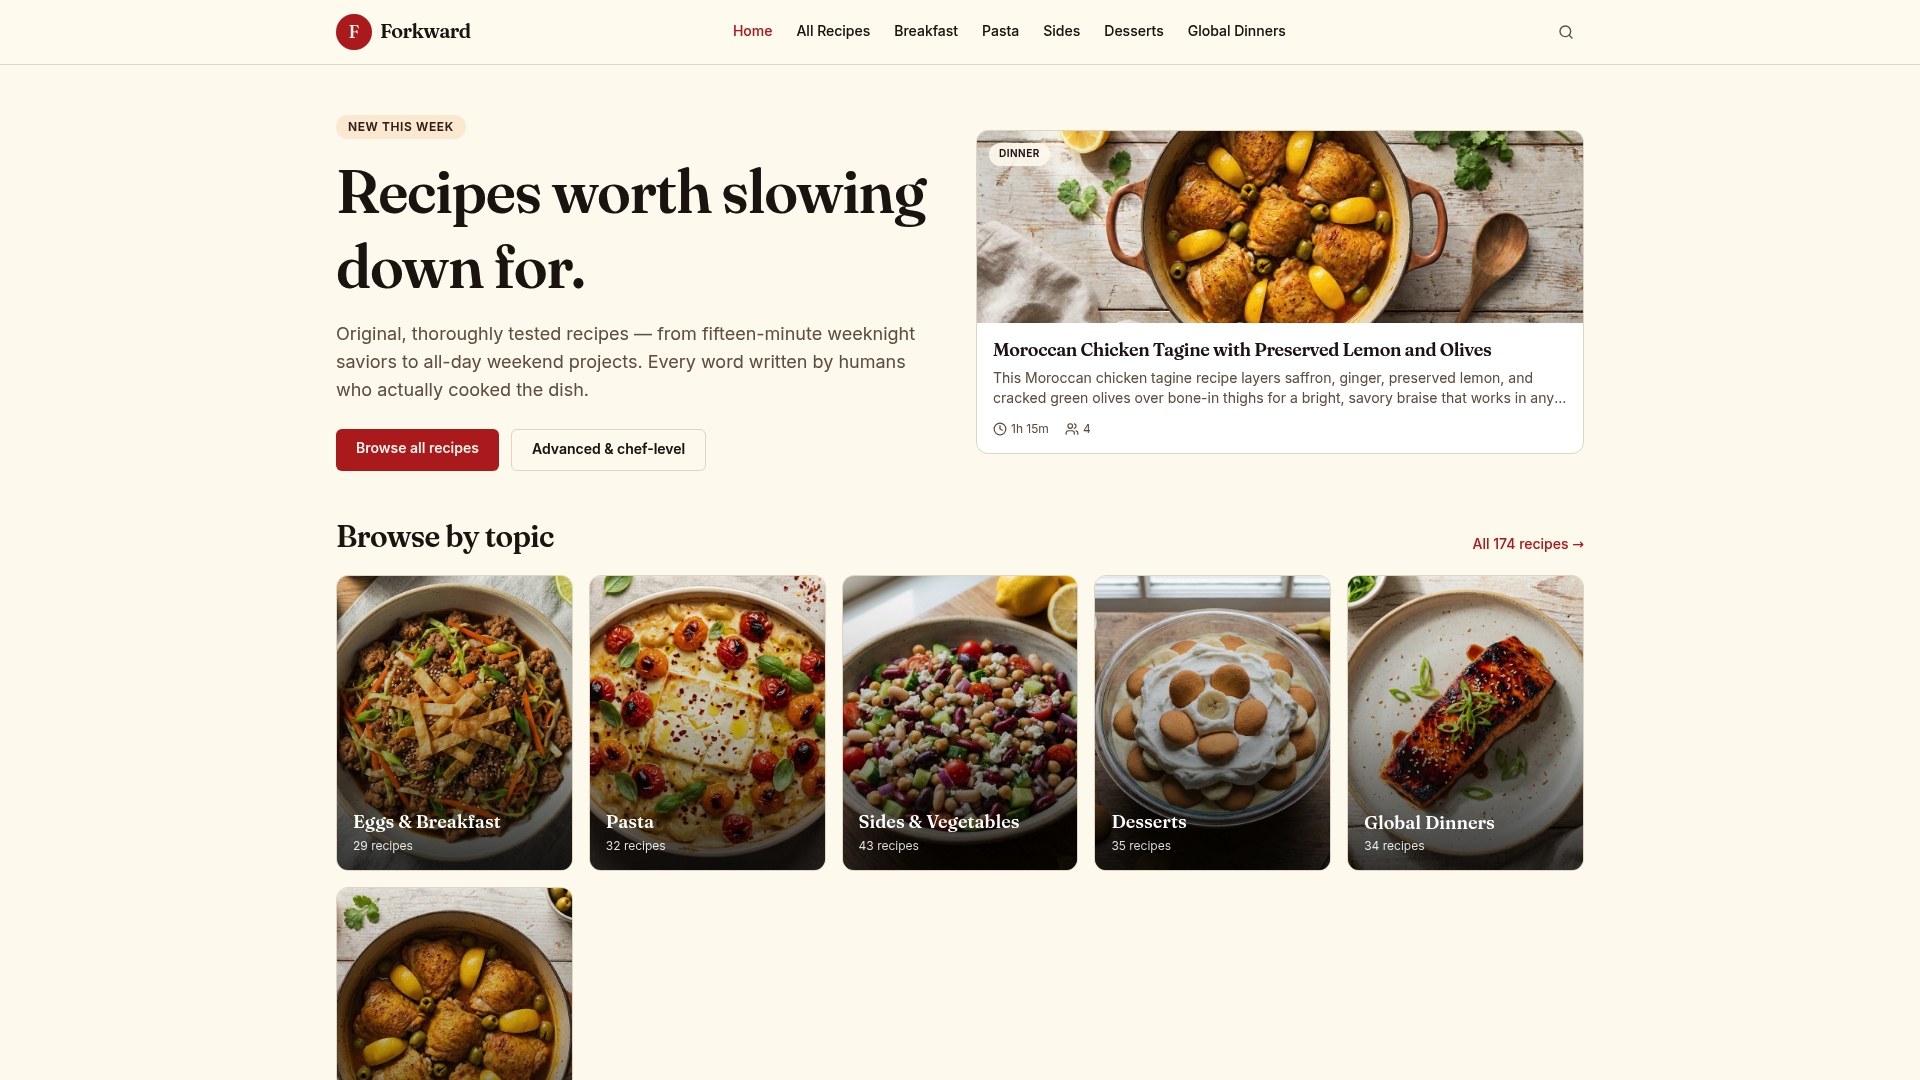
Forkwardkitchen builds every recipe from scratch, with honest difficulty ratings and real timing guidance so you know what you’re actually getting into before you start. The caramelized onion technique above is the same foundation used across a range of tested dishes on the site, from a one-pan French onion chicken with Gruyère and sherry to pasta dishes that use a few tablespoons from a frozen batch.
If you want to put a batch of caramelized onions to work this week, the full recipe index is a good place to start. There’s also a dedicated pasta section with weeknight dishes that benefit from even a small amount of deeply cooked onions. Make the onions on Sunday, and you have a flavor shortcut ready for the rest of the week.
Further reading and sources
- How to Caramelize Onions — Food52: Reliable overview of timing, visual cues, and technique.
- Caramelized Onions — Serious Eats: Deep technical breakdown of the low-and-slow method, onion selection, and pan choice.
- Faster Caramelized Onions with Baking Soda — Onions USA: The science behind the pH shortcut and how to use it safely.
- How to Caramelize Onions Fast — America’s Test Kitchen: Test kitchen notes on the baking soda method and its flavor tradeoffs.
- Caramelized Onions — Love and Lemons: Practical storage and make-ahead guidance.
- Caramelized Onions Recipe — Food Network Kitchen: Tested notes on the covered-start technique and deglazing.
- I Tried 6 Ways to Caramelize Onions — The Kitchn: Side-by-side method comparison with real-world timing results.
- Caramelized Onions Recipe — Bon Appétit: Step-by-step recipe with notes on pan choice and doneness stages.